ASTM F734-95
(Test Method)Standard Test Method for Shear Strength of Fusion Bonded Polycarbonate Aerospace Glazing Material
Standard Test Method for Shear Strength of Fusion Bonded Polycarbonate Aerospace Glazing Material
SCOPE
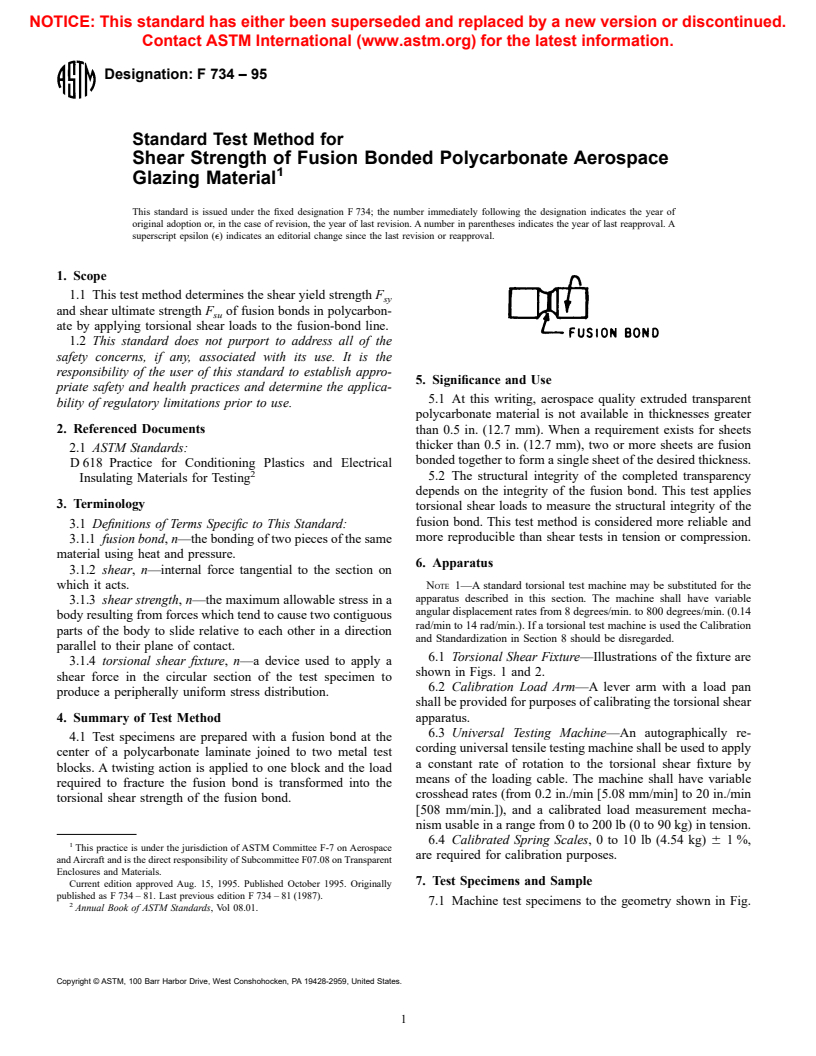
1.1 This test method determines the shear yield strength Fsy and shear ultimate strength Fsu of fusion bonds in polycarbonate by applying torsional shear loads to the fusion-bond line.
1.2 This standard does not purport to address all of the safety concerns, if any, associated with its use. It is the responsibility of the user of this standard to establish appropriate safety and health practices and determine the applicability of regulatory limitations prior to use.
General Information
Relations
Standards Content (Sample)
NOTICE: This standard has either been superseded and replaced by a new version or discontinued.
Contact ASTM International (www.astm.org) for the latest information.
Designation: F 734 – 95
Standard Test Method for
Shear Strength of Fusion Bonded Polycarbonate Aerospace
Glazing Material
This standard is issued under the fixed designation F 734; the number immediately following the designation indicates the year of
original adoption or, in the case of revision, the year of last revision. A number in parentheses indicates the year of last reapproval. A
superscript epsilon (e) indicates an editorial change since the last revision or reapproval.
1. Scope
1.1 This test method determines the shear yield strength F
sy
and shear ultimate strength F of fusion bonds in polycarbon-
su
ate by applying torsional shear loads to the fusion-bond line.
1.2 This standard does not purport to address all of the
safety concerns, if any, associated with its use. It is the
responsibility of the user of this standard to establish appro-
5. Significance and Use
priate safety and health practices and determine the applica-
5.1 At this writing, aerospace quality extruded transparent
bility of regulatory limitations prior to use.
polycarbonate material is not available in thicknesses greater
2. Referenced Documents
than 0.5 in. (12.7 mm). When a requirement exists for sheets
thicker than 0.5 in. (12.7 mm), two or more sheets are fusion
2.1 ASTM Standards:
bonded together to form a single sheet of the desired thickness.
D 618 Practice for Conditioning Plastics and Electrical
5.2 The structural integrity of the completed transparency
Insulating Materials for Testing
depends on the integrity of the fusion bond. This test applies
3. Terminology
torsional shear loads to measure the structural integrity of the
fusion bond. This test method is considered more reliable and
3.1 Definitions of Terms Specific to This Standard:
more reproducible than shear tests in tension or compression.
3.1.1 fusion bond, n—the bonding of two pieces of the same
material using heat and pressure.
6. Apparatus
3.1.2 shear, n—internal force tangential to the section on
which it acts. NOTE 1—A standard torsional test machine may be substituted for the
apparatus described in this section. The machine shall have variable
3.1.3 shear strength, n—the maximum allowable stress in a
angular displacement rates from 8 degrees/min. to 800 degrees/min. (0.14
body resulting from forces which tend to cause two contiguous
rad/min to 14 rad/min.). If a torsional test machine is used the Calibration
parts of the body to slide relative to each other in a direction
and Standardization in Section 8 should be disregarded.
parallel to their plane of contact.
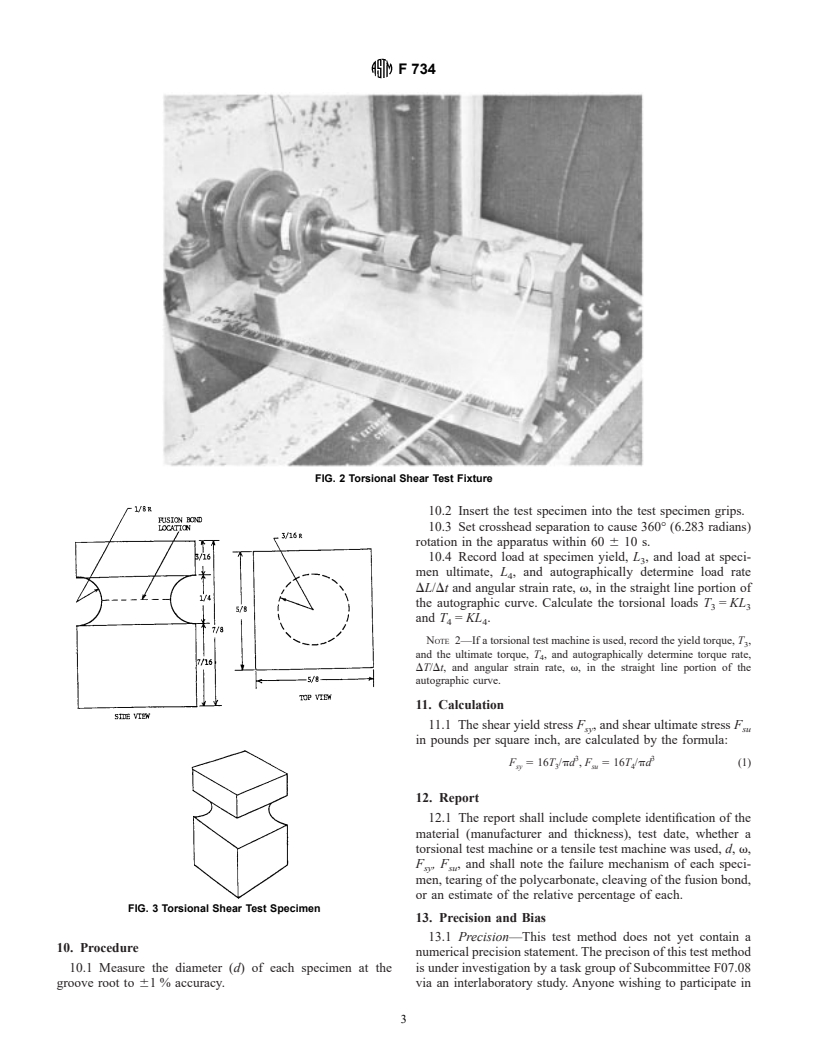
6.1 Torsional Shear Fixture—Illustrations of the fixture are
3.1.4 torsional shear fixture, n—a device used to apply a
shown in Figs. 1 and 2.
shear force in the circular section of the test specimen to
6.2 Calibration Load Arm—A lever arm with a load pan
produce a peripherally uniform stress distribution.
shall be provided for purposes of calibrating the torsional shear
4. Summary of Test Method apparatus.
6.3 Universal Testing Machine—An autographically re-
4.1 Test specimens are prepared with a fusion bond at the
cording universal tensile testing machine shall be used to apply
center of a polycarbonate laminate joined to two metal test
a constant rate of rotation to the torsional shear fixture by
blocks. A twisting action is applied to one block and the load
means of the loading cable. The machine shall have variable
required to fracture the fusion bond is transformed into the
crosshead rates (from 0.2 in./min [5.08 mm/min] to 20 in./min
torsional shear strength of the fusion bond.
[508 mm/min.]), and a calibrated load measurement mecha-
nism usable in a range from 0 to 200 lb (0 to 90 kg) in tension.
6.4 Calibrated Spring Scales, 0 to 10 lb (4.54 kg) 6 1%,
This practice is under the jurisdiction of ASTM Committee F-7 on Aerospace
are required for calibration purposes.
and Aircraft and is the direct responsibility of Subcommittee F07.08 on Transparent
Enclosures and Materials.
7. Test Specimens and Sample
Current edition approved Aug. 15, 1995. Published October 1995. Originally
published as F 734 – 81. Last previous edition F 734 – 81 (1987).
7.1 Machine test specimens to the geometry shown in Fig.
Annual Book of ASTM Standards, Vol 08.01.
Copyright © ASTM, 100 Barr Harbor Drive, West Conshohocken, PA 19428-2959, United States.
F 734
FIG. 1 Torsional Shear Test Fixture (All dimensions in inches)
3. Machine specimens at less than 1 m (3.28 ft)/s surface 8.4 Measure the lever arm, D, in inches to 6 1 % accuracy
velocity to avoid heat buildup during machining. Position the between the shaft center and the load pan pivot point.
groove such that the fusion bond lie
...


Questions, Comments and Discussion
Ask us and Technical Secretary will try to provide an answer. You can facilitate discussion about the standard in here.