ASTM D7091-05
(Practice)Standard Practice for Nondestructive Measurement of Dry Film Thickness of Nonmagnetic Coatings Applied to Ferrous Metals and Nonmagnetic, Nonconductive Coatings Applied to Non-Ferrous Metals
Standard Practice for Nondestructive Measurement of Dry Film Thickness of Nonmagnetic Coatings Applied to Ferrous Metals and Nonmagnetic, Nonconductive Coatings Applied to Non-Ferrous Metals
SIGNIFICANCE AND USE
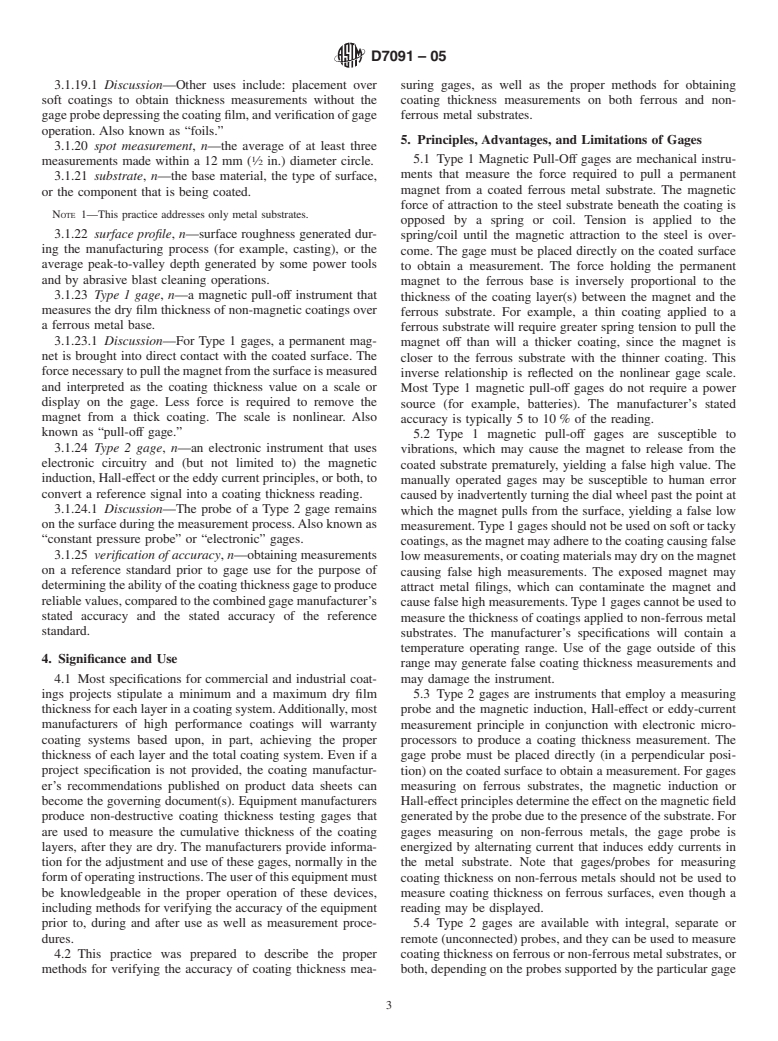
Most specifications for commercial and industrial coatings projects stipulate a minimum and a maximum dry film thickness for each layer in a coating system. Additionally, most manufacturers of high performance coatings will warranty coating systems based upon, in part, achieving the proper thickness of each layer and the total coating system. Even if a project specification is not provided, the coating manufacturer’s recommendations published on product data sheets can become the governing document(s). Equipment manufacturers produce non-destructive coating thickness testing gages that are used to measure the cumulative thickness of the coating layers, after they are dry. The manufacturers provide information for the adjustment and use of these gages, normally in the form of operating instructions. The user of this equipment must be knowledgeable in the proper operation of these devices, including methods for verifying the accuracy of the equipment prior to, during and after use as well as measurement procedures.
This practice was prepared to describe the proper methods for verifying the accuracy of coating thickness measuring gages, as well as the proper methods for obtaining coating thickness measurements on both ferrous and non-ferrous metal substrates.
SCOPE
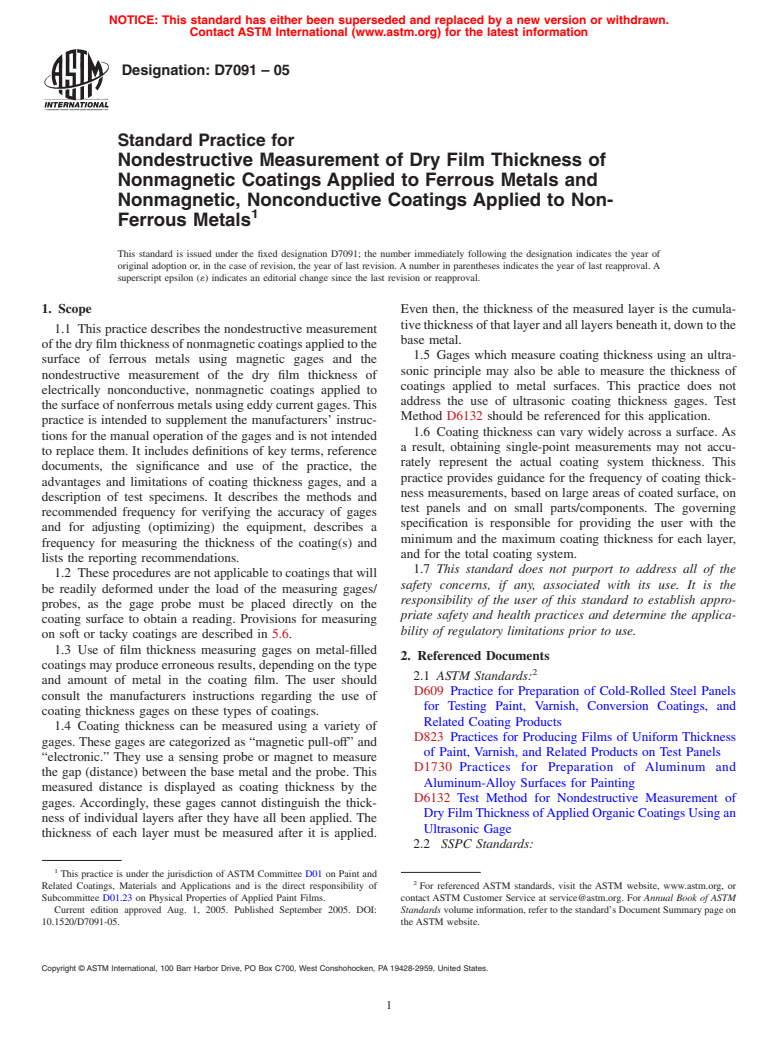
1.1 This practice describes the nondestructive measurement of the dry film thickness of nonmagnetic coatings applied to the surface of ferrous metals using magnetic gages and the nondestructive measurement of the dry film thickness of electrically nonconductive, nonmagnetic coatings applied to the surface of nonferrous metals using eddy current gages. This practice is intended to supplement the manufacturers' instructions for the manual operation of the gages and is not intended to replace them. It includes definitions of key terms, reference documents, the significance and use of the practice, the advantages and limitations of coating thickness gages, and a description of test specimens. It describes the methods and recommended frequency for verifying the accuracy of gages and for adjusting (optimizing) the equipment, describes a frequency for measuring the thickness of the coating(s) and lists the reporting recommendations.
1.2 These procedures are not applicable to coatings that will be readily deformed under the load of the measuring gages/probes, as the gage probe must be placed directly on the coating surface to obtain a reading. Provisions for measuring on soft or tacky coatings are described in .
1.3 Use of film thickness measuring gages on metal-filled coatings may produce erroneous results, depending on the type and amount of metal in the coating film. The user should consult the manufacturers instructions regarding the use of coating thickness gages on these types of coatings.
1.4 Coating thickness can be measured using a variety of gages. These gages are categorized as "magnetic pull-off" and "electronic." They use a sensing probe or magnet to measure the gap (distance) between the base metal and the probe. This measured distance is displayed as coating thickness by the gages. Accordingly, these gages cannot distinguish the thickness of individual layers after they have all been applied. The thickness of each layer must be measured after it is applied. Even then, the thickness of the measured layer is the cumulative thickness of that layer and all layers beneath it, down to the base metal.
1.5 Gages which measure coating thickness using an ultrasonic principle may also be able to measure the thickness of coatings applied to metal surfaces. This practice does not address the use of ultrasonic coating thickness gages. Test Method D 6132 should be referenced for this application.
1.6 Coating thickness can vary widely across a surface. As a result, obtaining single-point measurements may not accurately represent the actual coating system thickness. This practice provides guidance for the frequency of coating thickness ...
General Information
Relations
Standards Content (Sample)
NOTICE: This standard has either been superseded and replaced by a new version or withdrawn.
Contact ASTM International (www.astm.org) for the latest information
Designation: D7091 – 05
Standard Practice for
Nondestructive Measurement of Dry Film Thickness of
Nonmagnetic Coatings Applied to Ferrous Metals and
Nonmagnetic, Nonconductive Coatings Applied to Non-
1
Ferrous Metals
This standard is issued under the fixed designation D7091; the number immediately following the designation indicates the year of
original adoption or, in the case of revision, the year of last revision. A number in parentheses indicates the year of last reapproval. A
superscript epsilon (´) indicates an editorial change since the last revision or reapproval.
1. Scope Even then, the thickness of the measured layer is the cumula-
tivethicknessofthatlayerandalllayersbeneathit,downtothe
1.1 This practice describes the nondestructive measurement
base metal.
ofthedryfilmthicknessofnonmagneticcoatingsappliedtothe
1.5 Gages which measure coating thickness using an ultra-
surface of ferrous metals using magnetic gages and the
sonic principle may also be able to measure the thickness of
nondestructive measurement of the dry film thickness of
coatings applied to metal surfaces. This practice does not
electrically nonconductive, nonmagnetic coatings applied to
address the use of ultrasonic coating thickness gages. Test
thesurfaceofnonferrousmetalsusingeddycurrentgages.This
Method D6132 should be referenced for this application.
practice is intended to supplement the manufacturers’ instruc-
1.6 Coating thickness can vary widely across a surface. As
tions for the manual operation of the gages and is not intended
a result, obtaining single-point measurements may not accu-
to replace them. It includes definitions of key terms, reference
rately represent the actual coating system thickness. This
documents, the significance and use of the practice, the
practice provides guidance for the frequency of coating thick-
advantages and limitations of coating thickness gages, and a
ness measurements, based on large areas of coated surface, on
description of test specimens. It describes the methods and
test panels and on small parts/components. The governing
recommended frequency for verifying the accuracy of gages
specification is responsible for providing the user with the
and for adjusting (optimizing) the equipment, describes a
minimum and the maximum coating thickness for each layer,
frequency for measuring the thickness of the coating(s) and
and for the total coating system.
lists the reporting recommendations.
1.7 This standard does not purport to address all of the
1.2 These procedures are not applicable to coatings that will
safety concerns, if any, associated with its use. It is the
be readily deformed under the load of the measuring gages/
responsibility of the user of this standard to establish appro-
probes, as the gage probe must be placed directly on the
priate safety and health practices and determine the applica-
coating surface to obtain a reading. Provisions for measuring
bility of regulatory limitations prior to use.
on soft or tacky coatings are described in 5.6.
1.3 Use of film thickness measuring gages on metal-filled
2. Referenced Documents
coatings may produce erroneous results, depending on the type
2
2.1 ASTM Standards:
and amount of metal in the coating film. The user should
D609 Practice for Preparation of Cold-Rolled Steel Panels
consult the manufacturers instructions regarding the use of
for Testing Paint, Varnish, Conversion Coatings, and
coating thickness gages on these types of coatings.
Related Coating Products
1.4 Coating thickness can be measured using a variety of
D823 Practices for Producing Films of Uniform Thickness
gages. These gages are categorized as “magnetic pull-off” and
of Paint, Varnish, and Related Products on Test Panels
“electronic.” They use a sensing probe or magnet to measure
D1730 Practices for Preparation of Aluminum and
the gap (distance) between the base metal and the probe. This
Aluminum-Alloy Surfaces for Painting
measured distance is displayed as coating thickness by the
D6132 Test Method for Nondestructive Measurement of
gages. Accordingly, these gages cannot distinguish the thick-
Dry FilmThickness ofApplied Organic Coatings Using an
ness of individual layers after they have all been applied. The
Ultrasonic Gage
thickness of each layer must be measured after it is applied.
2.2 SSPC Standards:
1
This practice is under the jurisdiction of ASTM Committee D01 on Paint and
2
Related Coatings, Materials and Applications and is the direct responsibility of For referenced ASTM standards, visit the ASTM website, www.astm.org, or
Subcommittee D01.23 on Physical Properties of Applied Paint Films. contact ASTM Customer Service at service@astm.org. For Annual Book of ASTM
Current edition approved Aug. 1, 2005. Published September 2005. DOI: Standards volume information, refer to the standard’s Document Summary page on
...


Questions, Comments and Discussion
Ask us and Technical Secretary will try to provide an answer. You can facilitate discussion about the standard in here.