EN 10379:2025
(Main)Steel sheet piles - Test methods
Steel sheet piles - Test methods
This document specifies the requirement for testing of special properties of hot-rolled steel sheet piles.
Spundbohlen aus Stahl - Prüfverfahren
Dieses Dokument legt die Anforderungen an spezielle Prüfverfahren für warmgewalzte Spundbohlen fest.
Palplanches en acier - Méthodes d’essais
Le présent document spécifie les prescriptions relatives aux essais des propriétés spéciales des palplanches en acier laminées à chaud.
Jeklene zagatnice – Preskusne metode
Ta dokument določa zahtevo za preskušanje posebnih lastnosti vroče valjanih jeklenih zagatnic.
General Information
- Status
- Published
- Publication Date
- 18-Feb-2025
- Technical Committee
- ECISS/TC 103 - Structural steels other than reinforcements
- Drafting Committee
- CEN/TC 459/SC 3/WG 1 - Sheet piles
- Current Stage
- 6060 - Definitive text made available (DAV) - Publishing
- Start Date
- 19-Feb-2025
- Due Date
- 20-Jun-2025
- Completion Date
- 19-Feb-2025
Relations
- Effective Date
- 28-Jan-2026
- Effective Date
- 28-Jan-2026
- Effective Date
- 28-Jan-2026
- Effective Date
- 28-Jan-2026
- Effective Date
- 28-Jan-2026
Overview
EN 10379:2025 - Steel sheet piles - Test methods (CEN) defines required test procedures for assessing special properties of hot-rolled steel sheet piles, focusing on interlocks and crimped connection performance. Published February 2025 and approved by CEN, the standard specifies specimen preparation, test set‑ups, displacement‑controlled test regimes and evaluation rules to determine characteristic resistances and stiffnesses needed for design and quality control.
Key topics and technical requirements
Scope and general rules
- Tests are normally performed on the final, as‑rolled sheet pile product; third‑party tests must be agreed between purchaser and manufacturer.
- Mechanical properties of test specimens are determined per EN ISO 6892‑1 (tensile testing at room temperature).
Crimped points (U‑shaped piles)
- Compression tests determine the characteristic ultimate resistance R (kN per crimped point) and verify a minimum stiffness.
- Tests are displacement‑controlled (max 20 mm/min). The stiffness criterion: minimum 15 kN/mm up to 5 mm displacement.
- Specimens are cut from crimped double piles and tolerances for alignment are specified to avoid eccentricities.
Interlock resistance (straight web piles)
- Tensile tests use specimens 100 mm wide cut perpendicular to rolling direction.
- Grip distance L = 350–500 mm; displacement‑controlled test with max 5 mm/min.
- Characteristic interlock resistance Rk,s is calculated as maximum force divided by specimen width.
Interlock performance for U, Z and H profiles
- Includes declutching tests (no separation under imposed deviation angle - Δ/500 = 5°), tensile criterion and checks for interference, stiffness and local load resistance.
- Minimum of five samples per interlock geometry for performance tests; displacement‑controlled protocols apply (declutching rate ≤ 3 mm/min).
Applications and users
- Relevant to manufacturers, quality control laboratories, geotechnical and structural engineers, specifiers, contractors, and purchasers involved in design, production and acceptance of sheet pile systems.
- Supports:
- Design verification of interlocks in retaining walls, cofferdams, quay walls and marine structures.
- Type approval, product certification and supplier quality control.
- Input data for structural/geotechnical design in accordance with Eurocode requirements.
Related standards
- EN 1990 (Basis of design), EN 1993‑5 (Design of steel structures - Piling)
- EN 10020, EN 10079 (steel product definitions)
- EN 10248‑2 (hot‑rolled sheet piles - tolerances and interlock examples)
- EN ISO 6892‑1 (tensile testing)
Keywords: EN 10379:2025, steel sheet piles, test methods, interlock resistance, crimped points, tensile testing, declutching test, hot-rolled sheet piles, interlock stiffness.
Get Certified
Connect with accredited certification bodies for this standard

Element Materials Technology
Materials testing and product certification.

Inštitut za kovinske materiale in tehnologije
Institute of Metals and Technology. Materials testing, metallurgical analysis, NDT.
Sponsored listings
Frequently Asked Questions
EN 10379:2025 is a standard published by the European Committee for Standardization (CEN). Its full title is "Steel sheet piles - Test methods". This standard covers: This document specifies the requirement for testing of special properties of hot-rolled steel sheet piles.
This document specifies the requirement for testing of special properties of hot-rolled steel sheet piles.
EN 10379:2025 is classified under the following ICS (International Classification for Standards) categories: 77.140.50 - Flat steel products and semi-products; 77.140.70 - Steel profiles. The ICS classification helps identify the subject area and facilitates finding related standards.
EN 10379:2025 has the following relationships with other standards: It is inter standard links to EN 1993-5:2025, EN 10020:2000, EN 10079:2007, EN ISO 6892-1:2019, EN 10248-2:2024. Understanding these relationships helps ensure you are using the most current and applicable version of the standard.
EN 10379:2025 is available in PDF format for immediate download after purchase. The document can be added to your cart and obtained through the secure checkout process. Digital delivery ensures instant access to the complete standard document.
Standards Content (Sample)
SLOVENSKI STANDARD
01-april-2025
Jeklene zagatnice – Preskusne metode
Steel sheet piles - Test methods
Spundbohlen aus Stahl - Prüfverfahren
Palplanches en acier - Méthodes d’essais
Ta slovenski standard je istoveten z: EN 10379:2025
ICS:
77.140.50 Ploščati jekleni izdelki in Flat steel products and semi-
polizdelki products
77.140.70 Jekleni profili Steel profiles
2003-01.Slovenski inštitut za standardizacijo. Razmnoževanje celote ali delov tega standarda ni dovoljeno.
EN 10379
EUROPEAN STANDARD
NORME EUROPÉENNE
February 2025
EUROPÄISCHE NORM
ICS 77.140.70
English Version
Steel sheet piles - Test methods
Palplanches en acier - Méthodes d'essais Spundbohlen aus Stahl - Prüfverfahren
This European Standard was approved by CEN on 26 December 2024.
CEN members are bound to comply with the CEN/CENELEC Internal Regulations which stipulate the conditions for giving this
European Standard the status of a national standard without any alteration. Up-to-date lists and bibliographical references
concerning such national standards may be obtained on application to the CEN-CENELEC Management Centre or to any CEN
member.
This European Standard exists in three official versions (English, French, German). A version in any other language made by
translation under the responsibility of a CEN member into its own language and notified to the CEN-CENELEC Management
Centre has the same status as the official versions.
CEN members are the national standards bodies of Austria, Belgium, Bulgaria, Croatia, Cyprus, Czech Republic, Denmark, Estonia,
Finland, France, Germany, Greece, Hungary, Iceland, Ireland, Italy, Latvia, Lithuania, Luxembourg, Malta, Netherlands, Norway,
Poland, Portugal, Republic of North Macedonia, Romania, Serbia, Slovakia, Slovenia, Spain, Sweden, Switzerland, Türkiye and
United Kingdom.
EUROPEAN COMMITTEE FOR STANDARDIZATION
COMITÉ EUROPÉEN DE NORMALISATION
EUROPÄISCHES KOMITEE FÜR NORMUNG
CEN-CENELEC Management Centre: Rue de la Science 23, B-1040 Brussels
© 2025 CEN All rights of exploitation in any form and by any means reserved Ref. No. EN 10379:2025 E
worldwide for CEN national Members.
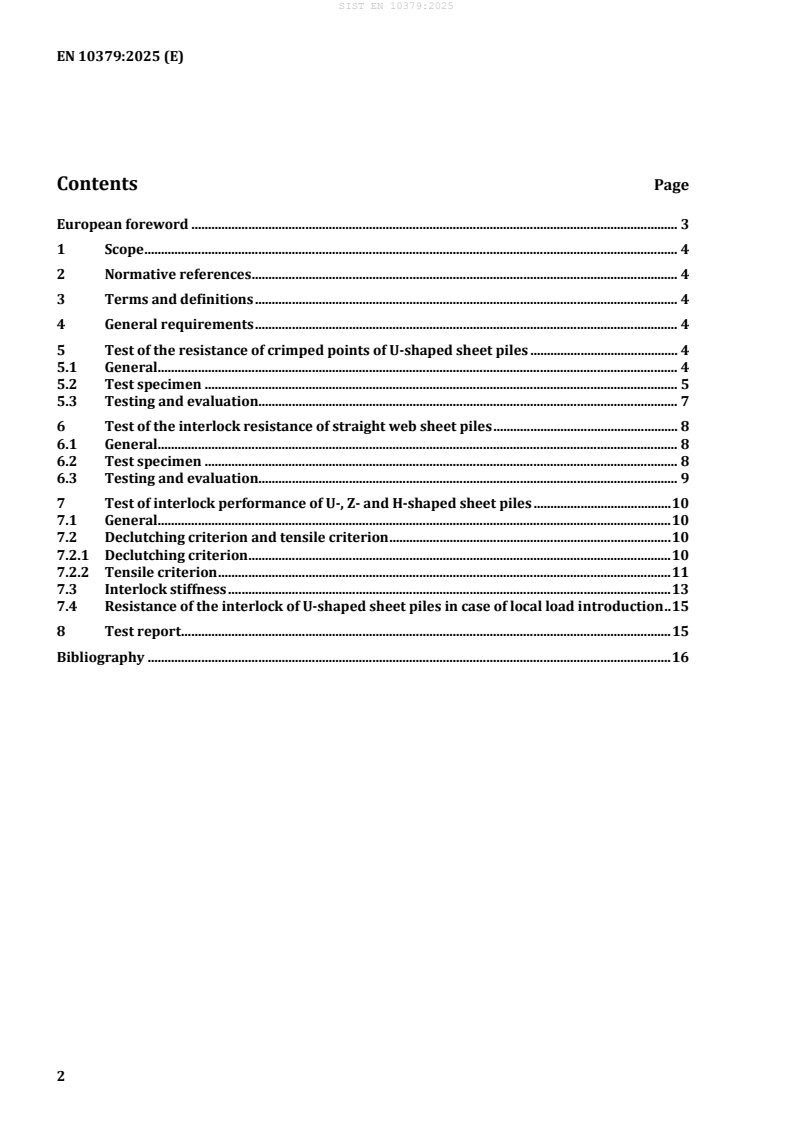
Contents Page
European foreword . 3
1 Scope . 4
2 Normative references . 4
3 Terms and definitions . 4
4 General requirements . 4
5 Test of the resistance of crimped points of U-shaped sheet piles . 4
5.1 General. 4
5.2 Test specimen . 5
5.3 Testing and evaluation. 7
6 Test of the interlock resistance of straight web sheet piles . 8
6.1 General. 8
6.2 Test specimen . 8
6.3 Testing and evaluation. 9
7 Test of interlock performance of U-, Z- and H-shaped sheet piles . 10
7.1 General. 10
7.2 Declutching criterion and tensile criterion . 10
7.2.1 Declutching criterion . 10
7.2.2 Tensile criterion . 11
7.3 Interlock stiffness . 13
7.4 Resistance of the interlock of U-shaped sheet piles in case of local load introduction . 15
8 Test report . 15
Bibliography . 16
European foreword
This document (EN 10379:2025) has been prepared by Technical Committee CEN/TC 459/SC 3
“Structural steels other than reinforcements”, the secretariat of which is held by DIN.
This European Standard shall be given the status of a national standard, either by publication of an
identical text or by endorsement, at the latest by August 2025, and conflicting national standards shall be
withdrawn at the latest by August 2025.
Attention is drawn to the possibility that some of the elements of this document may be the subject of
patent rights. CEN shall not be held responsible for identifying any or all such patent rights.
Any feedback and questions on this document should be directed to the users’ national standards body.
A complete listing of these bodies can be found on the CEN website.
According to the CEN-CENELEC Internal Regulations, the national standards organisations of the
following countries are bound to implement this European Standard: Austria, Belgium, Bulgaria, Croatia,
Cyprus, Czech Republic, Denmark, Estonia, Finland, France, Germany, Greece, Hungary, Iceland, Ireland,
Italy, Latvia, Lithuania, Luxembourg, Malta, Netherlands, Norway, Poland, Portugal, Republic of North
Macedonia, Romania, Serbia, Slovakia, Slovenia, Spain, Sweden, Switzerland, Türkiye and the United
Kingdom.
1 Scope
This document specifies the requirement for testing of special properties of hot-rolled steel sheet piles.
2 Normative references
The following documents are referred to in the text in such a way that some or all of their content
constitutes requirements of this document. For dated references, only the edition cited applies. For
undated references, the latest edition of the referenced document (including any amendments) applies.
EN 1990, Eurocode — Basis of structural and geotechnical design
EN 1993-5, Eurocode 3 — Design of steel structures — Part 5: Piling
EN 10020:2000, Definition and classification of grades of steel
EN 10079:2007, Definition of steel products
EN 10248-2, Hot-rolled steel sheet piles — Part 2: Tolerances on dimensions and shape
EN ISO 6892-1, Metallic materials — Tensile testing — Part 1: Method of test at room temperature
(ISO 6892-1)
3 Terms and definitions
For the purposes of this document, the terms and definitions given in EN 10020:2000 and
EN 10079:2007 apply.
ISO and IEC maintain terminology databases for use in standardization at the following addresses:
— ISO Online browsing platform: available at https://www.iso.org/obp/
— IEC Electropedia: available at https://www.electropedia.org/
4 General requirements
Unless otherwise specified by technical delivery condition or agreed between manufacturer and
purchaser the tests shall be carried out on the final steel sheet pile.
The tests shall be carried out by suitable trained operators. In the case of third party tests requested by
the purchaser these shall be agreed upon between manufacturer and purchaser at the time of enquiry
and order.
5 Test of the resistance of crimped points of U-shaped sheet piles
5.1 General
5.1.1 In the following, provisions are given for the determination of the resistance of crimped points by
testing, in order to improve the transmission of shear forces in the interlocks of U-shaped sheet piles
according to EN 1993-5.
5.1.2 Two items shall be addressed in the tests:
— determination of the characteristic ultimate resistance R of one crimped point;
k
— verification that the minimum stiffness criterion for the crimped point is fulfilled.
5.1.3 These two items shall be determined for the representative interlock geometry of the sheet pile.
If variation of the steel grade has a substantial influence (more than 10 %) on the test result, it shall be
taken into account when evaluating the tests and the results shall then be given in relation to the steel
grade. The data on the crimped points to be used for design shall be obtained from tests for the relevant
crimped point layout (single, double or triple points).
If different shapes of sheet piles are provided with the same nominal interlock geometry, the results
obtained may be applied to all these sheet piles.
The results obtained using this procedure for a representative interlock geometry cover also the
manufacturing tolerances of the interlocks.
5.1.4 The determination of the mechanical properties of the steel used for the specimen in these tests
shall be carried out according to EN ISO 6892-1.
5.1.5 The determination of the characteristic ultimate resistance R and the verification of the stiffness
k
criterion shall be carried out by compression tests using test specimen in accordance with 5.2.2 and 5.2.3.
5.2 Test specimen
5.2.1 For the manufacturing of the test specimen the following aspects shall be taken into account:
— the specimen (sheet piles) shall be tested as-rolled;
— the specimen shall be cut out of a crimped double pile.
5.2.2 The layout of the test specimen used for compression tests shall be in accordance with Figure 1
— for single, double or triple crimped points.
5.2.3 The following aspects shall be taken into account in order to avoid excessive eccentricities:
— the distance between the upper and lower plates as shown in Figure 1 — shall not vary more
than 0,5 mm;
— the deviation of the perpendicularity between the test specimen and the plate shall not exceed 2 %
in each of two mutually perpendicular directions (measured as 1 % of b, see Figure 2);
— the tolerance on squareness of specimen ends shall be less than 1,0 mm, see also EN 10248-2;
— the specimen shall be placed in the centre of the plates.
Dimensions in millimetres
Key
A crimped points
B end plates
C specimen taken from double pile
D, E interlock welded to specimen
F applied force
Figure 1 — Specimen for compression test of triple crimps
Key
A test specimen
B end plates
b width of the end plate
Figure 2 — Tolerances for perpendicularity
5.3 Testing and evaluation
The tests shall be carried out as a displacement cont
...


Questions, Comments and Discussion
Ask us and Technical Secretary will try to provide an answer. You can facilitate discussion about the standard in here.
Loading comments...