ASTM E570-20
(Practice)Standard Practice for Flux Leakage Examination of Ferromagnetic Steel Tubular Products
Standard Practice for Flux Leakage Examination of Ferromagnetic Steel Tubular Products
SIGNIFICANCE AND USE
5.1 This practice outlines a procedure for examining ferromagnetic tubular products using the flux leakage method. If properly applied, this method is capable of detecting the presence and location of significant longitudinally or transversely oriented discontinuities, such as pits, scabs, slivers, gouges, roll-ins, laps, seams, cracks, holes, and improper welds in ferromagnetic tubes under inspection. In addition, the severity of a discontinuity may be estimated and a rejection level set with respect to the magnitude of the electromagnetic indication produced by the discontinuity.
5.2 The response from natural discontinuities can be significantly different from the response for artificial discontinuities, such as drilled holes or notches of equivalent depth. For this reason, sufficient work should be done to determine the conditions necessary to detect and mark natural discontinuities whose characteristics will adversely affect the serviceability of the tube, in order to establish acceptance criteria between the supplier and purchaser.
SCOPE
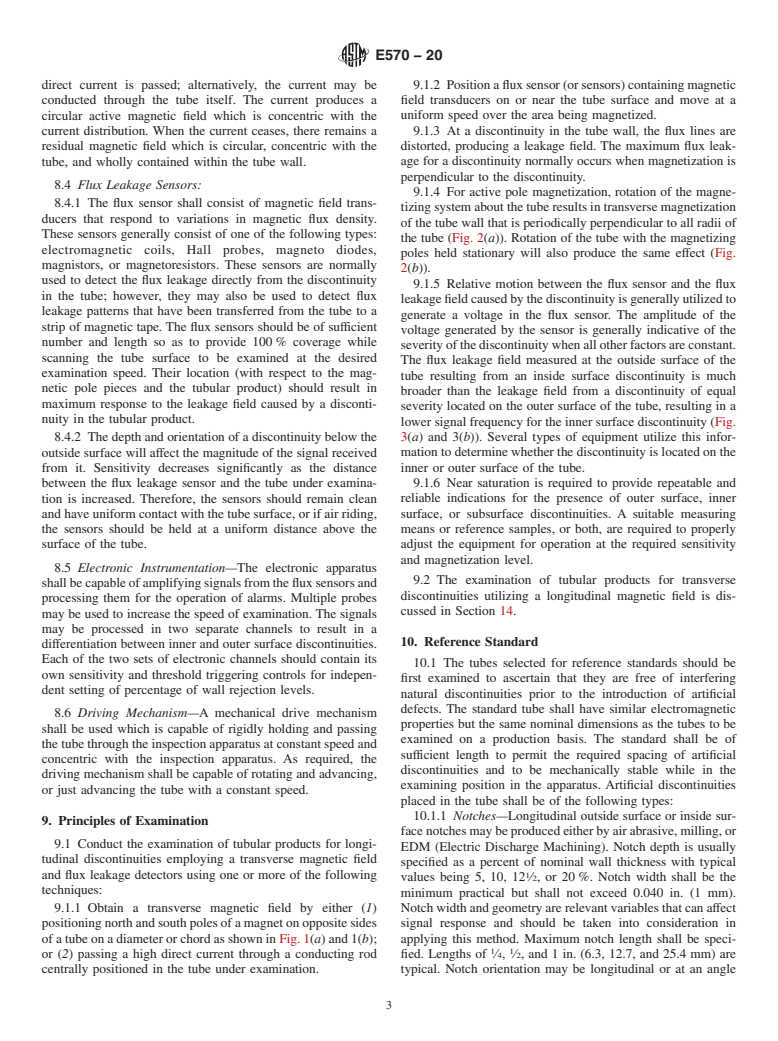
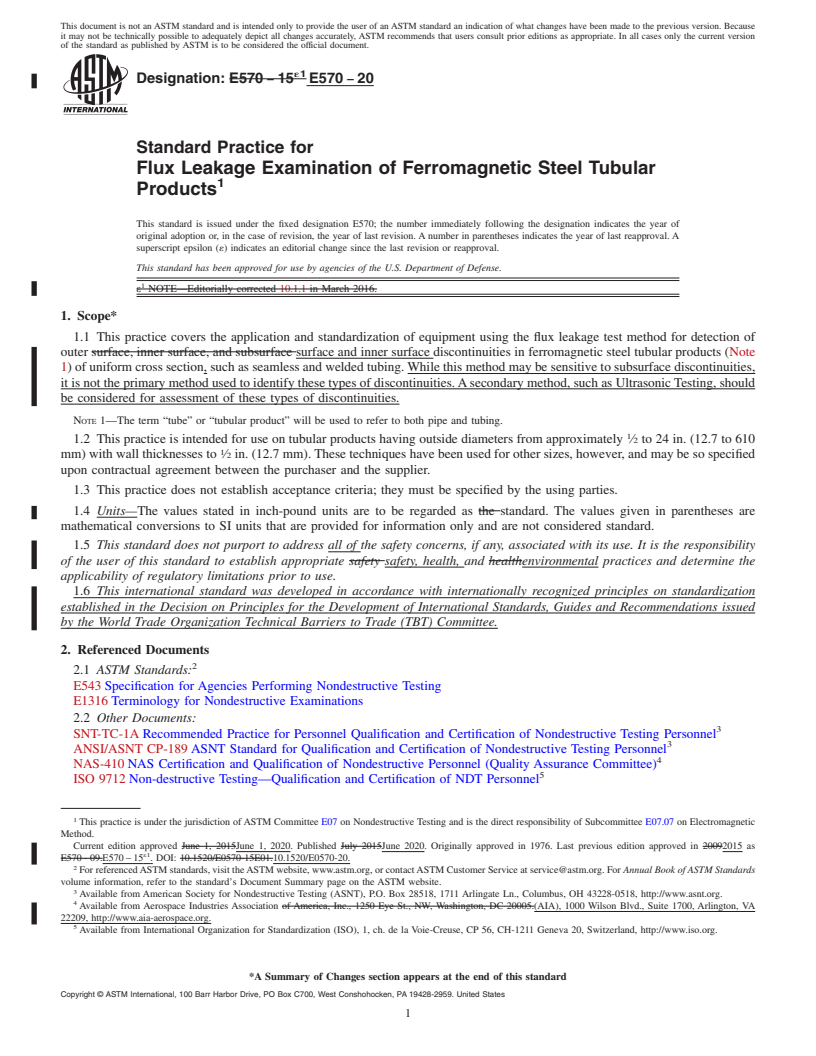
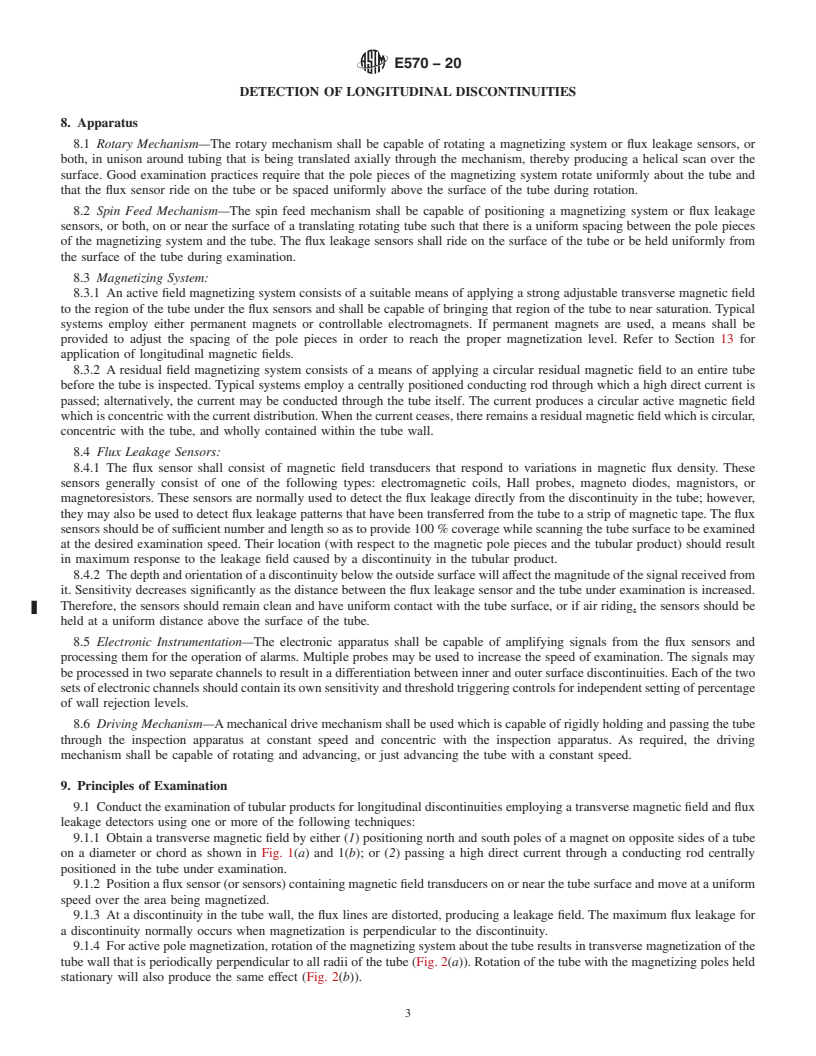
1.1 This practice covers the application and standardization of equipment using the flux leakage test method for detection of outer surface and inner surface discontinuities in ferromagnetic steel tubular products (Note 1) of uniform cross section, such as seamless and welded tubing. While this method may be sensitive to subsurface discontinuities, it is not the primary method used to identify these types of discontinuities. A secondary method, such as Ultrasonic Testing, should be considered for assessment of these types of discontinuities.
Note 1: The term “tube” or “tubular product” will be used to refer to both pipe and tubing.
1.2 This practice is intended for use on tubular products having outside diameters from approximately 1/2 to 24 in. (12.7 to 610 mm) with wall thicknesses to 1/2 in. (12.7 mm). These techniques have been used for other sizes, however, and may be so specified upon contractual agreement between the purchaser and the supplier.
1.3 This practice does not establish acceptance criteria; they must be specified by the using parties.
1.4 Units—The values stated in inch-pound units are to be regarded as standard. The values given in parentheses are mathematical conversions to SI units that are provided for information only and are not considered standard.
1.5 This standard does not purport to address all of the safety concerns, if any, associated with its use. It is the responsibility of the user of this standard to establish appropriate safety, health, and environmental practices and determine the applicability of regulatory limitations prior to use.
1.6 This international standard was developed in accordance with internationally recognized principles on standardization established in the Decision on Principles for the Development of International Standards, Guides and Recommendations issued by the World Trade Organization Technical Barriers to Trade (TBT) Committee.
General Information
Relations
Buy Standard
Standards Content (Sample)
This international standard was developed in accordance with internationally recognized principles on standardization established in the Decision on Principles for the
Development of International Standards, Guides and Recommendations issued by the World Trade Organization Technical Barriers to Trade (TBT) Committee.
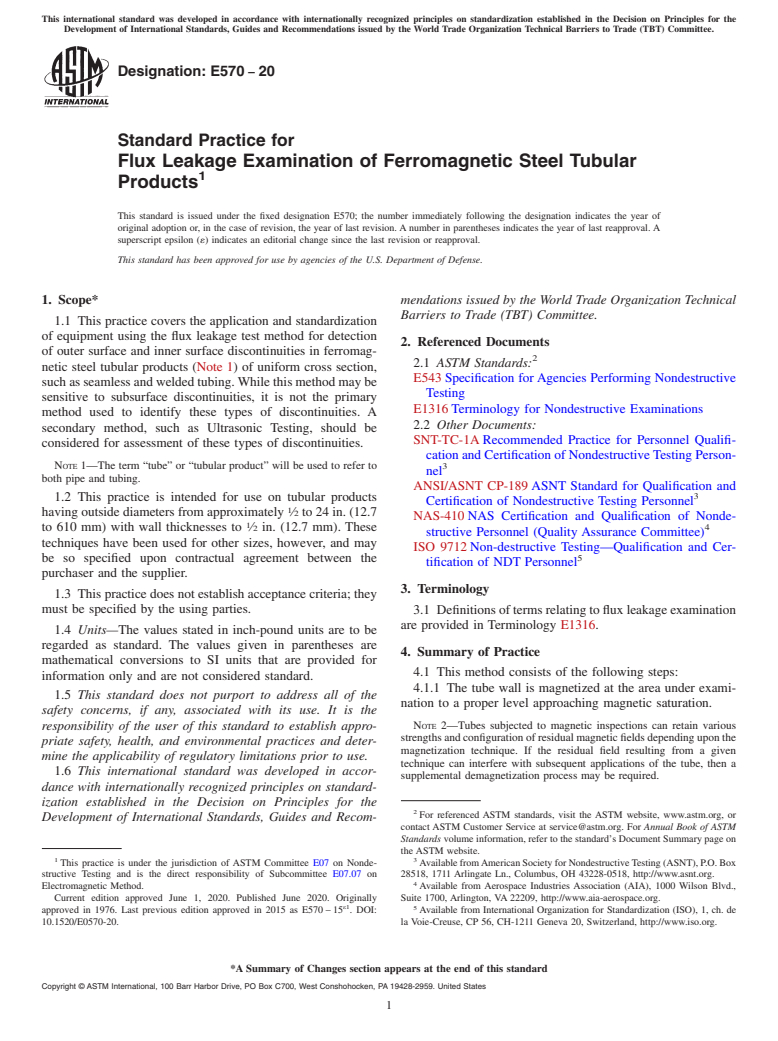
Designation: E570 − 20
Standard Practice for
Flux Leakage Examination of Ferromagnetic Steel Tubular
1
Products
This standard is issued under the fixed designation E570; the number immediately following the designation indicates the year of
original adoption or, in the case of revision, the year of last revision. A number in parentheses indicates the year of last reapproval. A
superscript epsilon (´) indicates an editorial change since the last revision or reapproval.
This standard has been approved for use by agencies of the U.S. Department of Defense.
1. Scope* mendations issued by the World Trade Organization Technical
Barriers to Trade (TBT) Committee.
1.1 This practice covers the application and standardization
of equipment using the flux leakage test method for detection
2. Referenced Documents
of outer surface and inner surface discontinuities in ferromag-
2
2.1 ASTM Standards:
netic steel tubular products (Note 1) of uniform cross section,
E543 Specification for Agencies Performing Nondestructive
suchasseamlessandweldedtubing.Whilethismethodmaybe
Testing
sensitive to subsurface discontinuities, it is not the primary
E1316 Terminology for Nondestructive Examinations
method used to identify these types of discontinuities. A
2.2 Other Documents:
secondary method, such as Ultrasonic Testing, should be
SNT-TC-1A Recommended Practice for Personnel Qualifi-
considered for assessment of these types of discontinuities.
cation and Certification of NondestructiveTesting Person-
NOTE 1—The term “tube” or “tubular product” will be used to refer to 3
nel
both pipe and tubing.
ANSI/ASNT CP-189 ASNT Standard for Qualification and
3
1.2 This practice is intended for use on tubular products
Certification of Nondestructive Testing Personnel
1
having outside diameters from approximately ⁄2 to 24 in. (12.7
NAS-410 NAS Certification and Qualification of Nonde-
1
4
to 610 mm) with wall thicknesses to ⁄2 in. (12.7 mm). These
structive Personnel (Quality Assurance Committee)
techniques have been used for other sizes, however, and may
ISO 9712 Non-destructive Testing—Qualification and Cer-
5
be so specified upon contractual agreement between the
tification of NDT Personnel
purchaser and the supplier.
3. Terminology
1.3 This practice does not establish acceptance criteria; they
must be specified by the using parties. 3.1 Definitionsoftermsrelatingtofluxleakageexamination
are provided in Terminology E1316.
1.4 Units—The values stated in inch-pound units are to be
regarded as standard. The values given in parentheses are
4. Summary of Practice
mathematical conversions to SI units that are provided for
4.1 This method consists of the following steps:
information only and are not considered standard.
4.1.1 The tube wall is magnetized at the area under exami-
1.5 This standard does not purport to address all of the
nation to a proper level approaching magnetic saturation.
safety concerns, if any, associated with its use. It is the
responsibility of the user of this standard to establish appro- NOTE 2—Tubes subjected to magnetic inspections can retain various
strengthsandconfigurationofresidualmagneticfieldsdependinguponthe
priate safety, health, and environmental practices and deter-
magnetization technique. If the residual field resulting from a given
mine the applicability of regulatory limitations prior to use.
technique can interfere with subsequent applications of the tube, then a
1.6 This international standard was developed in accor-
supplemental demagnetization process may be required.
dance with internationally recognized principles on standard-
ization established in the Decision on Principles for the
2
For referenced ASTM standards, visit the ASTM website, www.astm.org, or
Development of International Standards, Guides and Recom-
contact ASTM Customer Service at service@astm.org. For Annual Book of ASTM
Standards volume information, refer to the standard’s Document Summary page on
the ASTM website.
1 3
This practice is under the jurisdiction of ASTM Committee E07 on Nonde- AvailablefromAmericanSocietyforNondestructiveTesting(ASNT),P.O.Box
structive Testing and is the direct responsibility of Subcommittee E07.07 on 28518, 1711 Arlingate Ln., Columbus, OH 43228-0518, http://www.asnt.org.
4
Electromagnetic Method. Available from Aerospace Industries Association (AIA), 1000 Wilson Blvd.,
Current edition approved June 1, 2020. Published June 2020. Originally Suite 1700, Arlington, VA 22209, http://www.aia-aerospace.org.
ε1 5
approved in 1976. Last previous edition approved in 2015 as E570 – 15 . DOI: Available from International Organization for Standardization (ISO), 1, ch. de
10.1520/E0570-20. la Voie-Creuse, CP 56, CH-1211 Ge
...
This document is not an ASTM standard and is intended only to provide the user of an ASTM standard an indication of what changes have been made to the previous version. Because
it may not be technically possible to adequately depict all changes accurately, ASTM recommends that users consult prior editions as appropriate. In all cases only the current version
of the standard as published by ASTM is to be considered the official document.
´1
Designation: E570 − 15 E570 − 20
Standard Practice for
Flux Leakage Examination of Ferromagnetic Steel Tubular
1
Products
This standard is issued under the fixed designation E570; the number immediately following the designation indicates the year of
original adoption or, in the case of revision, the year of last revision. A number in parentheses indicates the year of last reapproval. A
superscript epsilon (´) indicates an editorial change since the last revision or reapproval.
This standard has been approved for use by agencies of the U.S. Department of Defense.
1
ε NOTE—Editorially corrected 10.1.1 in March 2016.
1. Scope*
1.1 This practice covers the application and standardization of equipment using the flux leakage test method for detection of
outer surface, inner surface, and subsurface surface and inner surface discontinuities in ferromagnetic steel tubular products (Note
1) of uniform cross section, such as seamless and welded tubing. While this method may be sensitive to subsurface discontinuities,
it is not the primary method used to identify these types of discontinuities. A secondary method, such as Ultrasonic Testing, should
be considered for assessment of these types of discontinuities.
NOTE 1—The term “tube” or “tubular product” will be used to refer to both pipe and tubing.
1
1.2 This practice is intended for use on tubular products having outside diameters from approximately ⁄2 to 24 in. (12.7 to 610
1
mm) with wall thicknesses to ⁄2 in. (12.7 mm). These techniques have been used for other sizes, however, and may be so specified
upon contractual agreement between the purchaser and the supplier.
1.3 This practice does not establish acceptance criteria; they must be specified by the using parties.
1.4 Units—The values stated in inch-pound units are to be regarded as the standard. The values given in parentheses are
mathematical conversions to SI units that are provided for information only and are not considered standard.
1.5 This standard does not purport to address all of the safety concerns, if any, associated with its use. It is the responsibility
of the user of this standard to establish appropriate safety safety, health, and healthenvironmental practices and determine the
applicability of regulatory limitations prior to use.
1.6 This international standard was developed in accordance with internationally recognized principles on standardization
established in the Decision on Principles for the Development of International Standards, Guides and Recommendations issued
by the World Trade Organization Technical Barriers to Trade (TBT) Committee.
2. Referenced Documents
2
2.1 ASTM Standards:
E543 Specification for Agencies Performing Nondestructive Testing
E1316 Terminology for Nondestructive Examinations
2.2 Other Documents:
3
SNT-TC-1A Recommended Practice for Personnel Qualification and Certification of Nondestructive Testing Personnel
3
ANSI/ASNT CP-189 ASNT Standard for Qualification and Certification of Nondestructive Testing Personnel
4
NAS-410 NAS Certification and Qualification of Nondestructive Personnel (Quality Assurance Committee)
5
ISO 9712 Non-destructive Testing—Qualification and Certification of NDT Personnel
1
This practice is under the jurisdiction of ASTM Committee E07 on Nondestructive Testing and is the direct responsibility of Subcommittee E07.07 on Electromagnetic
Method.
Current edition approved June 1, 2015June 1, 2020. Published July 2015June 2020. Originally approved in 1976. Last previous edition approved in 20092015 as
ε1
E570 - 09.E570 – 15 . DOI: 10.1520/E0570-15E01.10.1520/E0570-20.
2
For referenced ASTM standards, visit the ASTM website, www.astm.org, or contact ASTM Customer Service at service@astm.org. For Annual Book of ASTM Standards
volume information, refer to the standard’s Document Summary page on the ASTM website.
3
Available from American Society for Nondestructive Testing (ASNT), P.O. Box 28518, 1711 Arlingate Ln., Columbus, OH 43228-0518, http://www.asnt.org.
4
Available from Aerospace Industries Association of America, Inc., 1250 Eye St., NW, Washington, DC 20005.(AIA), 1000 Wilson Blvd., Suite 1700, Arlington, VA
22209, http://www.aia-aerospace.org.
5
Available from International Organization for Standardization (ISO), 1, ch. de la Voie-Creuse, CP 56, CH-1211 Geneva 20, Switzerland, http://www.iso.org.
*A Summary of Changes section appears at the end of this standard
Copyright © ASTM International, 100 Barr Harbor Drive, PO Box C700, West Conshohocken, PA 19428-2959. United States
1
---------------------- Page: 1 ----
...


Questions, Comments and Discussion
Ask us and Technical Secretary will try to provide an answer. You can facilitate discussion about the standard in here.