ASTM E1545-22
(Test Method)Standard Test Method for Assignment of the Glass Transition Temperature by Thermomechanical Analysis
Standard Test Method for Assignment of the Glass Transition Temperature by Thermomechanical Analysis
SIGNIFICANCE AND USE
5.1 The glass transition is dependent on the thermal history of the material to be tested. For amorphous and semicrystalline materials the assignment of the glass transition temperature may lead to important information about thermal history, processing conditions, stability, progress of chemical reactions, and mechanical and electrical behavior.
5.2 Thermomechanical analysis provides a rapid means of detecting changes in hardness or linear expansion associated with the glass transition.
5.3 This test method is useful for research and development, quality control, and specification acceptance.
SCOPE
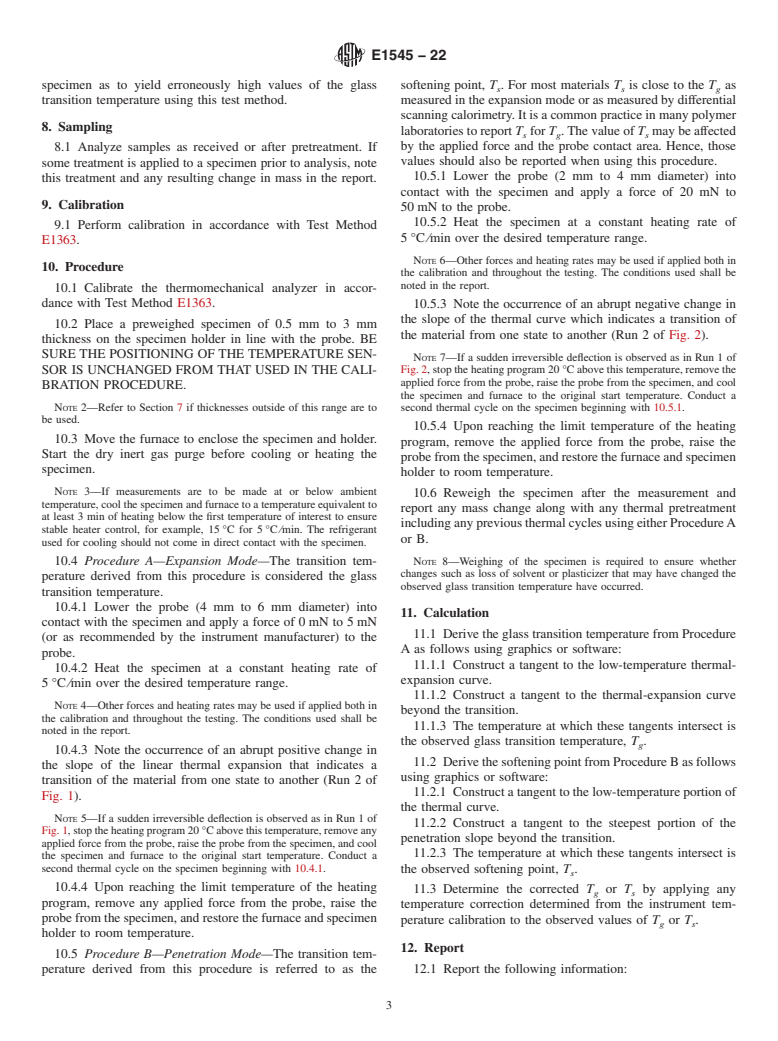
1.1 This test method describes procedures for the assignment of the glass transition temperature of materials on heating using thermomechanical measurements under compression experimental conditions.
1.2 This test method is applicable to amorphous or to partially crystalline materials that are sufficiently rigid below the glass transition to inhibit indentation by the sensing probe.
1.3 The normal operating temperature range is from −100 °C to 600 °C. This temperature range may be extended depending upon the instrumentation used.
1.4 The values stated in SI units are to be regarded as standard. No other units of measurement are included in this standard.
1.5 This standard does not purport to address all of the safety concerns, if any, associated with its use. It is the responsibility of the user of this standard to establish appropriate safety, health, and environmental practices and determine the applicability of regulatory limitations prior to use. Specific precautionary statements are given in Section 7.
1.6 This international standard was developed in accordance with internationally recognized principles on standardization established in the Decision on Principles for the Development of International Standards, Guides and Recommendations issued by the World Trade Organization Technical Barriers to Trade (TBT) Committee.
General Information
Buy Standard
Standards Content (Sample)
This international standard was developed in accordance with internationally recognized principles on standardization established in the Decision on Principles for the
Development of International Standards, Guides and Recommendations issued by the World Trade Organization Technical Barriers to Trade (TBT) Committee.
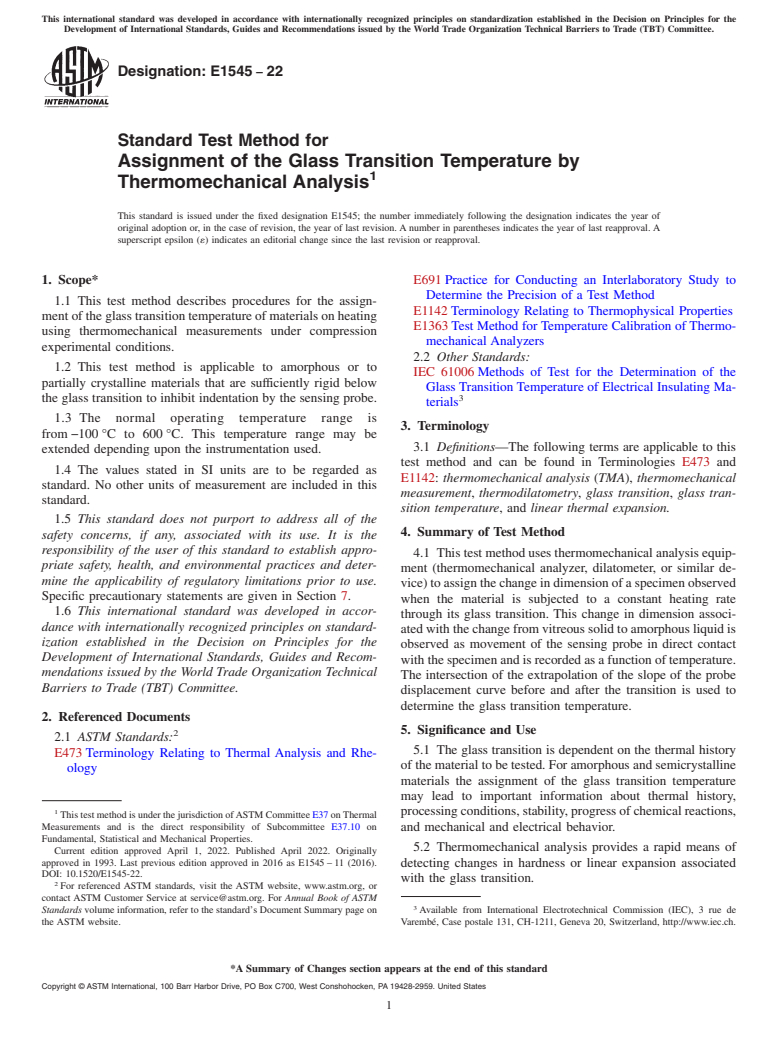
Designation: E1545 − 22
Standard Test Method for
Assignment of the Glass Transition Temperature by
1
Thermomechanical Analysis
This standard is issued under the fixed designation E1545; the number immediately following the designation indicates the year of
original adoption or, in the case of revision, the year of last revision.Anumber in parentheses indicates the year of last reapproval.A
superscript epsilon (´) indicates an editorial change since the last revision or reapproval.
1. Scope* E691Practice for Conducting an Interlaboratory Study to
Determine the Precision of a Test Method
1.1 This test method describes procedures for the assign-
E1142Terminology Relating to Thermophysical Properties
mentoftheglasstransitiontemperatureofmaterialsonheating
E1363Test Method forTemperature Calibration ofThermo-
using thermomechanical measurements under compression
mechanical Analyzers
experimental conditions.
2.2 Other Standards:
1.2 This test method is applicable to amorphous or to
IEC 61006Methods of Test for the Determination of the
partially crystalline materials that are sufficiently rigid below
Glass Transition Temperature of Electrical Insulating Ma-
the glass transition to inhibit indentation by the sensing probe. 3
terials
1.3 The normal operating temperature range is
3. Terminology
from−100°C to 600°C. This temperature range may be
3.1 Definitions—The following terms are applicable to this
extended depending upon the instrumentation used.
test method and can be found in Terminologies E473 and
1.4 The values stated in SI units are to be regarded as
E1142: thermomechanical analysis (TMA), thermomechanical
standard. No other units of measurement are included in this
measurement, thermodilatometry, glass transition, glass tran-
standard.
sition temperature, and linear thermal expansion.
1.5 This standard does not purport to address all of the
4. Summary of Test Method
safety concerns, if any, associated with its use. It is the
responsibility of the user of this standard to establish appro-
4.1 Thistestmethodusesthermomechanicalanalysisequip-
priate safety, health, and environmental practices and deter-
ment (thermomechanical analyzer, dilatometer, or similar de-
mine the applicability of regulatory limitations prior to use.
vice)toassignthechangeindimensionofaspecimenobserved
Specific precautionary statements are given in Section 7.
when the material is subjected to a constant heating rate
1.6 This international standard was developed in accor-
through its glass transition. This change in dimension associ-
dance with internationally recognized principles on standard-
atedwiththechangefromvitreoussolidtoamorphousliquidis
ization established in the Decision on Principles for the
observed as movement of the sensing probe in direct contact
Development of International Standards, Guides and Recom-
withthespecimenandisrecordedasafunctionoftemperature.
mendations issued by the World Trade Organization Technical
The intersection of the extrapolation of the slope of the probe
Barriers to Trade (TBT) Committee.
displacement curve before and after the transition is used to
determine the glass transition temperature.
2. Referenced Documents
5. Significance and Use
2
2.1 ASTM Standards:
5.1 The glass transition is dependent on the thermal history
E473Terminology Relating to Thermal Analysis and Rhe-
ofthematerialtobetested.Foramorphousandsemicrystalline
ology
materials the assignment of the glass transition temperature
may lead to important information about thermal history,
1
processingconditions,stability,progressofchemicalreactions,
ThistestmethodisunderthejurisdictionofASTMCommitteeE37onThermal
Measurements and is the direct responsibility of Subcommittee E37.10 on
and mechanical and electrical behavior.
Fundamental, Statistical and Mechanical Properties.
5.2 Thermomechanical analysis provides a rapid means of
Current edition approved April 1, 2022. Published April 2022. Originally
approved in 1993. Last previous edition approved in 2016 as E1545–11 (2016).
detecting changes in hardness or linear expansion associated
DOI: 10.1520/E1545-22.
with the glass transition.
2
For referenced ASTM standards, visit the ASTM website, www.astm.org, or
contact ASTM Customer Service at service@astm.org. For Annual Book of ASTM
3
Standards volume information, refer to the standard’s Document Summary page on Available from International Electrotechnical Commission (IEC), 3 rue de
the ASTM website. Varembé, Case postale 131, CH-1211, Geneva 20, Switzerland, http://www.iec.ch.
*A Summary of Changes section appears at the end of this standard
Copyright © ASTM International, 100 Barr Harbor Drive, PO Box C700, West Conshohocken
...
This document is not an ASTM standard and is intended only to provide the user of an ASTM standard an indication of what changes have been made to the previous version. Because
it may not be technically possible to adequately depict all changes accurately, ASTM recommends that users consult prior editions as appropriate. In all cases only the current version
of the standard as published by ASTM is to be considered the official document.
Designation: E1545 − 11 (Reapproved 2016) E1545 − 22
Standard Test Method for
Assignment of the Glass Transition Temperature by
1
Thermomechanical Analysis
This standard is issued under the fixed designation E1545; the number immediately following the designation indicates the year of
original adoption or, in the case of revision, the year of last revision. A number in parentheses indicates the year of last reapproval. A
superscript epsilon (´) indicates an editorial change since the last revision or reapproval.
1. Scope Scope*
1.1 This test method describes procedures for the assignment of the glass transition temperature of materials on heating using
thermomechanical measurements under compression experimental conditions.
1.2 This test method is applicable to amorphous or to partially crystalline materials that are sufficiently rigid below the glass
transition to inhibit indentation by the sensing probe.
1.3 The normal operating temperature range is from − 100from −100 °C to 600°C.600 °C. This temperature range may be
extended depending upon the instrumentation used.
1.4 The values stated in SI units are to be regarded as standard. No other units of measurement are included in this standard.
1.5 This test method is related to ISO 11359-2. ISO 11359-2 additionally covers the determination of coefficient of linear thermal
expansion not covered by this test method. This test method is related to IEC 61006 but uses a slower heating rate.
1.5 This standard does not purport to address all of the safety concerns, if any, associated with its use. It is the responsibility
of the user of this standard to establish appropriate safety safety, health, and healthenvironmental practices and determine the
applicability of regulatory limitations prior to use. Specific precautionary statements are given in Section 7.
1.6 This international standard was developed in accordance with internationally recognized principles on standardization
established in the Decision on Principles for the Development of International Standards, Guides and Recommendations issued
by the World Trade Organization Technical Barriers to Trade (TBT) Committee.
2. Referenced Documents
2
2.1 ASTM Standards:
E473 Terminology Relating to Thermal Analysis and Rheology
E691 Practice for Conducting an Interlaboratory Study to Determine the Precision of a Test Method
E1142 Terminology Relating to Thermophysical Properties
E1363 Test Method for Temperature Calibration of Thermomechanical Analyzers
1
This test method is under the jurisdiction of ASTM Committee E37 on Thermal Measurements and is the direct responsibility of Subcommittee E37.10 on Fundamental,
Statistical and Mechanical Properties.
Current edition approved Sept. 1, 2016April 1, 2022. Published September 2016April 2022. Originally approved in 1993. Last previous edition approved in 20112016 as
E1545 – 11.E1545 – 11 (2016). DOI: 10.1520/E1545-11R16.10.1520/E1545-22.
2
For referenced ASTM standards, visit the ASTM website, www.astm.org, or contact ASTM Customer Service at service@astm.org. For Annual Book of ASTM Standards
volume information, refer to the standard’s Document Summary page on the ASTM website.
*A Summary of Changes section appears at the end of this standard
Copyright © ASTM International, 100 Barr Harbor Drive, PO Box C700, West Conshohocken, PA 19428-2959. United States
1
---------------------- Page: 1 ----------------------
E1545 − 22
2.2 Other Standards:
ISO 11359-2 Plastics—Thermomechanical Analysis (TMA) – Part 2: Determination of Coefficient of Linear Thermal Expansion
3
and Glass Transition Temperature
3
IEC 61006 Methods of Test for the Determination of the Glass Transition Temperature of Electrical Insulating Materials
3. Terminology
3.1 Definitions—The following terms are applicable to this test method and can be found in Terminologies E473 and E1142:
thermomechanical analysis (TMA), thermomechanical measurement,thermodilatometry,glass transition,glass transition
temperature, and linear thermal expansion.
4. Summary of Test Method
4.1 This test method uses thermomechanical analysis equipment (thermomechanical analyzer, dilatometer, or similar device) to
assign the change in dimension of a specimen observed when the material is subjected to a constant heating rate through its glass
transition. This change in dimension associated with the change from vitreous solid to amorphous liquid is observed as movement
of the sensing probe in direct contact with the specimen and is recorded as a function of temperature. The intersection of the
extrap
...


Questions, Comments and Discussion
Ask us and Technical Secretary will try to provide an answer. You can facilitate discussion about the standard in here.