ISO 19742:2018
(Main)Optics and photonics — Optical materials and components — Test method for bubbles and inclusions in infrared optical materials
Optics and photonics — Optical materials and components — Test method for bubbles and inclusions in infrared optical materials
This document specifies the apparatus, condition, sample, procedure and data processing of measuring bubbles and inclusions in infrared optical materials. It is applicable to the determination of bubbles and inclusions in infrared optical materials, such as infrared optical glass, infrared crystals and infrared ceramics, which are opaque to visible wavelengths and whose transmission optical spectra are beyond 0,78 µm.
Optique et photonique — Matériaux et composants optiques — Méthodes d’essai pour déterminer les impuretés des matériaux optiques infrarouges
General Information
- Status
- Published
- Publication Date
- 07-May-2018
- Technical Committee
- ISO/TC 172/SC 3 - Optical materials and components
- Drafting Committee
- ISO/TC 172/SC 3/WG 3 - Characterization of IR materials
- Current Stage
- 9093 - International Standard confirmed
- Start Date
- 10-Nov-2023
- Completion Date
- 12-Feb-2026
Overview
ISO 19742:2018 specifies an optical test method to measure bubbles and inclusions in infrared (IR) optical materials. The standard applies to IR optical glass, crystals and ceramics that are opaque to visible light and transmit beyond 0.78 µm. It defines the required apparatus, test conditions, sample preparation, measurement procedure and data processing steps used to quantify internal defects and report a material imperfection value.
Key Topics
- Apparatus and setup: A diffuse infrared light source with a uniform diffuser, an infrared imaging system (lens + image sensor) and a computer-based data collection, processing and display system. The imaging system must provide sufficient depth of focus and spatial resolution (recommended object spatial resolution not more than 0.1 mm).
- Test conditions: Environmental temperature is controlled between 15 °C and 35 °C (±2 °C) and relative humidity should not exceed 80 %.
- Sample requirements:
- Typical maximum thickness recommended is 12 mm (normally 10 mm); scanning methods permit thicker samples.
- Polished surfaces: surface roughness Rq per ISO 10110-8 shall be less than 0.012 µm.
- Surface scratches/digs larger than the minimum bubble/inclusion size must be accounted for or subtracted from results.
- Measurement principle: Illuminate the sample with diffuse IR light, image bubbles and inclusions, measure their dimensions, calculate cross-sectional areas and sum areas per unit sample volume to derive a material imperfection value.
- Data processing rules:
- Symmetric defects: measure maximum length and compute cross-sectional area.
- Asymmetric defects: measure maximum length and width and use their product as area.
- Ignore bubbles and inclusions smaller than 0.1 mm maximum length.
- Compute total defect area, sample volume and the material imperfection value (total cross-sectional area per defined sample length/volume).
Applications
This test method supports practical quality assurance and acceptance testing for manufacturers and laboratories working with infrared optical materials and components. Typical applications include:
- Incoming inspection of IR optical glass, crystals and ceramics.
- Process control during material production and polishing.
- Final quality verification for IR lenses and assemblies used in thermal imaging, spectroscopy and other photonics systems.
Benefits include standardized defect quantification, improved traceability of inspection results, and clearer reporting for procurement and compliance.
Related Standards
- ISO 10110-8 - Surface texture; referenced for surface roughness (Rq) requirements.
- Other standards and military/industry references cited in the ISO document (e.g., JOGIS, MIL specifications) provide historical context and alternative methods but ISO 19742:2018 is the current international method for bubbles and inclusions in IR materials.
For laboratory reports, include instrument and method details, test wavelength, environmental conditions, sample dimensions, section and volume data, total defect area, material imperfection value, tester, reviewer and date as specified in ISO 19742:2018.
Frequently Asked Questions
ISO 19742:2018 is a standard published by the International Organization for Standardization (ISO). Its full title is "Optics and photonics — Optical materials and components — Test method for bubbles and inclusions in infrared optical materials". This standard covers: This document specifies the apparatus, condition, sample, procedure and data processing of measuring bubbles and inclusions in infrared optical materials. It is applicable to the determination of bubbles and inclusions in infrared optical materials, such as infrared optical glass, infrared crystals and infrared ceramics, which are opaque to visible wavelengths and whose transmission optical spectra are beyond 0,78 µm.
This document specifies the apparatus, condition, sample, procedure and data processing of measuring bubbles and inclusions in infrared optical materials. It is applicable to the determination of bubbles and inclusions in infrared optical materials, such as infrared optical glass, infrared crystals and infrared ceramics, which are opaque to visible wavelengths and whose transmission optical spectra are beyond 0,78 µm.
ISO 19742:2018 is classified under the following ICS (International Classification for Standards) categories: 37.020 - Optical equipment. The ICS classification helps identify the subject area and facilitates finding related standards.
ISO 19742:2018 is available in PDF format for immediate download after purchase. The document can be added to your cart and obtained through the secure checkout process. Digital delivery ensures instant access to the complete standard document.
Standards Content (Sample)
INTERNATIONAL ISO
STANDARD 19742
First edition
2018-05
Optics and photonics — Optical
materials and components — Test
method for bubbles and inclusions in
infrared optical materials
Optique et photonique — Matériaux et composants optiques —
Méthodes d’essai pour déterminer les impuretés des matériaux
optiques infrarouges
Reference number
©
ISO 2018
© ISO 2018
All rights reserved. Unless otherwise specified, or required in the context of its implementation, no part of this publication may
be reproduced or utilized otherwise in any form or by any means, electronic or mechanical, including photocopying, or posting
on the internet or an intranet, without prior written permission. Permission can be requested from either ISO at the address
below or ISO’s member body in the country of the requester.
ISO copyright office
CP 401 • Ch. de Blandonnet 8
CH-1214 Vernier, Geneva
Phone: +41 22 749 01 11
Fax: +41 22 749 09 47
Email: copyright@iso.org
Website: www.iso.org
Published in Switzerland
ii © ISO 2018 – All rights reserved
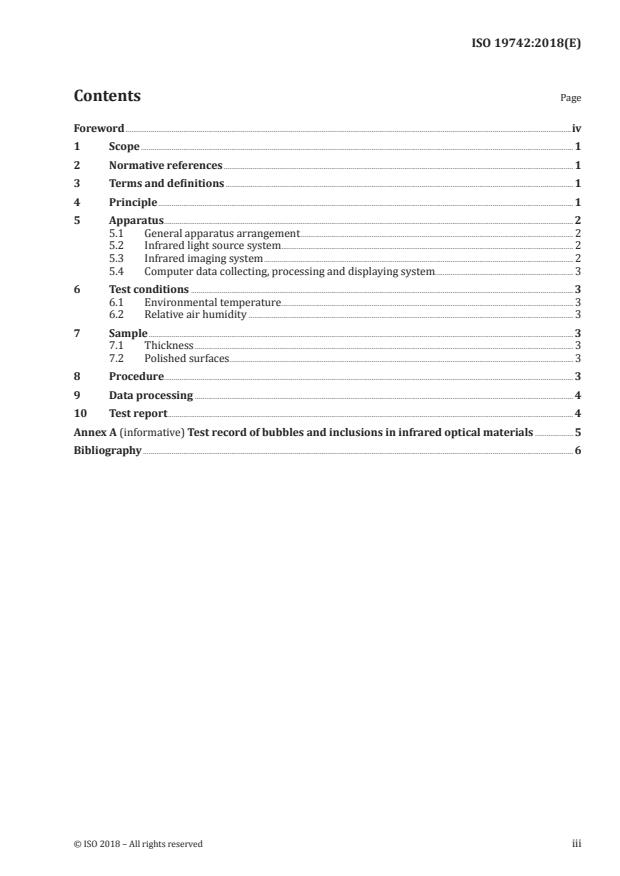
Contents Page
Foreword .iv
1 Scope . 1
2 Normative references . 1
3 Terms and definitions . 1
4 Principle . 1
5 Apparatus . 2
5.1 General apparatus arrangement . 2
5.2 Infrared light source system . 2
5.3 Infrared imaging system . 2
5.4 Computer data collecting, processing and displaying system. 3
6 Test conditions . 3
6.1 Environmental temperature . 3
6.2 Relative air humidity . 3
7 Sample . 3
7.1 Thickness . 3
7.2 Polished surfaces. 3
8 Procedure. 3
9 Data processing . 4
10 Test report . 4
Annex A (informative) Test record of bubbles and inclusions in infrared optical materials .5
Bibliography . 6
Foreword
ISO (the International Organization for Standardization) is a worldwide federation of national standards
bodies (ISO member bodies). The work of preparing International Standards is normally carried out
through ISO technical committees. Each member body interested in a subject for which a technical
committee has been established has the right to be represented on that committee. International
organizations, governmental and non-governmental, in liaison with ISO, also take part in the work.
ISO collaborates closely with the International Electrotechnical Commission (IEC) on all matters of
electrotechnical standardization.
The procedures used to develop this document and those intended for its further maintenance are
described in the ISO/IEC Directives, Part 1. In particular the different approval criteria needed for the
different types of ISO documents should be noted. This document was drafted in accordance with the
editorial rules of the ISO/IEC Directives, Part 2 (see www .iso .org/directives).
Attention is drawn to the possibility that some of the elements of this document may be the subject of
patent rights. ISO shall not be held responsible for identifying any or all such patent rights. Details of
any patent rights identified during the development of the document will be in the Introduction and/or
on the ISO list of patent declarations received (see www .iso .org/patents).
Any trade name used in this document is information given for the convenience of users and does not
constitute an endorsement.
For an explanation on the voluntary nature of standards, the meaning of ISO specific terms and
expressions related to conformity assessment, as well as information about ISO's adherence to the
World Trade Organization (WTO) principles in the Technical Barriers to Trade (TBT) see the following
URL: www .iso .org/iso/foreword .html.
This document was prepared by Technical Committee ISO/TC 172, Optics and photonics, Subcommittee
SC 3, Optical materials and components.
iv © ISO 2018 – All rights reserved
INTERNATIONAL STANDARD ISO 19742:2018(E)
Optics and photonics — Optical materials and components
— Test method for bubbles and inclusions in infrared
optical materials
1 Scope
This document specifies the apparatus, condition, sample, procedure and data processing of measuring
bubbles and inclusions in infrared optical materials.
It is applicable to the determination of bubbles and inclusions in infrared optical materials, such as
infrared optical glass, infrared crystals and infrared ceramics, which are opaque to visible wavelengths
and whose transmission optical spectra are beyond 0,78 µm.
2 Normative references
The following documents are referred to in the text in such a way that some or all of their content
constitutes requirements of this document. For dated references, only the edition cited applies. For
undated references, the lates
...


Questions, Comments and Discussion
Ask us and Technical Secretary will try to provide an answer. You can facilitate discussion about the standard in here.
Loading comments...