ISO 129-4:2013
(Main)Technical product documentation (TPD) — Indication of dimensions and tolerances — Part 4: Dimensioning of shipbuilding drawings
Technical product documentation (TPD) — Indication of dimensions and tolerances — Part 4: Dimensioning of shipbuilding drawings
ISO 129-4:2013 specifies the dimensioning for general use on metal hulls on shipbuilding drawings.
Documentation technique de produits (TPD) — Indication des cotes et tolérances — Partie 4: Cotes des dessins de construction navale
General Information
- Status
- Published
- Publication Date
- 18-Jun-2013
- Technical Committee
- ISO/TC 10/SC 6 - Mechanical engineering documentation
- Drafting Committee
- ISO/TC 10/SC 6 - Mechanical engineering documentation
- Current Stage
- 9060 - Close of review
- Completion Date
- 02-Dec-2030
Relations
- Effective Date
- 09-Feb-2026
Overview
ISO 129-4:2013 - Technical product documentation (TPD) - Indication of dimensions and tolerances - Part 4: Dimensioning of shipbuilding drawings specifies standardized dimensioning practices for metal hulls on shipbuilding drawings. It is part of the ISO 129 series for technical product documentation and is intended to ensure clear, consistent, and unambiguous presentation of dimensions and tolerances used in ship design, fabrication and inspection.
Key topics and requirements
- Scope and references
- Applies to dimensioning of metal hull structures on shipbuilding drawings.
- Normative references include ISO 128-25 (lines on shipbuilding drawings) and ISO 129-1 (general principles of dimensioning).
- General principles
- Location dimensions of hull structure are referenced from standard ship reference lines: BL (base line), CL (centre line), AP/FP (after/forward perpendicular), WL (water line).
- Dimensions for the same member or identical members are shown only once, on the view that displays them most clearly.
- Basic dimensioning rules
- Longitudinal dimensions: referenced to frames, stations or midship.
- Vertical dimensions: referenced to BL, WL or deck lines.
- Transverse dimensions: referenced to CL or broadside.
- Dimension lines and extension lines
- Dimension lines: continuous narrow lines; preferred termination with closed 30° arrowheads; alternatives per ISO 129‑1 permitted.
- Extension lines: originate from moulded lines, frame lines, stations or axes; normally perpendicular to the dimension line but may be oblique and parallel where appropriate.
- Presentation rules
- Dimension text written above the dimension line; avoid crossing lines.
- Equal spacing of repetitive members can be indicated with compact notation.
- Curved offsets presented using offset tables (example: funnel offsets).
- Inclinations are defined by rectangular coordinates, not angular measures.
- Openings, manholes and holes
- Rules for dimensioning rectangular openings, coaming height (notation “h”), corner radii (“R”), and locating openings by centrelines.
- Manholes/lightening holes and drain/clearance/air hole dimension formats are specified.
- Plates, profiles and brackets
- Table of standard symbols and dimension order (e.g., plate: thickness × width × length; pipe: outer diameter × thickness; L‑section: width × width × thickness).
Applications and users
ISO 129-4:2013 is used by:
- Naval architects, marine engineers and ship designers
- Shipyard draughtsmen and CAD specialists producing shipbuilding drawings
- Fabrication and production teams for plate and profile cutting
- Classification societies and surveyors for plan approval and inspection
- Suppliers and subcontractors who require unambiguous manufacturing dimensions
Practical benefits include improved drawing clarity, reduced fabrication errors, standardized communication across shipbuilding supply chains, and easier compliance review.
Related standards
- ISO 129-1 - Indication of dimensions and tolerances - General principles
- ISO 128-25 - Technical drawings - Lines on shipbuilding drawings
- Other parts of ISO 129 for mechanical and architectural dimensioning
Keywords: ISO 129-4:2013, shipbuilding drawings, dimensioning, technical product documentation, metal hulls, dimension lines, extension lines, offset tables, plate dimensions, profiles.
Frequently Asked Questions
ISO 129-4:2013 is a standard published by the International Organization for Standardization (ISO). Its full title is "Technical product documentation (TPD) — Indication of dimensions and tolerances — Part 4: Dimensioning of shipbuilding drawings". This standard covers: ISO 129-4:2013 specifies the dimensioning for general use on metal hulls on shipbuilding drawings.
ISO 129-4:2013 specifies the dimensioning for general use on metal hulls on shipbuilding drawings.
ISO 129-4:2013 is classified under the following ICS (International Classification for Standards) categories: 01.100.01 - Technical drawings in general. The ICS classification helps identify the subject area and facilitates finding related standards.
ISO 129-4:2013 has the following relationships with other standards: It is inter standard links to EN ISO 128-1:2020. Understanding these relationships helps ensure you are using the most current and applicable version of the standard.
ISO 129-4:2013 is available in PDF format for immediate download after purchase. The document can be added to your cart and obtained through the secure checkout process. Digital delivery ensures instant access to the complete standard document.
Standards Content (Sample)
INTERNATIONAL ISO
STANDARD 129-4
First edition
2013-07-01
Technical product documentation
(TPD) — Indication of dimensions
and tolerances —
Part 4:
Dimensioning of shipbuilding drawings
Documentation technique de produits (TPD) — Indication des cotes
et tolérances —
Partie 4: Cotes des dessins de construction navale
Reference number
©
ISO 2013
© ISO 2013
All rights reserved. Unless otherwise specified, no part of this publication may be reproduced or utilized otherwise in any form
or by any means, electronic or mechanical, including photocopying, or posting on the internet or an intranet, without prior
written permission. Permission can be requested from either ISO at the address below or ISO’s member body in the country of
the requester.
ISO copyright office
Case postale 56 • CH-1211 Geneva 20
Tel. + 41 22 749 01 11
Fax + 41 22 749 09 47
E-mail copyright@iso.org
Web www.iso.org
Published in Switzerland
ii © ISO 2013 – All rights reserved
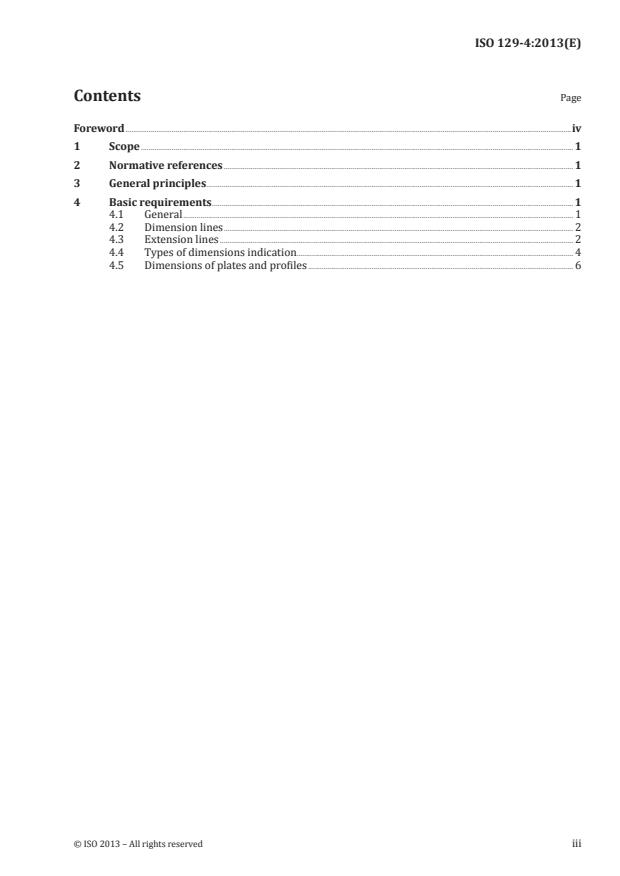
Contents Page
Foreword .iv
1 Scope . 1
2 Normative references . 1
3 General principles . 1
4 Basic requirements . 1
4.1 General . 1
4.2 Dimension lines . 2
4.3 Extension lines . 2
4.4 Types of dimensions indication. 4
4.5 Dimensions of plates and profiles . 6
Foreword
ISO (the International Organization for Standardization) is a worldwide federation of national standards
bodies (ISO member bodies). The work of preparing International Standards is normally carried out
through ISO technical committees. Each member body interested in a subject for which a technical
committee has been established has the right to be represented on that committee. International
organizations, governmental and non-governmental, in liaison with ISO, also take part in the work.
ISO collaborates closely with the International Electrotechnical Commission (IEC) on all matters of
electrotechnical standardization.
The procedures used to develop this document and those intended for its further maintenance are
described in the ISO/IEC Directives, Part 1. In particular the different approval criteria needed for the
different types of ISO documents should be noted. This document was drafted in accordance with the
editorial rules of the ISO/IEC Directives, Part 2. www.iso.org/directives
Attention is drawn to the possibility that some of the elements of this document may be the subject of
patent rights. ISO shall not be held responsible for identifying any or all such patent rights. Details of
any patent rights identified during the development of the document will be in the Introduction and/or
on the ISO list of patent declarations received. www.iso.org/patents
Any trade name used in this document is information given for the convenience of users and does not
constitute an endorsement.
The committee responsible for this document is ISO/TC 10, Technical product documentation,
Subcommittee SC 6, Mechanical engineering documentation.
ISO 129 consists of the following parts, under the general title Technical product documentation (TPD) —
Indication of dimensions and tolerances:
— Part 1: General principles
— Part 2: Dimensioning of mechanical engineering drawings
— Part 3: Architectural
— Part 4: Dimensioning of shipbuilding drawings
iv © ISO 2013 – All rights reserved
INTERNATIONAL STANDARD ISO 129-4:2013(E)
Technical product documentation (TPD) — Indication of
dimensions and tolerances —
Part 4:
Dimensioning of shipbuilding drawings
1 Scope
This part of ISO 129 specifies the dimensioning for general use on metal hulls on shipbuilding drawings.
2 Normative references
The following documents, in whole or in part, are normatively referenced in this document and are
indispensable for its application. For dated references, only the edition cited applies. For undated
references, the latest edition of the referenced document (including any amendments) applies.
ISO 128-25, Technical drawings — General principles of presentation — Part 25: Lines on shipbuilding drawings
1)
ISO 129-1:— , Technical drawings — Indication of dimensions and tolerances — Part 1: General principles
3 General principles
General principles of dimensioning are as follows.
a) The basic types of lines, their designations, as well as general rules for draughting of lines, are
specified in ISO 128-25.
b) The rule of indication of dimension and tolerances are specified in ISO 129-1.
c) The location dimension of the hull structure shall be indicated with the distance of the assembled
moulded line of the member from reference line (BL = base line, CL = centre line, AP = after
perpendicular, FP = forward perpendicular, WL = water line).
d) The dimensions of the same member(s) shall be indicated only once; the dimensions of the members
with identical specifications and sizes shall be indicated only once; these dimensions should be on
the view(s) of the drawing that displays the member(s) most clearly.
4 Basic requirements
4.1 General
Dimensions indicating the location of a structural member in the hull shall be referenced as follows.
...


Questions, Comments and Discussion
Ask us and Technical Secretary will try to provide an answer. You can facilitate discussion about the standard in here.
Loading comments...