ASTM E898-20
(Practice)Standard Practice for Calibration of Non-Automatic Weighing Instruments
Standard Practice for Calibration of Non-Automatic Weighing Instruments
SIGNIFICANCE AND USE
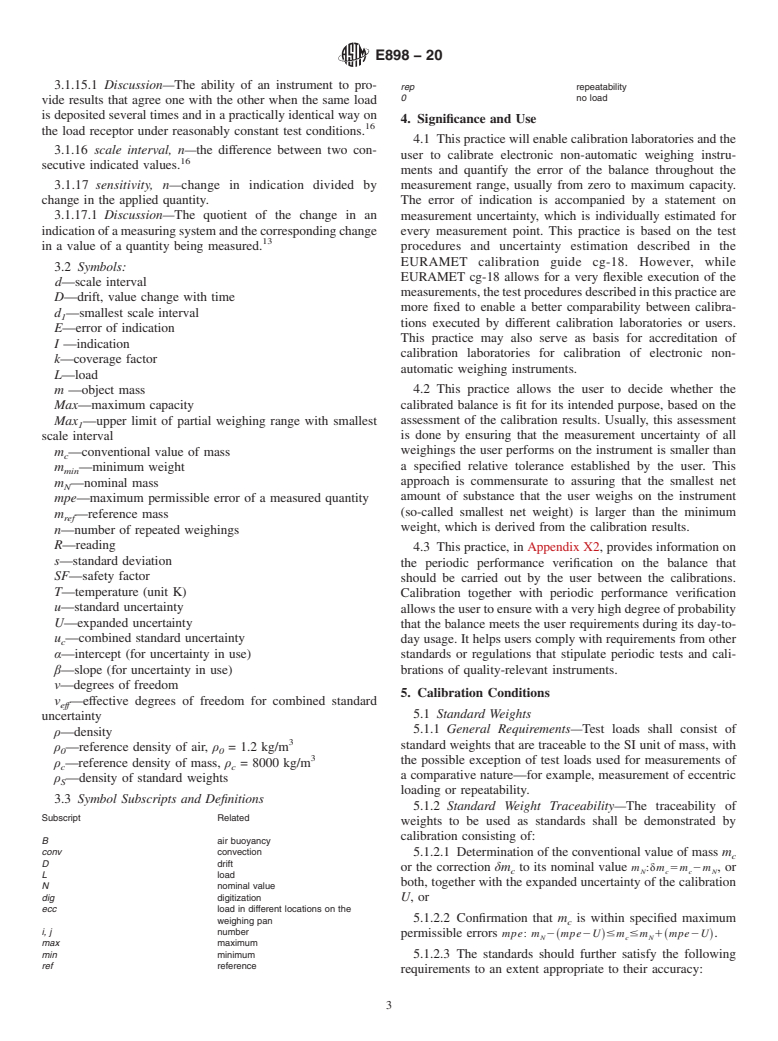
4.1 This practice will enable calibration laboratories and the user to calibrate electronic non-automatic weighing instruments and quantify the error of the balance throughout the measurement range, usually from zero to maximum capacity. The error of indication is accompanied by a statement on measurement uncertainty, which is individually estimated for every measurement point. This practice is based on the test procedures and uncertainty estimation described in the EURAMET calibration guide cg-18. However, while EURAMET cg-18 allows for a very flexible execution of the measurements, the test procedures described in this practice are more fixed to enable a better comparability between calibrations executed by different calibration laboratories or users. This practice may also serve as basis for accreditation of calibration laboratories for calibration of electronic non-automatic weighing instruments.
4.2 This practice allows the user to decide whether the calibrated balance is fit for its intended purpose, based on the assessment of the calibration results. Usually, this assessment is done by ensuring that the measurement uncertainty of all weighings the user performs on the instrument is smaller than a specified relative tolerance established by the user. This approach is commensurate to assuring that the smallest net amount of substance that the user weighs on the instrument (so-called smallest net weight) is larger than the minimum weight, which is derived from the calibration results.
4.3 This practice, in Appendix X2, provides information on the periodic performance verification on the balance that should be carried out by the user between the calibrations. Calibration together with periodic performance verification allows the user to ensure with a very high degree of probability that the balance meets the user requirements during its day-to-day usage. It helps users comply with requirements from other standards or regulations that stipulate periodic test...
SCOPE
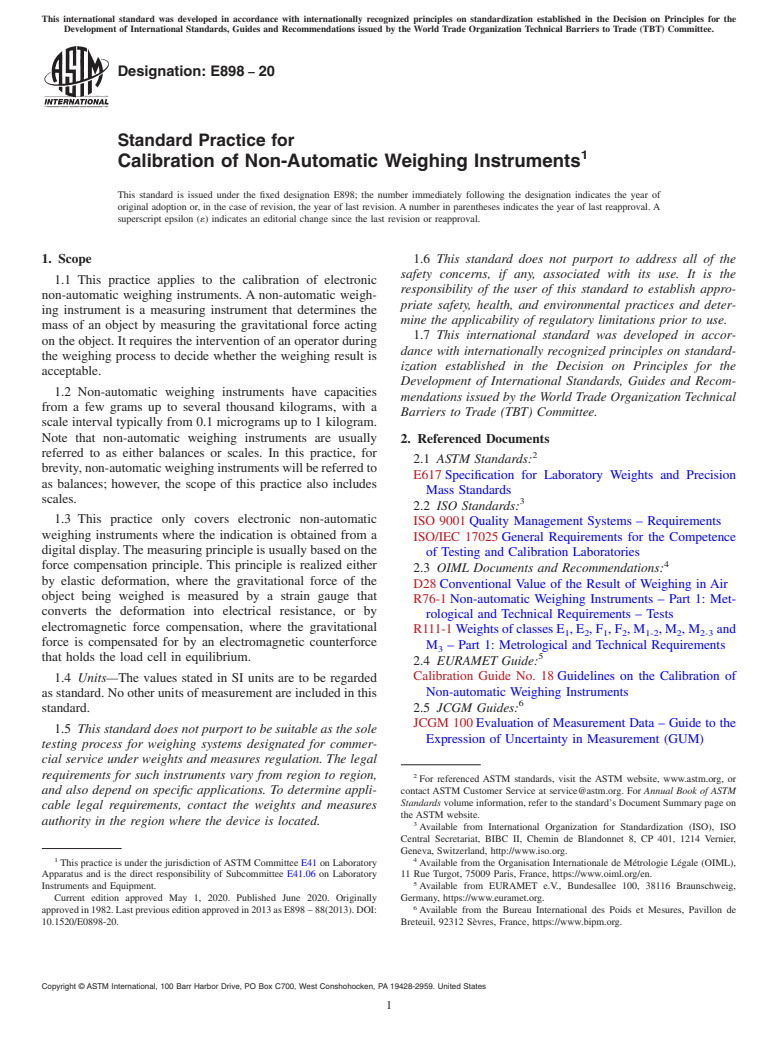
1.1 This practice applies to the calibration of electronic non-automatic weighing instruments. A non-automatic weighing instrument is a measuring instrument that determines the mass of an object by measuring the gravitational force acting on the object. It requires the intervention of an operator during the weighing process to decide whether the weighing result is acceptable.
1.2 Non-automatic weighing instruments have capacities from a few grams up to several thousand kilograms, with a scale interval typically from 0.1 micrograms up to 1 kilogram. Note that non-automatic weighing instruments are usually referred to as either balances or scales. In this practice, for brevity, non-automatic weighing instruments will be referred to as balances; however, the scope of this practice also includes scales.
1.3 This practice only covers electronic non-automatic weighing instruments where the indication is obtained from a digital display. The measuring principle is usually based on the force compensation principle. This principle is realized either by elastic deformation, where the gravitational force of the object being weighed is measured by a strain gauge that converts the deformation into electrical resistance, or by electromagnetic force compensation, where the gravitational force is compensated for by an electromagnetic counterforce that holds the load cell in equilibrium.
1.4 Units—The values stated in SI units are to be regarded as standard. No other units of measurement are included in this standard.
1.5 This standard does not purport to be suitable as the sole testing process for weighing systems designated for commercial service under weights and measures regulation. The legal requirements for such instruments vary from region to region, and also depend on specific applications. To determine applicable legal requirements, contact the weights and measures authority in the region where the device is located. ...
General Information
Relations
Buy Standard
Standards Content (Sample)
This international standard was developed in accordance with internationally recognized principles on standardization established in the Decision on Principles for the
Development of International Standards, Guides and Recommendations issued by the World Trade Organization Technical Barriers to Trade (TBT) Committee.
Designation: E898 − 20
Standard Practice for
1
Calibration of Non-Automatic Weighing Instruments
This standard is issued under the fixed designation E898; the number immediately following the designation indicates the year of
original adoption or, in the case of revision, the year of last revision. A number in parentheses indicates the year of last reapproval. A
superscript epsilon (´) indicates an editorial change since the last revision or reapproval.
1. Scope 1.6 This standard does not purport to address all of the
safety concerns, if any, associated with its use. It is the
1.1 This practice applies to the calibration of electronic
responsibility of the user of this standard to establish appro-
non-automatic weighing instruments. A non-automatic weigh-
priate safety, health, and environmental practices and deter-
ing instrument is a measuring instrument that determines the
mine the applicability of regulatory limitations prior to use.
mass of an object by measuring the gravitational force acting
1.7 This international standard was developed in accor-
on the object. It requires the intervention of an operator during
dance with internationally recognized principles on standard-
the weighing process to decide whether the weighing result is
ization established in the Decision on Principles for the
acceptable.
Development of International Standards, Guides and Recom-
1.2 Non-automatic weighing instruments have capacities
mendations issued by the World Trade Organization Technical
from a few grams up to several thousand kilograms, with a
Barriers to Trade (TBT) Committee.
scale interval typically from 0.1 micrograms up to 1 kilogram.
Note that non-automatic weighing instruments are usually
2. Referenced Documents
referred to as either balances or scales. In this practice, for 2
2.1 ASTM Standards:
brevity,non-automaticweighinginstrumentswillbereferredto
E617 Specification for Laboratory Weights and Precision
as balances; however, the scope of this practice also includes
Mass Standards
scales.
3
2.2 ISO Standards:
1.3 This practice only covers electronic non-automatic
ISO 9001 Quality Management Systems – Requirements
weighing instruments where the indication is obtained from a
ISO/IEC 17025 General Requirements for the Competence
digital display.The measuring principle is usually based on the
of Testing and Calibration Laboratories
4
force compensation principle. This principle is realized either
2.3 OIML Documents and Recommendations:
by elastic deformation, where the gravitational force of the
D28 Conventional Value of the Result of Weighing in Air
object being weighed is measured by a strain gauge that
R76-1 Non-automatic Weighing Instruments – Part 1: Met-
converts the deformation into electrical resistance, or by
rological and Technical Requirements – Tests
electromagnetic force compensation, where the gravitational
R111-1 Weights of classes E ,E ,F ,F ,M ,M ,M and
1 2 1 2 1-2 2 2-3
force is compensated for by an electromagnetic counterforce
M – Part 1: Metrological and Technical Requirements
3
5
that holds the load cell in equilibrium.
2.4 EURAMET Guide:
Calibration Guide No. 18 Guidelines on the Calibration of
1.4 Units—The values stated in SI units are to be regarded
Non-automatic Weighing Instruments
as standard. No other units of measurement are included in this
6
standard. 2.5 JCGM Guides:
JCGM 100 Evaluation of Measurement Data – Guide to the
1.5 This standard does not purport to be suitable as the sole
Expression of Uncertainty in Measurement (GUM)
testing process for weighing systems designated for commer-
cial service under weights and measures regulation. The legal
requirements for such instruments vary from region to region, 2
For referenced ASTM standards, visit the ASTM website, www.astm.org, or
contact ASTM Customer Service at service@astm.org. For Annual Book of ASTM
and also depend on specific applications. To determine appli-
Standards volume information, refer to the standard’s Document Summary page on
cable legal requirements, contact the weights and measures
the ASTM website.
authority in the region where the device is located.
3
Available from International Organization for Standardization (ISO), ISO
Central Secretariat, BIBC II, Chemin de Blandonnet 8, CP 401, 1214 Vernier,
Geneva, Switzerland, http://www.iso.org.
1 4
This practice is under the jurisdiction ofASTM Committee E41 on Laboratory Available from the Organisation Internationale de Métrologie Légale (OIML),
Apparatus and is the direct responsibility of Subcommittee E41.06 on Laboratory 11 Rue Turgot, 75009 Paris, France, https://www.oiml.org/en.
5
Instruments and Equipment. Available from EURAMET e.V., Bundesalle
...
This document is not an ASTM standard and is intended only to provide the user of an ASTM standard an indication of what changes have been made to the previous version. Because
it may not be technically possible to adequately depict all changes accurately, ASTM recommends that users consult prior editions as appropriate. In all cases only the current version
of the standard as published by ASTM is to be considered the official document.
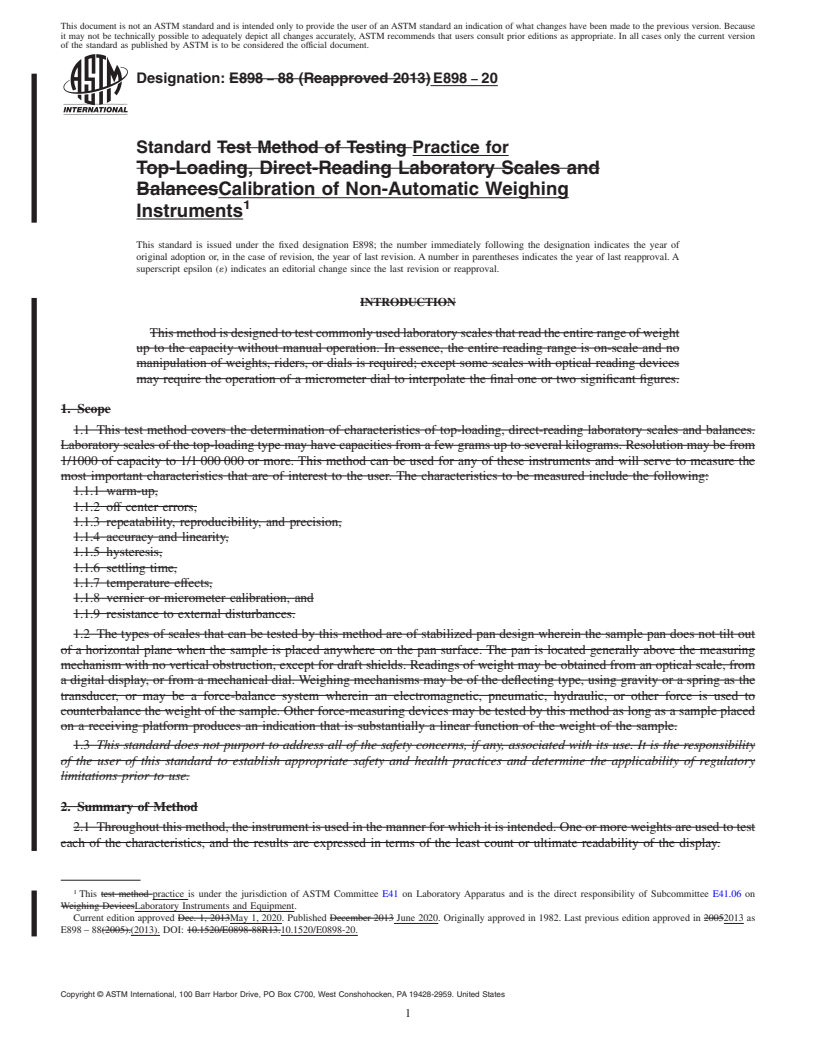
Designation: E898 − 88 (Reapproved 2013) E898 − 20
Standard Test Method of Testing Practice for
Top-Loading, Direct-Reading Laboratory Scales and
BalancesCalibration of Non-Automatic Weighing
1
Instruments
This standard is issued under the fixed designation E898; the number immediately following the designation indicates the year of
original adoption or, in the case of revision, the year of last revision. A number in parentheses indicates the year of last reapproval. A
superscript epsilon (´) indicates an editorial change since the last revision or reapproval.
INTRODUCTION
This method is designed to test commonly used laboratory scales that read the entire range of weight
up to the capacity without manual operation. In essence, the entire reading range is on-scale and no
manipulation of weights, riders, or dials is required; except some scales with optical reading devices
may require the operation of a micrometer dial to interpolate the final one or two significant figures.
1. Scope
1.1 This test method covers the determination of characteristics of top-loading, direct-reading laboratory scales and balances.
Laboratory scales of the top-loading type may have capacities from a few grams up to several kilograms. Resolution may be from
1/1000 of capacity to 1/1 000 000 or more. This method can be used for any of these instruments and will serve to measure the
most important characteristics that are of interest to the user. The characteristics to be measured include the following:
1.1.1 warm-up,
1.1.2 off center errors,
1.1.3 repeatability, reproducibility, and precision,
1.1.4 accuracy and linearity,
1.1.5 hysteresis,
1.1.6 settling time,
1.1.7 temperature effects,
1.1.8 vernier or micrometer calibration, and
1.1.9 resistance to external disturbances.
1.2 The types of scales that can be tested by this method are of stabilized pan design wherein the sample pan does not tilt out
of a horizontal plane when the sample is placed anywhere on the pan surface. The pan is located generally above the measuring
mechanism with no vertical obstruction, except for draft shields. Readings of weight may be obtained from an optical scale, from
a digital display, or from a mechanical dial. Weighing mechanisms may be of the deflecting type, using gravity or a spring as the
transducer, or may be a force-balance system wherein an electromagnetic, pneumatic, hydraulic, or other force is used to
counterbalance the weight of the sample. Other force-measuring devices may be tested by this method as long as a sample placed
on a receiving platform produces an indication that is substantially a linear function of the weight of the sample.
1.3 This standard does not purport to address all of the safety concerns, if any, associated with its use. It is the responsibility
of the user of this standard to establish appropriate safety and health practices and determine the applicability of regulatory
limitations prior to use.
2. Summary of Method
2.1 Throughout this method, the instrument is used in the manner for which it is intended. One or more weights are used to test
each of the characteristics, and the results are expressed in terms of the least count or ultimate readability of the display.
1
This test method practice is under the jurisdiction of ASTM Committee E41 on Laboratory Apparatus and is the direct responsibility of Subcommittee E41.06 on
Weighing DevicesLaboratory Instruments and Equipment.
Current edition approved Dec. 1, 2013May 1, 2020. Published December 2013 June 2020. Originally approved in 1982. Last previous edition approved in 20052013 as
E898 – 88(2005).(2013). DOI: 10.1520/E0898-88R13.10.1520/E0898-20.
Copyright © ASTM International, 100 Barr Harbor Drive, PO Box C700, West Conshohocken, PA 19428-2959. United States
1
---------------------- Page: 1 ----------------------
E898 − 20
3. Terminology
2
3.1 Definitions of Terms Specific to This Standard:
3.1.1 accuracy—the degree of agreement of the measurement with the true value of the quantity measured.
3.1.2 capacity—the maximum weight load specified by the manufacturer. In most instruments, the maximum possible reading
will exceed the capacity by a small amount.
3.1.3 full-scale calibration—the indicated reading when a standard weight equal to the full scale indication of the scale is placed
on the sample pan after the device has been correctly zeroed. Usually some means is provided by the manufacturer to adjust the
full scale indication to match the weight of the standard.
3.1.4 linearity—the degree to which a graph of weight values indica
...


Questions, Comments and Discussion
Ask us and Technical Secretary will try to provide an answer. You can facilitate discussion about the standard in here.