ASTM E112-96e1
(Test Method)Standard Test Methods for Determining Average Grain Size
Standard Test Methods for Determining Average Grain Size
SCOPE
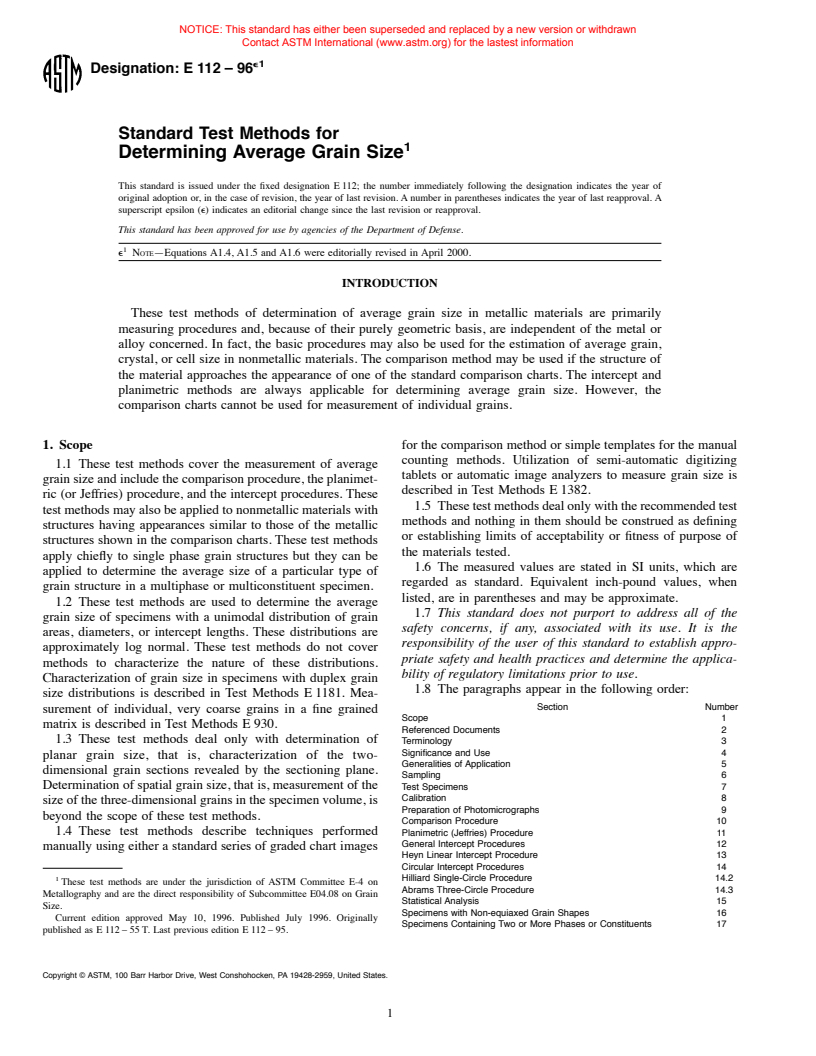
1.1 These test methods cover the measurement of average grain size and include the comparison procedure, the planimetric (or Jeffries) procedure, and the intercept procedures. These test methods may also be applied to nonmetallic materials with structures having appearances similar to those of the metallic structures shown in the comparison charts. These test methods apply chiefly to single phase grain structures but they can be applied to determine the average size of a particular type of grain structure in a multiphase or multiconstituent specimen.
1.2 These test methods are used to determine the average grain size of specimens with a unimodal distribution of grain areas, diameters, or intercept lengths. These distributions are approximately log normal. These test methods do not cover methods to characterize the nature of these distributions. Characterization of grain size in specimens with duplex grain size distributions is described in Test Methods E1181. Measurement of individual, very coarse grains in a fine grained matrix is described in Test Methods E930.
1.3 These test methods deal only with determination of planar grain size, that is, characterization of the two-dimensional grain sections revealed by the sectioning plane. Determination of spatial grain size, that is, measurement of the size of the three-dimensional grains in the specimen volume, is beyond the scope of these test methods.
1.4 These test methods describe techniques performed manually using either a standard series of graded chart images for the comparison method or simple templates for the manual counting methods. Utilization of semi-automatic digitizing tablets or automatic image analyzers to measure grain size is described in Test Methods E1382.
1.5 These test methods deal only with the recommended test methods and nothing in them should be construed as defining or establishing limits of acceptability or fitness of purpose of the materials tested.
1.6 The measured values are stated in SI units, which are regarded as standard. Equivalent inch-pound values, when listed, are in parentheses and may be approximate.
1.7 This standard does not purport to address all of the safety concerns, if any, associated with its use. It is the responsibility of the user of this standard to establish appropriate safety and health practices and determine the applicability of regulatory limitations prior to use.
General Information
Relations
Standards Content (Sample)
NOTICE: This standard has either been superseded and replaced by a new version or withdrawn
Contact ASTM International (www.astm.org) for the lastest information
e1
Designation:E112–96
Standard Test Methods for
1
Determining Average Grain Size
This standard is issued under the fixed designation E112; the number immediately following the designation indicates the year of
original adoption or, in the case of revision, the year of last revision.Anumber in parentheses indicates the year of last reapproval.A
superscript epsilon (e) indicates an editorial change since the last revision or reapproval.
This standard has been approved for use by agencies of the Department of Defense.
1
e NOTE—Equations A1.4, A1.5 and A1.6 were editorially revised in April 2000.
INTRODUCTION
These test methods of determination of average grain size in metallic materials are primarily
measuring procedures and, because of their purely geometric basis, are independent of the metal or
alloy concerned. In fact, the basic procedures may also be used for the estimation of average grain,
crystal, or cell size in nonmetallic materials. The comparison method may be used if the structure of
the material approaches the appearance of one of the standard comparison charts. The intercept and
planimetric methods are always applicable for determining average grain size. However, the
comparison charts cannot be used for measurement of individual grains.
1. Scope for the comparison method or simple templates for the manual
counting methods. Utilization of semi-automatic digitizing
1.1 These test methods cover the measurement of average
tablets or automatic image analyzers to measure grain size is
grainsizeandincludethecomparisonprocedure,theplanimet-
described in Test Methods E1382.
ric (or Jeffries) procedure, and the intercept procedures. These
1.5 Thesetestmethodsdealonlywiththerecommendedtest
testmethodsmayalsobeappliedtononmetallicmaterialswith
methods and nothing in them should be construed as defining
structures having appearances similar to those of the metallic
or establishing limits of acceptability or fitness of purpose of
structures shown in the comparison charts. These test methods
the materials tested.
apply chiefly to single phase grain structures but they can be
1.6 The measured values are stated in SI units, which are
applied to determine the average size of a particular type of
regarded as standard. Equivalent inch-pound values, when
grain structure in a multiphase or multiconstituent specimen.
listed, are in parentheses and may be approximate.
1.2 These test methods are used to determine the average
1.7 This standard does not purport to address all of the
grain size of specimens with a unimodal distribution of grain
safety concerns, if any, associated with its use. It is the
areas, diameters, or intercept lengths. These distributions are
responsibility of the user of this standard to establish appro-
approximately log normal. These test methods do not cover
priate safety and health practices and determine the applica-
methods to characterize the nature of these distributions.
bility of regulatory limitations prior to use.
Characterization of grain size in specimens with duplex grain
1.8 The paragraphs appear in the following order:
size distributions is described in Test Methods E1181. Mea-
Section Number
surement of individual, very coarse grains in a fine grained
Scope 1
matrix is described in Test Methods E930.
Referenced Documents 2
1.3 These test methods deal only with determination of
Terminology 3
Significance and Use 4
planar grain size, that is, characterization of the two-
Generalities ofApplication 5
dimensional grain sections revealed by the sectioning plane.
Sampling 6
Determinationofspatialgrainsize,thatis,measurementofthe
Test Specimens 7
Calibration 8
sizeofthethree-dimensionalgrainsinthespecimenvolume,is
Preparation of Photomicrographs 9
beyond the scope of these test methods.
Comparison Procedure 10
1.4 These test methods describe techniques performed Planimetric (Jeffries) Procedure 11
General Intercept Procedures 12
manually using either a standard series of graded chart images
Heyn Linear Intercept Procedure 13
Circular Intercept Procedures 14
1 Hilliard Single-Circle Procedure 14.2
These test methods are under the jurisdiction of ASTM Committee E-4 on
Abrams Three-Circle Procedure 14.3
Metallography and are the direct responsibility of Subcommittee E04.08 on Grain
StatisticalAnalysis 15
Size.
Specimens with Non-equiaxed Grain Shapes 16
Current edition approved May 10, 1996. Published July 1996. Originally
Specimens Containing Two or More Phases or Constituents 17
published as E112–55T. Last previous edition E112–95.
Copyright ©ASTM, 100 Barr Harbor Drive, West Conshohocken, PA19428-2959, United States.
1
---------------------- Page: 1 ----------------------
E112
grain boundaries (triple point intersections are considered as
Report 18
Precision and Bias 19 1
1- ⁄2 intersections).
Keywords 20
Annexes: 3.2.4 graini
...


Questions, Comments and Discussion
Ask us and Technical Secretary will try to provide an answer. You can facilitate discussion about the standard in here.