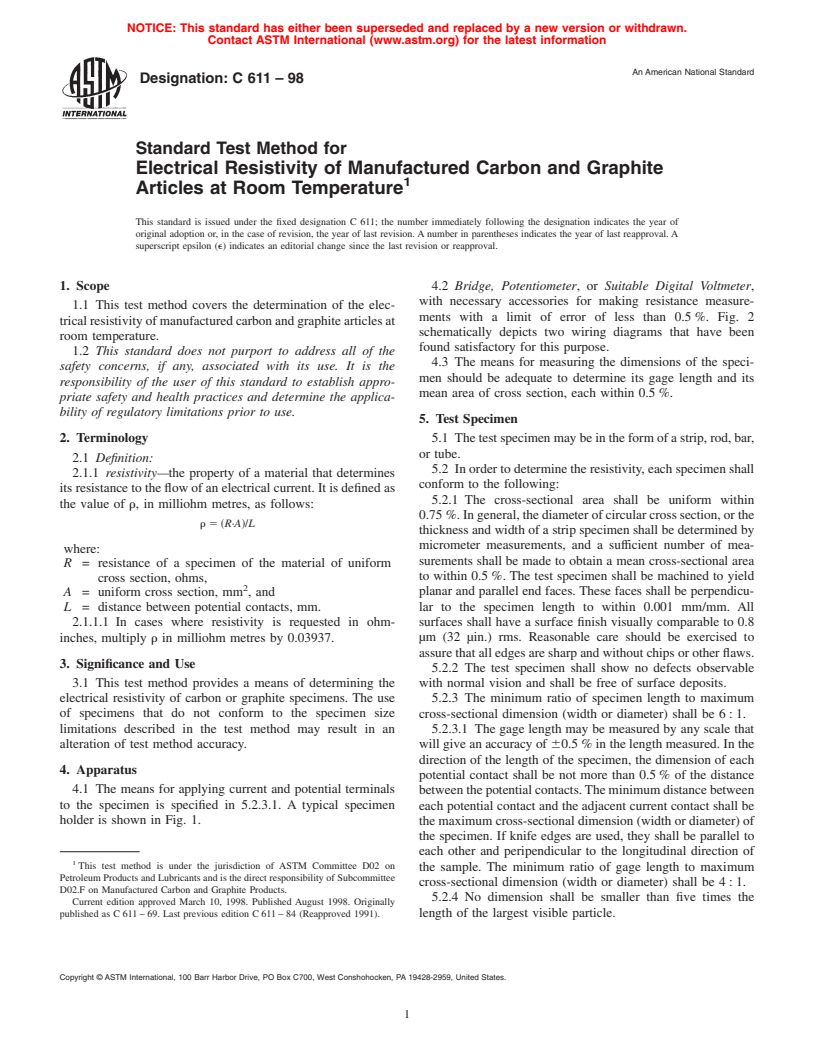
ASTM C611-98
(Test Method)Standard Test Method for Electrical Resistivity of Manufactured Carbon and Graphite Articles at Room Temperature
Standard Test Method for Electrical Resistivity of Manufactured Carbon and Graphite Articles at Room Temperature
SCOPE
1.1 This test method covers the determination of the electrical resistivity of manufactured carbon and graphite articles at room temperature.
1.2 This standard may involve hazardous materials, operations, and equipment. This standard does not purport to address all of the safety problems associated with its use. It is the responsibility of the user of this standard to establish appropriate safety and health practices and determine the applicability of regulatory limitations prior to use.
General Information
Relations
Standards Content (Sample)
NOTICE: This standard has either been superseded and replaced by a new version or withdrawn.
Contact ASTM International (www.astm.org) for the latest information
AnAmerican National Standard
Designation:C 611–98
Standard Test Method for
Electrical Resistivity of Manufactured Carbon and Graphite
Articles at Room Temperature
This standard is issued under the fixed designation C 611; the number immediately following the designation indicates the year of
original adoption or, in the case of revision, the year of last revision. A number in parentheses indicates the year of last reapproval. A
superscript epsilon (e) indicates an editorial change since the last revision or reapproval.
1. Scope 4.2 Bridge, Potentiometer,or Suitable Digital Voltmeter,
with necessary accessories for making resistance measure-
1.1 This test method covers the determination of the elec-
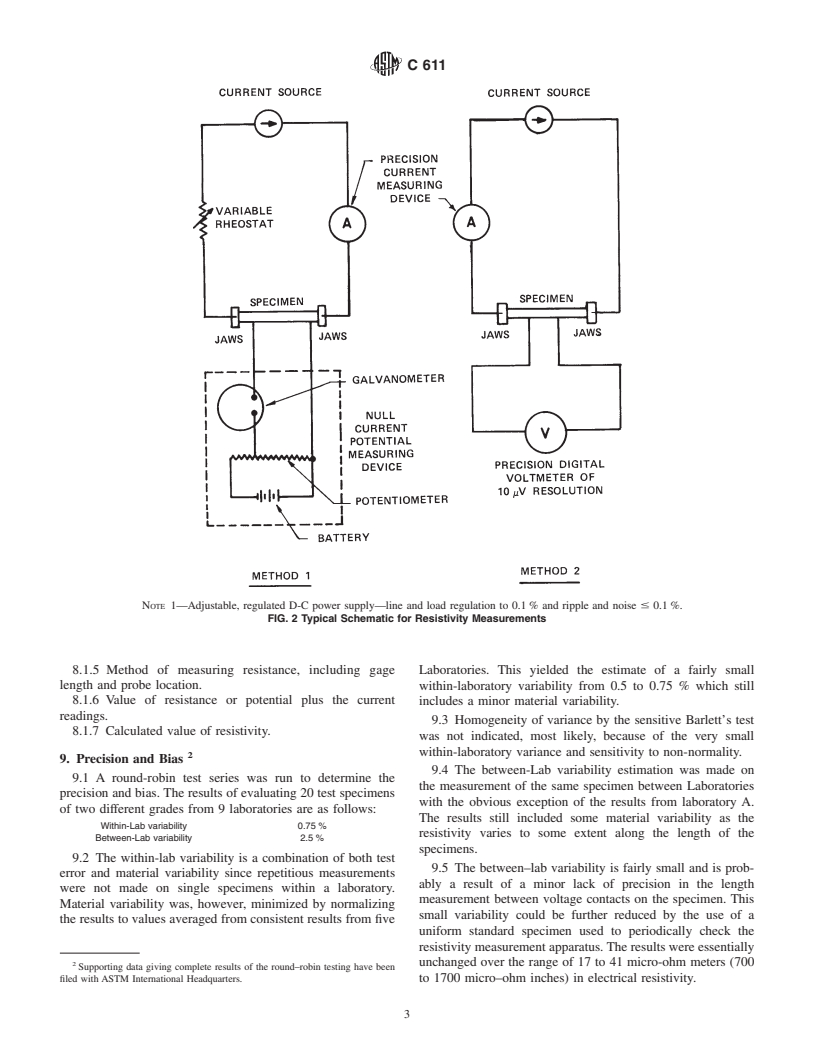
ments with a limit of error of less than 0.5 %. Fig. 2
tricalresistivityofmanufacturedcarbonandgraphitearticlesat
schematically depicts two wiring diagrams that have been
room temperature.
found satisfactory for this purpose.
1.2 This standard does not purport to address all of the
4.3 The means for measuring the dimensions of the speci-
safety concerns, if any, associated with its use. It is the
men should be adequate to determine its gage length and its
responsibility of the user of this standard to establish appro-
mean area of cross section, each within 0.5 %.
priate safety and health practices and determine the applica-
bility of regulatory limitations prior to use.
5. Test Specimen
2. Terminology 5.1 Thetestspecimenmaybeintheformofastrip,rod,bar,
or tube.
2.1 Definition:
5.2 In order to determine the resistivity, each specimen shall
2.1.1 resistivity—the property of a material that determines
conform to the following:
its resistance to the flow of an electrical current. It is defined as
5.2.1 The cross-sectional area shall be uniform within
the value of r, in milliohm metres, as follows:
0.75 %.Ingeneral,thediameterofcircularcrosssection,orthe
r5 ~R·A!/L
thickness and width of a strip specimen shall be determined by
micrometer measurements, and a sufficient number of mea-
where:
surements shall be made to obtain a mean cross-sectional area
R = resistance of a specimen of the material of uniform
to within 0.5 %. The test specimen shall be machined to yield
cross section, ohms,
planar and parallel end faces. These faces shall be perpendicu-
A = uniform cross section, mm , and
lar to the specimen length to within 0.001 mm/mm. All
L = distance between potential contacts, mm.
2.1.1.1 In cases where resistivity is requested in ohm- surfaces shall have a surface finish visually comparable to 0.8
µm (32 µin.) rms. Reasonable care should be exercised to
inches, multiply r in milliohm metres by 0.03937.
assure that all edges are sharp and without chips or other flaws.
3. Significance and Use
5.2.2 The test specimen shall show no defects observable
3.1 This test method provides a means of determining the with normal vision and shall be free of surface deposits.
electrical resistivity of carbon or graphite specimens. The use 5.2.3 The minimum ratio of specimen length to maximum
of specimens that do not conform to the specimen size cross-sectional dimension (width or diameter) shall be 6 : 1.
limitations described in the test method may result in an 5.2.3.1 The gage length may be measured by any scale that
alteration of test method accuracy. will give an accuracy of 60.5 % in the length measured. In the
direction of the length of the specimen, the dimension of each
4. Apparatus
potential contact shall be not more than 0.5 % of the distance
4.1 The means for applying current and potential terminals
betweenthepotentialcontacts.Theminimumdistancebetween
to the specimen is specified in 5.2.3.1. A typical specimen
each potential contact and the adjacent current contact shall be
holder is shown in Fig. 1.
the maximum cross-sectional dimension (width or diameter) of
the specimen. If knife edges are used, they shall be parallel to
each other and peripendicular to the longitudinal direction of
This test method is under the jurisdiction of ASTM Committee D02 on
the sample. The minimum ratio of gage length to maximum
Petroleum Products and Lubricants and is the direct responsibility of Subcommittee
cross-sectional dimension (width or diameter) shall be 4 : 1.
D02.F on Manufactured Carbon and Graphite Products.
5.2.4 No dimension shall be smaller than five times the
Current edition approved March 10, 1998. Published August 1998. Originally
published as C 611 – 69. Last previous edition C 611 – 84 (Reapproved 1991). length of the largest visible particle.
Copyright ©ASTM International, 100 Barr Harbor Drive, PO Box C700, West Conshohocken, PA19428-2959, United States.
C611
1—Base block 12—Wire gauze holder
2—Pivot block 13—Pivot red
3—Current block adjustable 14—Screw: sockethead
4—Current block stationary 15—Roundhead screw
5—Clamp block 16—Roundhead screw
6—Clamp screw 17—Roundhead screw
7—Brush holder 18—Screw, sockethead
8—Contacts 19—Set screw
9—Current block support 20—Neoprene
10—Current block guide 21—Wire gauze
11—Pivot bracket 22—Set screw
NOTE 1—Contacts for the voltage and current probes may be made through channels drilled in the brush holders (7) and the current blocks (3 and 4),
respectively.
FIG. 1 Typical Test Apparatus
5.2.5 No joints or splices are permissible, unless this is the to minimize errors due to contact potential and forward and
variable under study. reverse currents. Average all individual values of measured
resistance and use this value to calculate the resistivity.
6. Conditioning
7.2 Heating of Specimen—In all resistance measurements,
the measuring current raises the temperature of the specimen
6.1 The specimen shall be dried for a minimum of2hat
above that of the surrounding medium. Therefore, take care to
110°C, cooled to room temperature in a desiccator, and stored
keep the magnitude of the current low, and the time short
in a desiccator until tested.
eno
...


Questions, Comments and Discussion
Ask us and Technical Secretary will try to provide an answer. You can facilitate discussion about the standard in here.