ASTM F762-94(2000)e1
(Test Method)Standard Test Method for Determining Change in Groove (or Void) Depth With Distance Traveled for Passenger Car Tires
Standard Test Method for Determining Change in Groove (or Void) Depth With Distance Traveled for Passenger Car Tires
SIGNIFICANCE AND USE
The test data obtained with this test method may be used to compare the performance of various tires for the conditions under which they were tested.
This test method is suitable for a variety of quality assurance, research, and development purposes, when tires are to be compared during a single series of tests. The procedure described may not be suitable for regulatory statutes or specification acceptance because the values obtained may not agree, or correlate either in rank order or absolute tread wear performance level, with values obtained on other road surfaces, or on the same surface after additional wear, under other environmental conditions, on other test vehicles, or with results obtained by other test procedures.
SCOPE
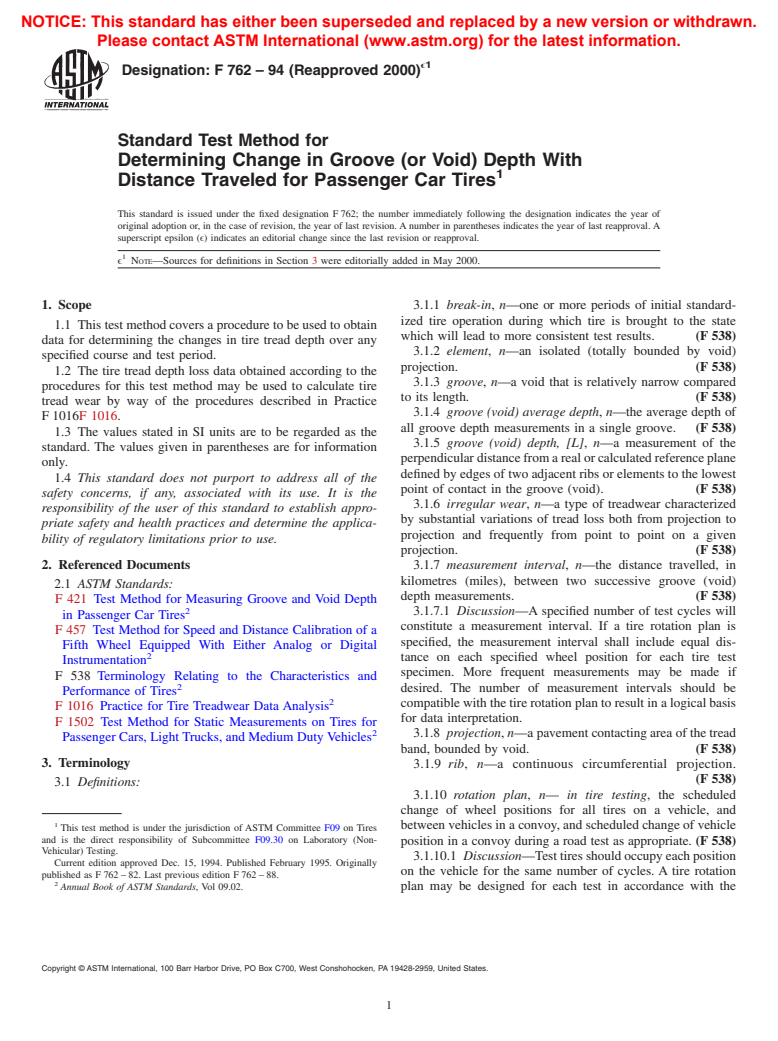
1.1 This test method covers a procedure to be used to obtain data for determining the changes in tire tread depth over any specified course and test period.
1.2 The tire tread depth loss data obtained according to the procedures for this test method may be used to calculate tire tread wear by way of the procedures described in Practice F1016.
1.3 The values stated in SI units are to be regarded as the standard. The values given in parentheses are for information only.
1.4 This standard does not purport to address all of the safety concerns, if any, associated with its use. It is the responsibility of the user of this standard to establish appropriate safety and health practices and determine the applicability of regulatory limitations prior to use.
General Information
Relations
Standards Content (Sample)
NOTICE: This standard has either been superseded and replaced by a new version or withdrawn.
Please contact ASTM International (www.astm.org) for the latest information.
ϵ1
Designation:F762–94 (Reapproved 2000)
Standard Test Method for
Determining Change in Groove (or Void) Depth With
Distance Traveled for Passenger Car Tires
This standard is issued under the fixed designation F762; the number immediately following the designation indicates the year of
original adoption or, in the case of revision, the year of last revision.Anumber in parentheses indicates the year of last reapproval.A
superscript epsilon (ϵ) indicates an editorial change since the last revision or reapproval.
ϵ NOTE—Sources for definitions in Section 3 were editorially added in May 2000.
1. Scope 3.1.1 break-in, n—one or more periods of initial standard-
ized tire operation during which tire is brought to the state
1.1 Thistestmethodcoversaproceduretobeusedtoobtain
which will lead to more consistent test results. (F 538)
data for determining the changes in tire tread depth over any
3.1.2 element, n—an isolated (totally bounded by void)
specified course and test period.
projection. (F 538)
1.2 The tire tread depth loss data obtained according to the
3.1.3 groove, n—a void that is relatively narrow compared
procedures for this test method may be used to calculate tire
to its length. (F 538)
tread wear by way of the procedures described in Practice
3.1.4 groove (void) average depth, n—the average depth of
F1016F 1016.
all groove depth measurements in a single groove. (F 538)
1.3 The values stated in SI units are to be regarded as the
3.1.5 groove (void) depth, [L], n—a measurement of the
standard. The values given in parentheses are for information
perpendiculardistancefromarealorcalculatedreferenceplane
only.
definedbyedgesoftwoadjacentribsorelementstothelowest
1.4 This standard does not purport to address all of the
point of contact in the groove (void). (F 538)
safety concerns, if any, associated with its use. It is the
3.1.6 irregular wear, n—a type of treadwear characterized
responsibility of the user of this standard to establish appro-
by substantial variations of tread loss both from projection to
priate safety and health practices and determine the applica-
projection and frequently from point to point on a given
bility of regulatory limitations prior to use.
projection. (F 538)
2. Referenced Documents 3.1.7 measurement interval, n—the distance travelled, in
kilometres (miles), between two successive groove (void)
2.1 ASTM Standards:
depth measurements. (F 538)
F 421 Test Method for Measuring Groove and Void Depth
3.1.7.1 Discussion—A specified number of test cycles will
in Passenger Car Tires
constitute a measurement interval. If a tire rotation plan is
F 457 Test Method for Speed and Distance Calibration of a
specified, the measurement interval shall include equal dis-
Fifth Wheel Equipped With Either Analog or Digital
tance on each specified wheel position for each tire test
Instrumentation
specimen. More frequent measurements may be made if
F 538 Terminology Relating to the Characteristics and
desired. The number of measurement intervals should be
Performance of Tires
compatiblewiththetirerotationplantoresultinalogicalbasis
F 1016 Practice for Tire Treadwear Data Analysis
for data interpretation.
F 1502 Test Method for Static Measurements on Tires for
3.1.8 projection, n—apavementcontactingareaofthetread
Passenger Cars, LightTrucks, and Medium DutyVehicles
band, bounded by void. (F 538)
3. Terminology
3.1.9 rib, n—a continuous circumferential projection.
(F 538)
3.1 Definitions:
3.1.10 rotation plan, n— in tire testing, the scheduled
change of wheel positions for all tires on a vehicle, and
betweenvehiclesinaconvoy,andscheduledchangeofvehicle
This test method is under the jurisdiction of ASTM Committee F09 on Tires
and is the direct responsibility of Subcommittee F09.30 on Laboratory (Non-
position in a convoy during a road test as appropriate. (F 538)
Vehicular) Testing.
3.1.10.1 Discussion—Testtiresshouldoccupyeachposition
Current edition approved Dec. 15, 1994. Published February 1995. Originally
on the vehicle for the same number of cycles. A tire rotation
published as F762–82. Last previous edition F762–88.
Annual Book of ASTM Standards, Vol 09.02. plan may be designed for each test in accordance with the
Copyright © ASTM International, 100 Barr Harbor Drive, PO Box C700, West Conshohocken, PA 19428-2959, United States.
NOTICE: This standard has either been superseded and replaced by a new version or withdrawn.
Please contact ASTM International (www.astm.org) for the latest information.
ϵ1
F762–94 (2000)
requirement of the test program. 7.5 Vehicle Wheel Alignment Equipment (front wheel and,
3.1.11 test cycle, n—in tire testing, one complete circuit of where applicable, rear wheel).
the specified test course. (F 538) 7.6 Tire Pressure Gage.
3.1.12 tread depth average, n— in a single tire, the average 7.7 Groove (or Void) Measurement Device (Depth Gage)
of all tire groove (void) depth measurements. meeting the specifications of the American Gage Design
3.1.13 void, n—a volume (in the tread band) defined by the Committee and Test Method F421F 421.
lack of rubber; the depth dimension of the volume may vary 7.8 Tread Hardness Gage.
from point to point in (on) the tread band. (F 538)
8. Test Course
4. Summary of Test Method
8.1 Thetestcourseisanynetworkofpublicorprivateroads,
4.1 The tire test procedure is carried out by repeatedly orboth.Aspeedscheduleshallbedefinedaswellasreasonable
driving one or more test vehicles over a specified test course. number of defined and scheduled stops and starts.
All tires on each test vehicle are of the same tire size
9. Safety Precautions
designation: duplicate tires are mounted on each axle. A
break-in period prior to the measurement program is optional.
9.1 All normal traffic safety precautions must be observed
The tires may be rotated among wheel positions after comple-
and appropriate vehicle spacing maintained. Posted and proce-
tion of a specified number of runs over the test course. Drivers
duralspeedlimitsmustbeobserved.Vehiclespacingshouldbe
maintain the same position in the convoy; the vehicle’s
at least one car length for each 16 km/h (10 mph) speed plus
position in the convoy is rotated uniformly.
three car lengths.
4.2 The test consists of a predetermined number of road
9.2 All safety related mechanical and electrical systems of
testing cycles. Groove (void) depth measurements are made
the vehicle must be in good operating condition for the test.
after completion of a specified number of test cycles.
9.3 Refer to RMA Demounting and Mounting Procedures
4.3 The wear rate may by calculated in a number of ways
for Automobile Tires for additional safety warnings.
(see Practice F1016F 1016).
10. Sampling
5. Significance and Use
10.1 A sample is set of n sampling units obtained from the
5.1 Thetestdataobtainedwiththistestmethodmaybeused
populationbeingsampled.Forexample,thepopulationmaybe
to compare the performance of various tires for the conditions
aportionofadealer’sstockorasinglelotfromamanufacturer.
under which they were tested.
10.2 A sampling unit is a minimum of two duplicate tires.
5.2 This test method is suitable for a variety of quality
10.3 The test specimen is a single tire of a sampling unit.
assurance, research, and development purposes, when tires are
to be compared during a single series of tests. The procedure
11. Selection and Preparation of Test Tires
described may not be suitable for regulatory statutes or
11.1 All test tires shall be approximately the same age and
specification acceptance because the values obtained may not
shallhavebeenstoredunderthesameconditions(unlessageor
agree, or correlate either in rank order or absolute tread wear
storage effects are the factors being studied).
performance level, with values obtained on other road sur-
11.2 Mount test tires on rims in compliance with T&RAor
faces, or on the same surface after additional wear, under other
other standard tire and rim organizing bodies using conven-
environmental conditions, on other test vehicles, or with results
tional mounting procedure approved by RMA.
obtained by other test procedures.
11.2.1 Inflatethetireatambienttemperaturetothespecified
test pressure, which shall not exceed the maximum inflation
6. Interferences
pressure molded on the tire, unless the experiment requires it,
6.1 Veh
...


Questions, Comments and Discussion
Ask us and Technical Secretary will try to provide an answer. You can facilitate discussion about the standard in here.