ASTM F762/F762M-08
(Test Method)Standard Test Method for Determining Change in Groove (or Void) Depth With Distance Traveled for Passenger Car Tires
Standard Test Method for Determining Change in Groove (or Void) Depth With Distance Traveled for Passenger Car Tires
SIGNIFICANCE AND USE
The test data obtained with this test method may be used to compare the performance of various tires for the conditions under which they were tested.
This test method is suitable for a variety of quality assurance, research, and development purposes, when tires are to be compared during a single series of tests. The procedure described may not be suitable for regulatory statutes or specification acceptance because the values obtained may not agree, or correlate either in rank order or absolute tread wear performance level, with values obtained on other road surfaces, or on the same surface after additional wear, under other environmental conditions, on other test vehicles, or with results obtained by other test procedures.
SCOPE
1.1 This test method covers a procedure to be used to obtain data for determining the changes in tire tread depth over any specified course and test period.
1.2 The tire tread depth loss data obtained according to the procedures for this test method may be used to calculate tire tread wear by way of the procedures described in Practice F 1016.
1.3 The values stated in either SI units or inch-pound units are to be regarded separately as standard. The values stated in each system may not be exact equivalents; therefore, each system shall be used independently of the other. Combining values from the two systems may result in non-conformance with the standard.
1.4 This standard does not purport to address all of the safety concerns, if any, associated with its use. It is the responsibility of the user of this standard to establish appropriate safety and health practices and determine the applicability of regulatory limitations prior to use.
General Information
Relations
Buy Standard
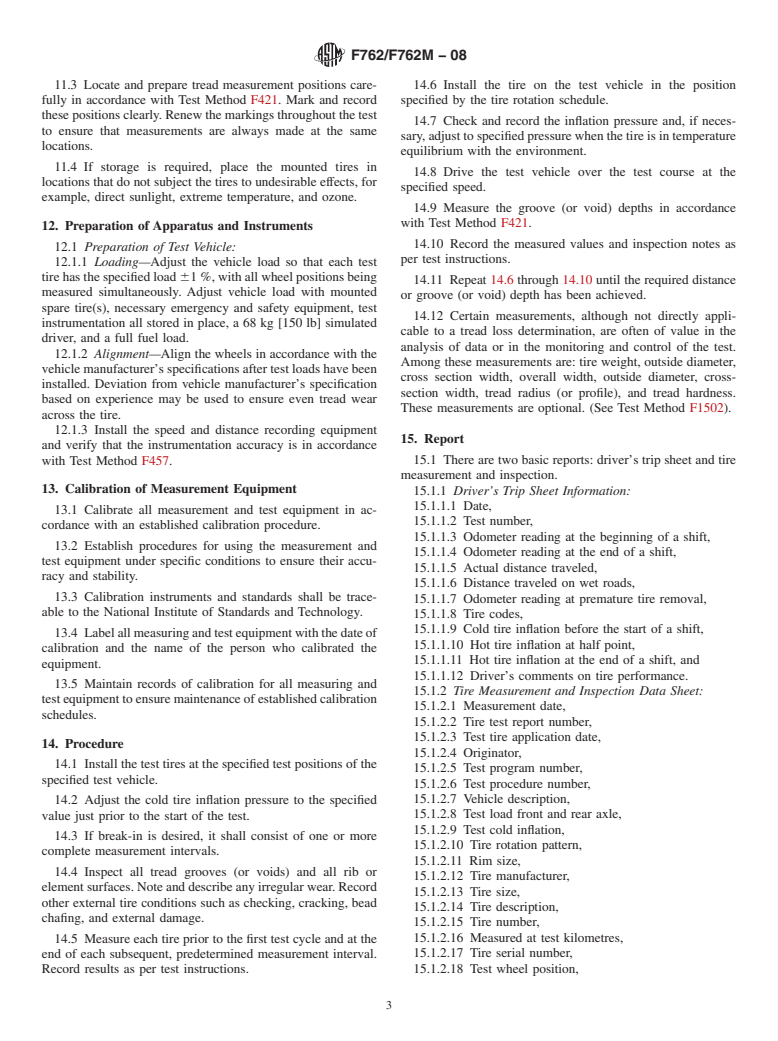
Standards Content (Sample)
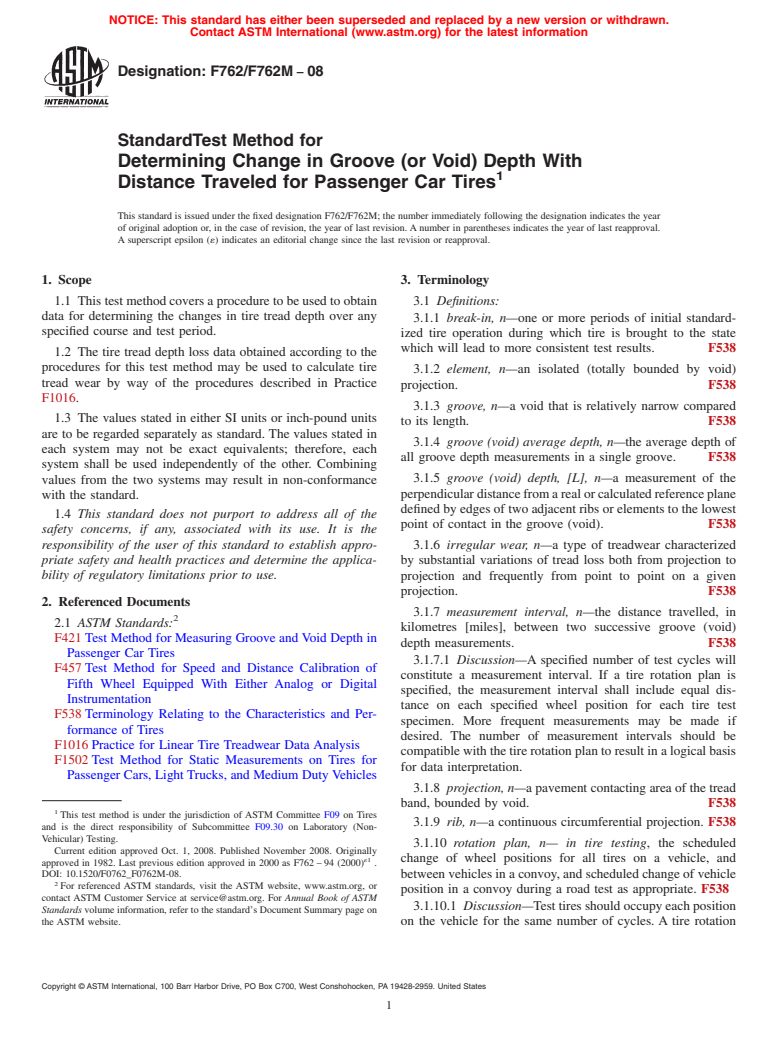
NOTICE: This standard has either been superseded and replaced by a new version or withdrawn.
Contact ASTM International (www.astm.org) for the latest information
Designation: F762/F762M − 08
StandardTest Method for
Determining Change in Groove (or Void) Depth With
1
Distance Traveled for Passenger Car Tires
This standard is issued under the fixed designation F762/F762M; the number immediately following the designation indicates the year
of original adoption or, in the case of revision, the year of last revision.Anumber in parentheses indicates the year of last reapproval.
A superscript epsilon (´) indicates an editorial change since the last revision or reapproval.
1. Scope 3. Terminology
1.1 Thistestmethodcoversaproceduretobeusedtoobtain 3.1 Definitions:
data for determining the changes in tire tread depth over any
3.1.1 break-in, n—one or more periods of initial standard-
specified course and test period.
ized tire operation during which tire is brought to the state
which will lead to more consistent test results. F538
1.2 The tire tread depth loss data obtained according to the
procedures for this test method may be used to calculate tire
3.1.2 element, n—an isolated (totally bounded by void)
tread wear by way of the procedures described in Practice
projection. F538
F1016.
3.1.3 groove, n—a void that is relatively narrow compared
1.3 The values stated in either SI units or inch-pound units
to its length. F538
are to be regarded separately as standard. The values stated in
3.1.4 groove (void) average depth, n—the average depth of
each system may not be exact equivalents; therefore, each
all groove depth measurements in a single groove. F538
system shall be used independently of the other. Combining
3.1.5 groove (void) depth, [L], n—a measurement of the
values from the two systems may result in non-conformance
perpendiculardistancefromarealorcalculatedreferenceplane
with the standard.
definedbyedgesoftwoadjacentribsorelementstothelowest
1.4 This standard does not purport to address all of the
point of contact in the groove (void). F538
safety concerns, if any, associated with its use. It is the
responsibility of the user of this standard to establish appro- 3.1.6 irregular wear, n—a type of treadwear characterized
priate safety and health practices and determine the applica- by substantial variations of tread loss both from projection to
bility of regulatory limitations prior to use. projection and frequently from point to point on a given
projection. F538
2. Referenced Documents
3.1.7 measurement interval, n—the distance travelled, in
2
2.1 ASTM Standards:
kilometres [miles], between two successive groove (void)
F421Test Method for Measuring Groove andVoid Depth in
depth measurements. F538
Passenger Car Tires
3.1.7.1 Discussion—A specified number of test cycles will
F457Test Method for Speed and Distance Calibration of
constitute a measurement interval. If a tire rotation plan is
Fifth Wheel Equipped With Either Analog or Digital
specified, the measurement interval shall include equal dis-
Instrumentation
tance on each specified wheel position for each tire test
F538Terminology Relating to the Characteristics and Per-
specimen. More frequent measurements may be made if
formance of Tires
desired. The number of measurement intervals should be
F1016Practice for Linear Tire Treadwear Data Analysis
compatiblewiththetirerotationplantoresultinalogicalbasis
F1502Test Method for Static Measurements on Tires for
for data interpretation.
Passenger Cars, LightTrucks, and Medium DutyVehicles
3.1.8 projection, n—apavementcontactingareaofthetread
band, bounded by void. F538
1
This test method is under the jurisdiction of ASTM Committee F09 on Tires
3.1.9 rib, n—a continuous circumferential projection. F538
and is the direct responsibility of Subcommittee F09.30 on Laboratory (Non-
Vehicular) Testing.
3.1.10 rotation plan, n— in tire testing, the scheduled
Current edition approved Oct. 1, 2008. Published November 2008. Originally
´1
change of wheel positions for all tires on a vehicle, and
approved in 1982. Last previous edition approved in 2000 as F762–94 (2000) .
DOI: 10.1520/F0762_F0762M-08. betweenvehiclesinaconvoy,andscheduledchangeofvehicle
2
For referenced ASTM standards, visit the ASTM website, www.astm.org, or
position in a convoy during a road test as appropriate. F538
contact ASTM Customer Service at service@astm.org. For Annual Book of ASTM
3.1.10.1 Discussion—Testtiresshouldoccupyeachposition
Standards volume information, refer to the standard’s Document Summary page on
the ASTM website. on the vehicle for the same number of cycles. A tire rotation
Copyright © ASTM International, 100 Barr Harbor Drive, PO Box C700, West Conshohocken, PA 19428-2959. United States
1
---------------------- Page: 1 ----------------------
F762/F762M − 08
plan may be designed for each test in accordance with the 7.3 Speed Recording Equipment, to record speed history as
requirement of the test program. a function of time, accurate to
...
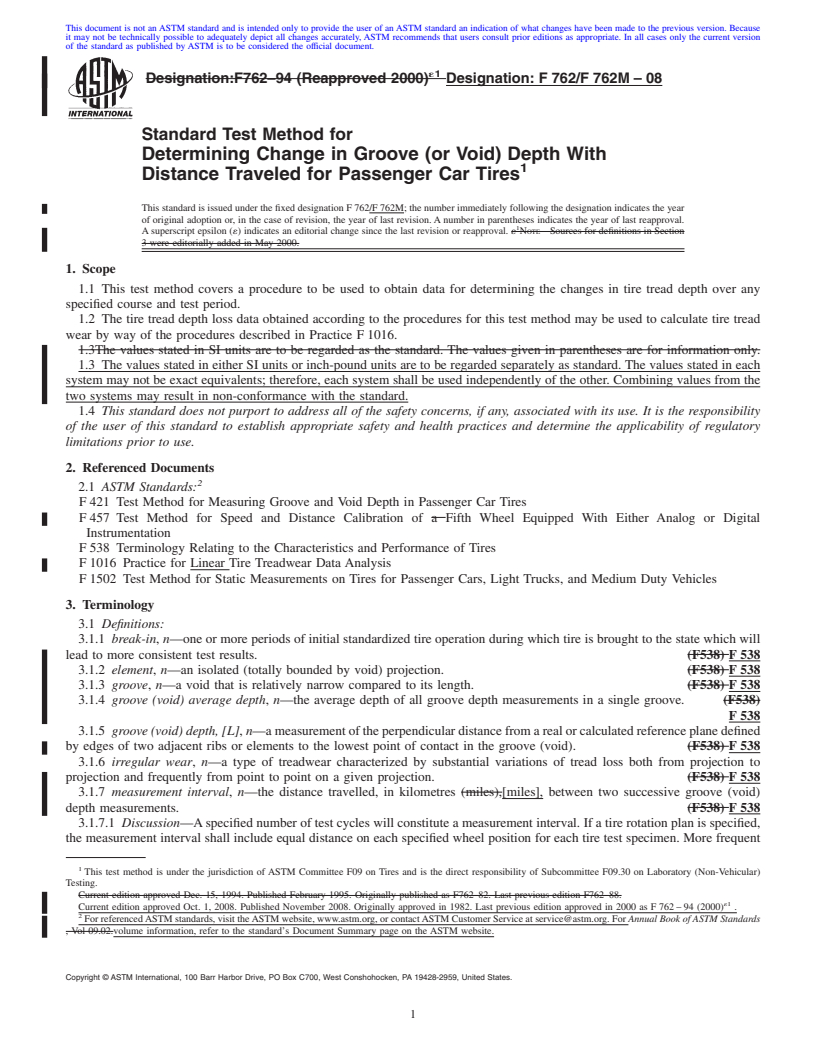
This document is not anASTM standard and is intended only to provide the user of anASTM standard an indication of what changes have been made to the previous version. Because
it may not be technically possible to adequately depict all changes accurately, ASTM recommends that users consult prior editions as appropriate. In all cases only the current version
of the standard as published by ASTM is to be considered the official document.
´1
Designation:F762–94 (Reapproved 2000) Designation:F762/F762M–08
Standard Test Method for
Determining Change in Groove (or Void) Depth With
1
Distance Traveled for Passenger Car Tires
ThisstandardisissuedunderthefixeddesignationF762/F762M;thenumberimmediatelyfollowingthedesignationindicatestheyear
of original adoption or, in the case of revision, the year of last revision.Anumber in parentheses indicates the year of last reapproval.
1
Asuperscript epsilon (´) indicates an editorial change since the last revision or reapproval. ´ NOTE—Sources for definitions in Section
3 were editorially added in May 2000.
1. Scope
1.1 This test method covers a procedure to be used to obtain data for determining the changes in tire tread depth over any
specified course and test period.
1.2 The tire tread depth loss data obtained according to the procedures for this test method may be used to calculate tire tread
wear by way of the procedures described in Practice F1016.
1.3The values stated in SI units are to be regarded as the standard. The values given in parentheses are for information only.
1.3 The values stated in either SI units or inch-pound units are to be regarded separately as standard.The values stated in each
system may not be exact equivalents; therefore, each system shall be used independently of the other. Combining values from the
two systems may result in non-conformance with the standard.
1.4 This standard does not purport to address all of the safety concerns, if any, associated with its use. It is the responsibility
of the user of this standard to establish appropriate safety and health practices and determine the applicability of regulatory
limitations prior to use.
2. Referenced Documents
2
2.1 ASTM Standards:
F421 Test Method for Measuring Groove and Void Depth in Passenger Car Tires
F457 Test Method for Speed and Distance Calibration of a Fifth Wheel Equipped With Either Analog or Digital
Instrumentation
F538 Terminology Relating to the Characteristics and Performance of Tires
F1016 Practice for Linear Tire Treadwear Data Analysis
F1502 Test Method for Static Measurements on Tires for Passenger Cars, Light Trucks, and Medium Duty Vehicles
3. Terminology
3.1 Definitions:
3.1.1 break-in, n—one or more periods of initial standardized tire operation during which tire is brought to the state which will
lead to more consistent test results. (F538) F 538
3.1.2 element, n—an isolated (totally bounded by void) projection. (F538) F 538
3.1.3 groove, n—a void that is relatively narrow compared to its length. (F538) F 538
3.1.4 groove (void) average depth, n—the average depth of all groove depth measurements in a single groove. (F538)
F 538
3.1.5 groove (void) depth, [L], n—ameasurementoftheperpendiculardistancefromarealorcalculatedreferenceplanedefined
by edges of two adjacent ribs or elements to the lowest point of contact in the groove (void). (F538) F 538
3.1.6 irregular wear, n—a type of treadwear characterized by substantial variations of tread loss both from projection to
projection and frequently from point to point on a given projection. (F538) F 538
3.1.7 measurement interval, n—the distance travelled, in kilometres (miles),[miles], between two successive groove (void)
depth measurements. (F538) F 538
3.1.7.1 Discussion—Aspecifiednumberoftestcycleswillconstituteameasurementinterval.Ifatirerotationplanisspecified,
the measurement interval shall include equal distance on each specified wheel position for each tire test specimen. More frequent
1
This test method is under the jurisdiction of ASTM Committee F09 on Tires and is the direct responsibility of Subcommittee F09.30 on Laboratory (Non-Vehicular)
Testing.
Current edition approved Dec. 15, 1994. Published February 1995. Originally published as F762–82. Last previous edition F762–88.
´1
Current edition approved Oct. 1, 2008. Published November 2008. Originally approved in 1982. Last previous edition approved in 2000 as F762–94 (2000) .
2
ForreferencedASTMstandards,visittheASTMwebsite,www.astm.org,orcontactASTMCustomerServiceatservice@astm.org.For Annual Book of ASTM Standards
, Vol 09.02.volume information, refer to the standard’s Document Summary page on the ASTM website.
Copyright © ASTM International, 100 Barr Harbor Drive, PO Box C700, West Conshohocken, PA 19428-2959, United States.
1
---------------------- Page: 1 ----------------------
F762/F762M–08
measurements may be made if desired. The number of measurement intervals should be compatible with the tire rotation plan to
result in a logical basis for data interpret
...


Questions, Comments and Discussion
Ask us and Technical Secretary will try to provide an answer. You can facilitate discussion about the standard in here.