Method for evaluation of tensile properties of metallic superplastic materials

ISO 20032:2013 specifies a method for evaluating the tensile properties of metallic superplastic materials which exhibit what is called "Fine-Grained Superplasticity", without significant work-hardening or dynamic microstructure evolution, by means of a tensile test at constant cross-head velocity, for flat-form test pieces, without an extensometer attached.

Méthode de détermination des caractéristiques de traction des matériaux métalliques superplastiques

General Information

Status
Published
Publication Date
01-Aug-2013
Current Stage
9093 - International Standard confirmed
Completion Date
23-Jun-2024
Ref Project

Relations

Buy Standard

Standard
ISO 20032:2013 - Method for evaluation of tensile properties of metallic superplastic materials Released:2. 08. 2013
English language
11 pages
sale 15% off
Preview
sale 15% off
Preview
Standard
ISO 20032:2013 - Method for evaluation of tensile properties of metallic superplastic materials
English language
11 pages
sale 15% off
Preview
sale 15% off
Preview

Standards Content (Sample)


INTERNATIONAL ISO
STANDARD 20032
Second edition
2013-08-01
Method for evaluation of tensile
properties of metallic superplastic
materials
Méthode de détermination des caractéristiques de traction des
matériaux métalliques superplastiques
Reference number
©
ISO 2013
© ISO 2013
All rights reserved. Unless otherwise specified, no part of this publication may be reproduced or utilized otherwise in any form
or by any means, electronic or mechanical, including photocopying, or posting on the internet or an intranet, without prior
written permission. Permission can be requested from either ISO at the address below or ISO’s member body in the country of
the requester.
ISO copyright office
Case postale 56 • CH-1211 Geneva 20
Tel. + 41 22 749 01 11
Fax + 41 22 749 09 47
E-mail copyright@iso.org
Web www.iso.org
Published in Switzerland
ii © ISO 2013 – All rights reserved

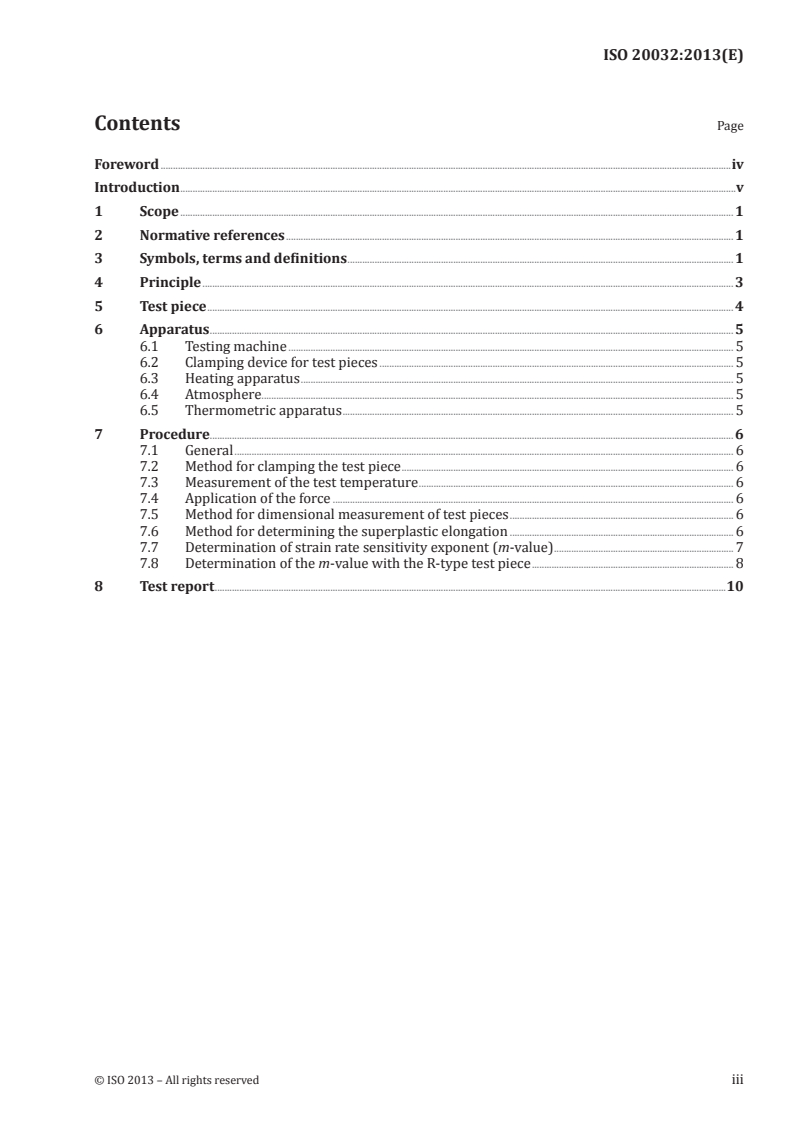
Contents Page
Foreword .iv
Introduction .v
1 Scope . 1
2 Normative references . 1
3 Symbols, terms and definitions . 1
4 Principle . 3
5 Test piece . 4
6 Apparatus . 5
6.1 Testing machine . 5
6.2 Clamping device for test pieces . 5
6.3 Heating apparatus . 5
6.4 Atmosphere . 5
6.5 Thermometric apparatus . 5
7 Procedure. 6
7.1 General . 6
7.2 Method for clamping the test piece . 6
7.3 Measurement of the test temperature . 6
7.4 Application of the force . 6
7.5 Method for dimensional measurement of test pieces . 6
7.6 Method for determining the superplastic elongation . 6
7.7 Determination of strain rate sensitivity exponent (m-value) . 7
7.8 Determination of the m-value with the R-type test piece . 8
8 Test report .10
Foreword
ISO (the International Organization for Standardization) is a worldwide federation of national standards
bodies (ISO member bodies). The work of preparing International Standards is normally carried out
through ISO technical committees. Each member body interested in a subject for which a technical
committee has been established has the right to be represented on that committee. International
organizations, governmental and non-governmental, in liaison with ISO, also take part in the work.
ISO collaborates closely with the International Electrotechnical Commission (IEC) on all matters of
electrotechnical standardization.
The procedures used to develop this document and those intended for its further maintenance are
described in the ISO/IEC Directives, Part 1. In particular the different approval criteria needed for the
different types of ISO documents should be noted. This document was drafted in accordance with the
editorial rules of the ISO/IEC Directives, Part 2. www.iso.org/directives
Attention is drawn to the possibility that some of the elements of this document may be the subject of
patent rights. ISO shall not be held responsible for identifying any or all such patent rights. Details of
any patent rights identified during the development of the document will be in the Introduction and/or
on the ISO list of patent declarations received. www.iso.org/patents
Any trade name used in this document is information given for the convenience of users and does not
constitute an endorsement.
The committee responsible for this document is ISO/TC 164, Mechanical testing of metals, Subcommittee
SC 2, Ductility testing.
This second edition cancels and replaces the first edition (ISO 20032:2007) of which it constitutes a
minor revision.
iv © ISO 2013 – All rights reserved

Introduction
Superplastic forming requires the characterization of metallic superplastic materials. The tensile test
specified in this International Standard permits the evaluation of superplastic properties, such as
superplastic elongation, flow stress, strain rate sensitivity exponent (m-value), stress-strain relation
and flow stress-strain rate relation.
INTERNATIONAL STANDARD ISO 20032:2013(E)
Method for evaluation of tensile properties of metallic
superplastic materials
1 Scope
This International Standard specifies a method for evaluating the tensile properties of metallic
superplastic materials which exhibit what is called “Fine-Grained Superplasticity”, without significant
work-hardening or dynamic microstructure evolution, by means of a tensile test at constant cross-head
velocity, for flat-form test pieces, without an extensometer attached.
2 Normative references
The following documents, in whole or in part, are normatively referenced in this document and are
indispensable for its application. For dated references, only the edition cited applies. For undated
references, the latest edition of the referenced document (including any amendments) applies.
ISO 6892-1, Metallic materials — Tensile testing — Part 1: Method of test at room temperature
ISO 6892-2, Metallic materials — Tensile testing — Part 2: Method of test at elevated temperature
ISO 7500-1, Metallic materials — Verification of static uniaxial testing machines — Part 1: Tension/compression
testing machines — Verification and calibration of the force-measuring system
ISO 80000-1, Quantities and units — Part 1: General
IEC 60584-1, Thermocouples — Part 1: Reference tables
IEC 60584-2, Thermocouples — Part 2: Tolerances
3 Symbols, terms and definitions
For the purposes of this document, the symbols, terms and definitions given in Table 1 apply.
Table 1 — Symbols, terms and definitions
Symbol        Term                Definition   Unit
Superplasticity
— Superplastic state Deformation conditions on onset of superplasticity    —
and its continuation
Test piece
— R-type test piece Test piece that has the shape of a conventional ten-    —
sile test piece without its parallel portion
— R portion Principal portion of the R-type test piece to be elon-    —
gated, which has an arc-like shape between grips
b Width of parallel-sided por- Original width of parallel-sided portion of the    mm
tion or minimum width of S-type test piece or original minimum width of the
the R portion R portion of the R-type test piece
b [i] Original width in division, i, Original width in a specific division, i, of the R por-   mm
o
of the R portion tion
b[i] Width in division, i, of the Width in a specific division, i, of the R portion after    mm
R portion the interrupted test
A Superplastic elongation Elongation after fracture in a superplastic state    %
B Grip portion width Width of grip portion of the S- or R-type test piece   mm
g
L Original gauge length Original distance between gauge marks measured    mm
o
by appropriate apparatus with an accuracy of at
least 1 % of the distance or 0,01 mm, whichever is
greater
L Final gauge length after Final distance between gauge marks measured after    mm
u
fracture fracture with fracture surfaces placed together
with care, so that the centre line of either fracture
surface is on a single straight line
L Parallel length Original length of parallel portion of the S-type test    mm
c
piece
L Total length of test piece Original total length of test piece   mm
t
L Grip portion length Length of grip portion of test piece   mm
g
L R portion length Original length of the R portion   mm
R
ΔL Elongation of the R portion Increase in the R portion length at any moment dur-   mm
R
ing the test
R Radius of fillet or R portion Original radius of fillet of the S-type test pieces or    mm
radius original R portion radius of the R-type test piece
S Original cross-sectional Original cross-sectional area of a test piece meas-   mm
o
area of test piece in the ured by an appropriate apparatus with an accuracy
reduced section of ±2 % or better
S [i] Original cross-sectional Original cross-sectional area in a specific division, i,    mm
o
area in division, i, of the R of the R portion
portion
S[i] Cross-sectional area in divi- Cross-sectional area in a specific division, i, of the    mm
sion, i, of the R portion R portion after the interrupted test
t Thickness of test piece Thickness of the S- or R-type test piece   mm
t
[i] Original thickness in divi- Original thickness in a specific division, i, of the    mm
o
sion, i, of the R portion R portion
2 © ISO 2013 – All rights reserved

Table 1 (continued)
Symbol        Term                Definition   Unit
t[i] Thickness in division, i, Thickness in a specific division, i, of the R portion    mm
of the R portion after the interrupted test
Force
F 10 % deformation force Force at 10 % nominal strain    N
Stress
K K value A constant-with-stress dimension, which is defined    MPa
by Formula (5)
σ 10 % flow stress True stress when 10 % nominal strain is achieved   MPa
σ Flow stress True stress during superplastic deformation   MPa
f
σ Nominal stress A load during deformation divided by the minimum    MPa
N
area of the original cross-section in the R portion,
which is defined for the R-type test piece
σ[i] True stress A load during deformation divided by the cross-sec-   MPa
tional area in a specific division, i, of the R portion,
which is defined for the R-type test piece
Strain
ε[i] True strain True strain given by deformation in a specific divi-   —
sion, i, of the R portion
Period
τ
Period required for inter- Period required from the time when the axial force    s
inter
rupted test starts to increase linearly against strain in the
elastic deformation stage, until elongation of the R
portion, ΔL , reaches 3 mm
R
Strain rate and m-value
−1

ε Nominal strain rate Crosshead velocity divided by the original paral-   s
N
lel length, L for the S-type test piece, and divided
c
by the original gauge length, L for the R-type test
o
piece
−1
ε
True strain rate Increment of true strain per unit time   s
 −1
ε[]i
True strain rate during True strain rate during deformation in a specific    s
deformation division, i, of the R portion
m m-value Index representing the strain-rate sensitivity of    —
flow stress in superplastic materials
4 Principle
The test consists of straining a test piece by a tensile force, for the purpose of determining the superplastic
properties, such as superplastic elongation (A), flow stress (σ ) a
...

Questions, Comments and Discussion

Ask us and Technical Secretary will try to provide an answer. You can facilitate discussion about the standard in here.