EN 16016-2:2011
(Main)Non destructive testing - Radiation methods - Computed tomography - Part 2: Principle, equipment and samples
Non destructive testing - Radiation methods - Computed tomography - Part 2: Principle, equipment and samples
This European Standard specifies the general principles of computed tomography (CT), the equipment used and basic considerations of sample, materials and geometry.
Zerstörungsfreie Prüfung - Durchstrahlungsverfahren - Computertomographie - Teil 2: Grundlagen, Geräte und Proben
Dieses Dokument legt die allgemeinen Grundlagen der Computertomografie (CT) sowie die angewendeten Geräte und grundsätzliche Überlegungen zu Proben, Materialien und Geometrie fest.
Essais non destructifs - Méthodes par rayonnements - Tomographie informatisée - Partie 2 : Principes, équipements et échantillons
La présente Norme européenne décrit les principes généraux de la tomographie informatisée (TI), l’équipement utilisé ainsi que les considérations de base relatives à l’échantillon, aux matériaux et à la géométrie.
Neporušitveno preskušanje - Sevalne metode - Računalniška tomografija - 2. del: Osnove, oprema in vzorci
Ta evropski standard določa splošna načela računalniške tomografije (CT), uporabljeno opremo in temeljne zamisli glede vzorcev, materialov in geometrije.
General Information
- Status
- Withdrawn
- Publication Date
- 30-Aug-2011
- Withdrawal Date
- 08-Feb-2026
- Technical Committee
- CEN/TC 138 - Non-destructive testing
- Drafting Committee
- CEN/TC 138 - Non-destructive testing
- Current Stage
- 9960 - Withdrawal effective - Withdrawal
- Start Date
- 03-Apr-2019
- Completion Date
- 09-Feb-2026
Relations
- Effective Date
- 13-Jun-2018
- Effective Date
- 28-Jan-2026
- Effective Date
- 28-Jan-2026
- Effective Date
- 28-Jan-2026
- Effective Date
- 28-Jan-2026
Get Certified
Connect with accredited certification bodies for this standard

IMP NDT d.o.o.
Non-destructive testing services. Radiography, ultrasonic, magnetic particle, penetrant, visual inspection.

Inštitut za kovinske materiale in tehnologije
Institute of Metals and Technology. Materials testing, metallurgical analysis, NDT.

Q Techna d.o.o.
NDT and quality assurance specialist. 30+ years experience. NDT personnel certification per ISO 9712, nuclear and thermal power plant inspections, QA/
Sponsored listings
Frequently Asked Questions
EN 16016-2:2011 is a standard published by the European Committee for Standardization (CEN). Its full title is "Non destructive testing - Radiation methods - Computed tomography - Part 2: Principle, equipment and samples". This standard covers: This European Standard specifies the general principles of computed tomography (CT), the equipment used and basic considerations of sample, materials and geometry.
This European Standard specifies the general principles of computed tomography (CT), the equipment used and basic considerations of sample, materials and geometry.
EN 16016-2:2011 is classified under the following ICS (International Classification for Standards) categories: 19.100 - Non-destructive testing. The ICS classification helps identify the subject area and facilitates finding related standards.
EN 16016-2:2011 has the following relationships with other standards: It is inter standard links to EN ISO 15708-2:2019, EN 16016-3:2011, EN 16016-1:2011, EN 16016-4:2011, EN ISO 9712:2022. Understanding these relationships helps ensure you are using the most current and applicable version of the standard.
EN 16016-2:2011 is available in PDF format for immediate download after purchase. The document can be added to your cart and obtained through the secure checkout process. Digital delivery ensures instant access to the complete standard document.
Standards Content (Sample)
2003-01.Slovenski inštitut za standardizacijo. Razmnoževanje celote ali delov tega standarda ni dovoljeno.Zerstörungsfreie Prüfung - Durchstrahlungsverfahren - Computertomographie - Teil 2: Grundlagen, Geräte und ProbenEssais non destructifs - Méthodes par rayonnements - Tomodensitométrie - Partie 2 : Principes, équipements et échantillonsNon destructive testing - Radiation method - Computed tomography - Part 2: Principle, equipment and samples19.100Neporušitveno preskušanjeNon-destructive testingICS:Ta slovenski standard je istoveten z:EN 16016-2:2011SIST EN 16016-2:2012en,fr,de01-marec-2012SIST EN 16016-2:2012SLOVENSKI
STANDARD
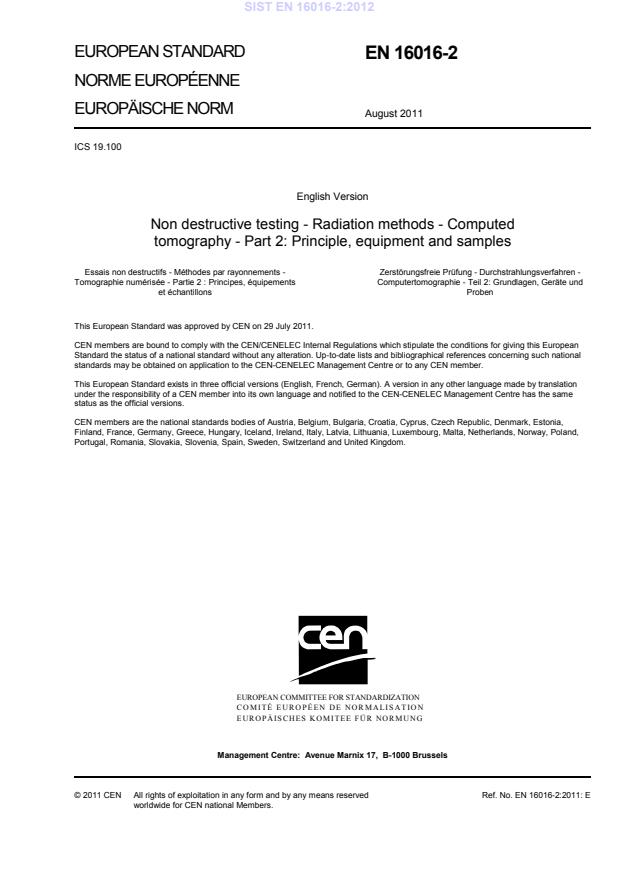
EUROPEAN STANDARD NORME EUROPÉENNE EUROPÄISCHE NORM
EN 16016-2
August 2011 ICS 19.100 English Version
Non destructive testing - Radiation methods - Computed tomography - Part 2: Principle, equipment and samples
Essais non destructifs - Méthodes par rayonnements - Tomographie numérisée - Partie 2 : Principes, équipementset échantillons
Zerstörungsfreie Prüfung - Durchstrahlungsverfahren - Computertomographie - Teil 2: Grundlagen, Geräte und Proben This European Standard was approved by CEN on 29 July 2011.
CEN members are bound to comply with the CEN/CENELEC Internal Regulations which stipulate the conditions for giving this European Standard the status of a national standard without any alteration. Up-to-date lists and bibliographical references concerning such national standards may be obtained on application to the CEN-CENELEC Management Centre or to any CEN member.
This European Standard exists in three official versions (English, French, German). A version in any other language made by translation under the responsibility of a CEN member into its own language and notified to the CEN-CENELEC Management Centre has the same status as the official versions.
CEN members are the national standards bodies of Austria, Belgium, Bulgaria, Croatia, Cyprus, Czech Republic, Denmark, Estonia, Finland, France, Germany, Greece, Hungary, Iceland, Ireland, Italy, Latvia, Lithuania, Luxembourg, Malta, Netherlands, Norway, Poland, Portugal, Romania, Slovakia, Slovenia, Spain, Sweden, Switzerland and United Kingdom.
EUROPEAN COMMITTEE FOR STANDARDIZATION
COMITÉ EUROPÉEN DE NORMALISATION EUROPÄISCHES KOMITEE FÜR NORMUNG
Management Centre:
Avenue Marnix 17,
B-1000 Brussels © 2011 CEN All rights of exploitation in any form and by any means reserved worldwide for CEN national Members. Ref. No. EN 16016-2:2011: ESIST EN 16016-2:2012
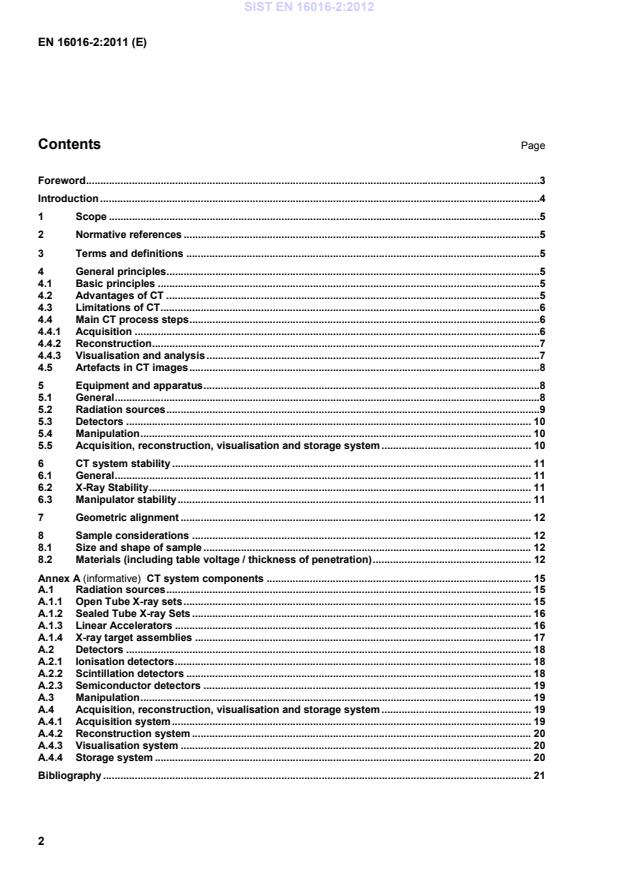
CT system components . 15A.1Radiation sources . 15A.1.1Open Tube X-ray sets . 15A.1.2Sealed Tube X-ray Sets . 16A.1.3Linear Accelerators . 16A.1.4X-ray target assemblies . 17A.2Detectors . 18A.2.1Ionisation detectors . 18A.2.2Scintillation detectors . 18A.2.3Semiconductor detectors . 19A.3Manipulation . 19A.4Acquisition, reconstruction, visualisation and storage system . 19A.4.1Acquisition system . 19A.4.2Reconstruction system . 20A.4.3Visualisation system . 20A.4.4Storage system . 20Bibliography . 21 SIST EN 16016-2:2012
4.2 Advantages of CT Computed tomography (CT) is a radiographic method that can be an excellent examination technique whenever the primary goal is to locate and quantify volumetric details in three dimensions. In addition, since SIST EN 16016-2:2012
Like any imaging system, a CT system can never reproduce an exact image of the scanned object. The accuracy of the CT image is dictated largely by the competing influences of the imaging system, namely spatial resolution, statistical noise and artefacts. Each of these aspects is discussed briefly in 4.4.1. A more complete description will be found in EN 16016-3. CT grey values cannot be used to identify unknown materials unambiguously unless a priori information is available, since a given experimental value measured at a given position may correspond to a broad range of materials. Another important consideration is to have sufficient X-ray transmission through the sample at all projection angles (see 8.2) without saturating any part of the detector. 4.4 Main CT process steps 4.4.1 Acquisition During a CT scan, multiple projections are taken in a systematic way: the images are acquired from a number of different viewing angles. Feature recognition depends, among other factors, on the number of angles from which the individual projections are taken. The CT image quality can be improved if the number of projections of a scan is increased. As all image capture systems contain inherent artefacts, CT scans usually begin with the capture of offset and gain reference images to allow flat field correction; using black (X-rays off) and white (X-rays on with the sample out of the field of view) images to correct for detector anomalies. The capture of reference images for SIST EN 16016-2:2012
Most industrial Computed Tomography systems will use an electrically generated X-ray source, and these can be sub-divided into three main types:
Open Tube (or Vacuum Demountable) X-ray sets ; Sealed Tube Constant Potential X-ray sets ; Linear Accelerators. Each source type has a speciality, sometimes systems are supplied with more than one source so they can be used over a broader range of samples. Besides cost considerations, selection of a suitable X-ray source is dictated by the range of samples (size, composition and material density) that will be inspected and the resolution they are to be inspected at. X-ray set manufacturers will often quote a single focal spot size, this is a ‘nominal’ measurement at a specific energy setting, the size of the focal spot will vary depending upon the voltage (kV) and current (µA/mA) settings used, the higher the power the larger the focal spot will become. Focal spot size and the feature recognition (which is sometimes referred to by system manufacturers) are not the same as the spatial resolution of the CT system. The feature recognition is the ability of the complete system to display an image of an object, or feature within an object, of a certain size. For example, it is entirely possible for a system with an X-ray set being run at an energy that is producing a focal sp
...


Questions, Comments and Discussion
Ask us and Technical Secretary will try to provide an answer. You can facilitate discussion about the standard in here.
Loading comments...