ASTM A578/A578M-07
(Specification)Standard Specification for Straight-Beam Ultrasonic Examination of Rolled Steel Plates for Special Applications
Standard Specification for Straight-Beam Ultrasonic Examination of Rolled Steel Plates for Special Applications
ABSTRACT
This procedure covers the standard and acceptance standards for straight-beam, pulse-echo, ultrasonic examination of rolled carbon and alloy steel plates. The amplitude linearity of the apparatus to be used shall be checked by positioning the transducer over the depth resolution notch in the IIW or similar block. The inspection shall be performed in an area free of operations that interfere with proper performance of the test. The test shall be performed either by direct contact, immersion, or liquid column coupling. Grid scanning shall be conducted along a continuous perpendicular line on the center. All discontinuities causing complete loss of reflection shall be recorded.
SCOPE
1.1.This specification covers the procedure and acceptance standards for straight-beam, pulse-echo, ultrasonic examination of rolled carbon and alloy steel plates, 3/8 in. [10 mm] in thickness and over, for special applications. The method will detect internal discontinuities parallel to the rolled surfaces. Three levels of acceptance standards are provided. Supplementary requirements are provided for alternative procedures.
1.2 Individuals performing examinations in accordance with this specification shall be qualified and certified in accordance with the requirements of the latest edition of ASNT SNT-TC-1A or an equivalent accepted standard. An equivalent standard is one which covers the qualification and certification of ultrasonic nondestructive examination candidates and which is acceptable to the purchaser.
1.3 The values stated in either SI units or inch-pound units are to be regarded separately as standard. The values stated in each system may not be exact equivalents; therefore, each system shall be used independently of the other. Combining values from the two systems may result in non-conformance with the standard.
1.4This standard does not purport to address all of the safety concerns, if any, associated with its use. It is the responsibility of the user of this standard to establish appropriate safety and health practices and determine the applicability of regulatory limitations prior to use.
General Information
Relations
Buy Standard
Standards Content (Sample)
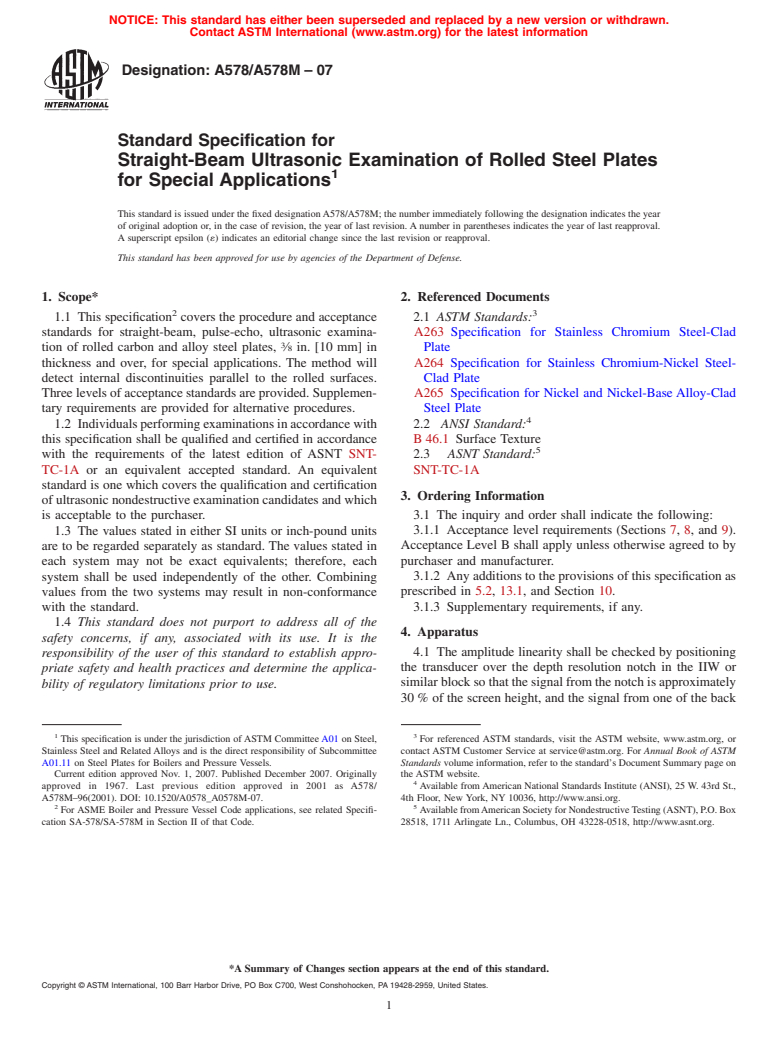
NOTICE: This standard has either been superseded and replaced by a new version or withdrawn.
Contact ASTM International (www.astm.org) for the latest information
Designation: A578/A578M – 07
Standard Specification for
Straight-Beam Ultrasonic Examination of Rolled Steel Plates
1
for Special Applications
This standard is issued under the fixed designationA578/A578M; the number immediately following the designation indicates the year
of original adoption or, in the case of revision, the year of last revision. A number in parentheses indicates the year of last reapproval.
A superscript epsilon (´) indicates an editorial change since the last revision or reapproval.
This standard has been approved for use by agencies of the Department of Defense.
1. Scope* 2. Referenced Documents
2 3
1.1 This specification covers the procedure and acceptance 2.1 ASTM Standards:
standards for straight-beam, pulse-echo, ultrasonic examina- A263 Specification for Stainless Chromium Steel-Clad
3
tion of rolled carbon and alloy steel plates, ⁄8 in. [10 mm] in Plate
thickness and over, for special applications. The method will A264 Specification for Stainless Chromium-Nickel Steel-
detect internal discontinuities parallel to the rolled surfaces. Clad Plate
Three levels of acceptance standards are provided. Supplemen- A265 Specification for Nickel and Nickel-Base Alloy-Clad
tary requirements are provided for alternative procedures. Steel Plate
4
1.2 Individualsperformingexaminationsinaccordancewith 2.2 ANSI Standard:
this specification shall be qualified and certified in accordance B 46.1 Surface Texture
5
with the requirements of the latest edition of ASNT SNT- 2.3 ASNT Standard:
TC-1A or an equivalent accepted standard. An equivalent SNT-TC-1A
standard is one which covers the qualification and certification
3. Ordering Information
of ultrasonic nondestructive examination candidates and which
3.1 The inquiry and order shall indicate the following:
is acceptable to the purchaser.
1.3 The values stated in either SI units or inch-pound units 3.1.1 Acceptance level requirements (Sections 7, 8, and 9).
Acceptance Level B shall apply unless otherwise agreed to by
are to be regarded separately as standard. The values stated in
each system may not be exact equivalents; therefore, each purchaser and manufacturer.
system shall be used independently of the other. Combining 3.1.2 Any additions to the provisions of this specification as
prescribed in 5.2, 13.1, and Section 10.
values from the two systems may result in non-conformance
with the standard. 3.1.3 Supplementary requirements, if any.
1.4 This standard does not purport to address all of the
4. Apparatus
safety concerns, if any, associated with its use. It is the
4.1 The amplitude linearity shall be checked by positioning
responsibility of the user of this standard to establish appro-
the transducer over the depth resolution notch in the IIW or
priate safety and health practices and determine the applica-
similar block so that the signal from the notch is approximately
bility of regulatory limitations prior to use.
30 % of the screen height, and the signal from one of the back
1 3
This specification is under the jurisdiction of ASTM Committee A01 on Steel, For referenced ASTM standards, visit the ASTM website, www.astm.org, or
Stainless Steel and Related Alloys and is the direct responsibility of Subcommittee contact ASTM Customer Service at service@astm.org. For Annual Book of ASTM
A01.11 on Steel Plates for Boilers and Pressure Vessels. Standards volume information, refer to the standard’s Document Summary page on
Current edition approved Nov. 1, 2007. Published December 2007. Originally the ASTM website.
4
approved in 1967. Last previous edition approved in 2001 as A578/ Available from American National Standards Institute (ANSI), 25 W. 43rd St.,
A578M–96(2001). DOI: 10.1520/A0578_A0578M-07. 4th Floor, New York, NY 10036, http://www.ansi.org.
2 5
For ASME Boiler and Pressure Vessel Code applications, see related Specifi- AvailablefromAmericanSocietyforNondestructiveTesting(ASNT),P.O.Box
cation SA-578/SA-578M in Section II of that Code. 28518, 1711 Arlingate Ln., Columbus, OH 43228-0518, http://www.asnt.org.
*A Summary of Changes section appears at the end of this standard.
Copyright © ASTM International, 100 Barr Harbor Drive, PO Box C700, West Conshohocken, PA 19428-2959, United States.
1
---------------------- Page: 1 ----------------------
A578/A578M – 07
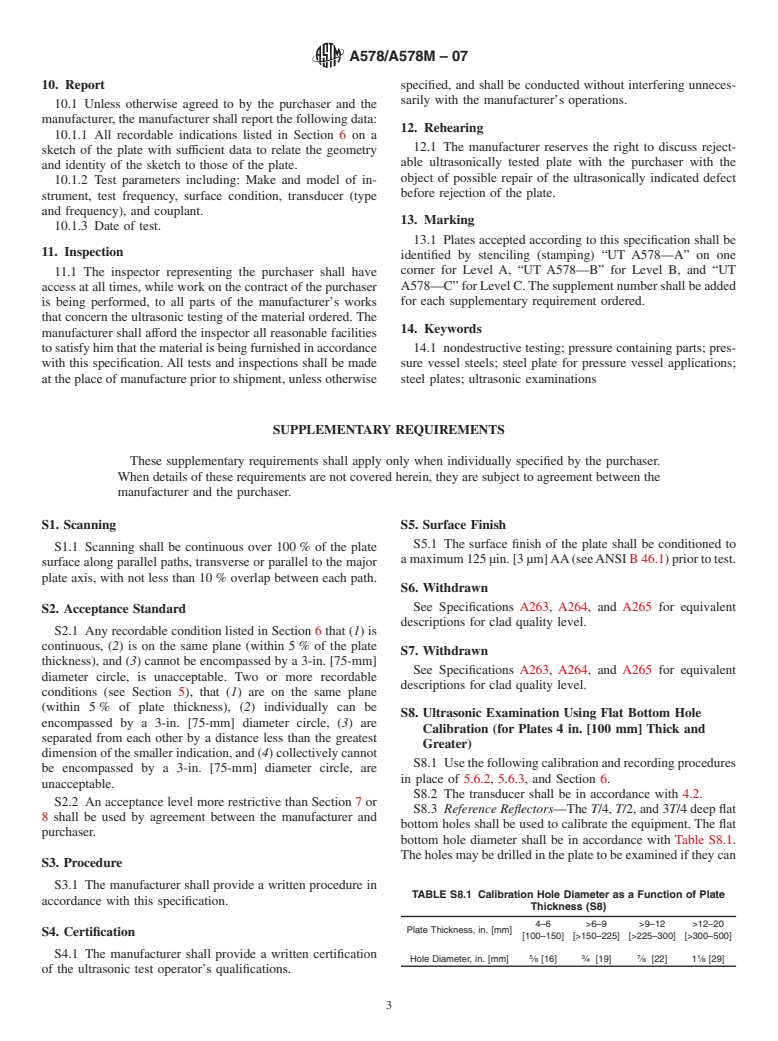
surfaces is approximately 60 % of the screen height (two times reflection from the opposite side of a sound area of the plate of
the height of the signal from the notch).Acurve is then plotted 75 6 5 % of full scale. Maintain this instrument setting during
showing the deviations from the above established 2:1 ratio evaluation of the discontinuity condition.
that occurs as the amplitude of the signal from the notch is
raised in increments of one scale division until the back
6. Recording
reflection signal reaches full scale, and then is lowere
...
This document is not an ASTM standard and is intended only to provide the user of an ASTM standard an indication of what changes have been made to the previous version. Because
it may not be technically possible to adequately depict all changes accurately, ASTM recommends that users consult prior editions as appropriate. In all cases only the current version
of the standard as published by ASTM is to be considered the official document.
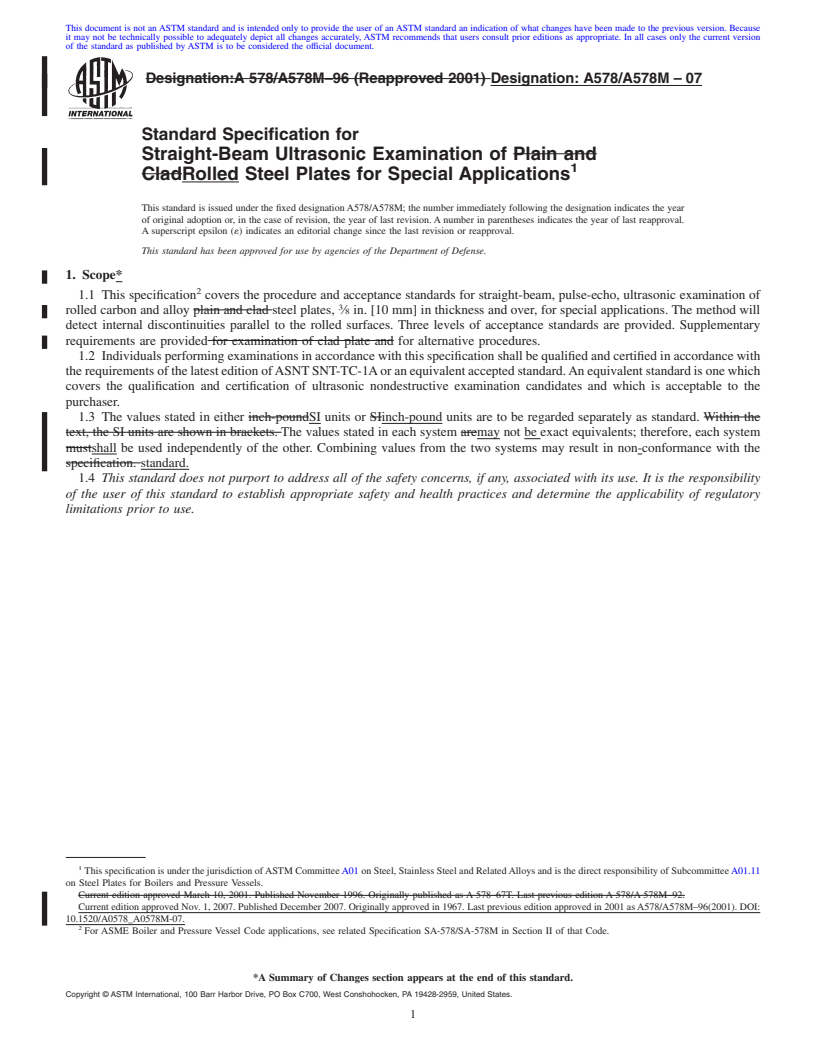
Designation:A 578/A578M–96 (Reapproved 2001) Designation: A578/A578M – 07
Standard Specification for
Straight-Beam Ultrasonic Examination of Plain and
1
CladRolled Steel Plates for Special Applications
This standard is issued under the fixed designationA578/A578M; the number immediately following the designation indicates the year
of original adoption or, in the case of revision, the year of last revision. A number in parentheses indicates the year of last reapproval.
A superscript epsilon (´) indicates an editorial change since the last revision or reapproval.
This standard has been approved for use by agencies of the Department of Defense.
1. Scope*
2
1.1 This specification covers the procedure and acceptance standards for straight-beam, pulse-echo, ultrasonic examination of
3
rolled carbon and alloy plain and clad steel plates, ⁄8 in. [10 mm] in thickness and over, for special applications. The method will
detect internal discontinuities parallel to the rolled surfaces. Three levels of acceptance standards are provided. Supplementary
requirements are provided for examination of clad plate and for alternative procedures.
1.2 Individuals performing examinations in accordance with this specification shall be qualified and certified in accordance with
therequirementsofthelatesteditionofASNTSNT-TC-1Aoranequivalentacceptedstandard.Anequivalentstandardisonewhich
covers the qualification and certification of ultrasonic nondestructive examination candidates and which is acceptable to the
purchaser.
1.3 The values stated in either inch-poundSI units or SIinch-pound units are to be regarded separately as standard. Within the
text, the SI units are shown in brackets. The values stated in each system aremay not be exact equivalents; therefore, each system
mustshall be used independently of the other. Combining values from the two systems may result in non-conformance with the
specification. standard.
1.4 This standard does not purport to address all of the safety concerns, if any, associated with its use. It is the responsibility
of the user of this standard to establish appropriate safety and health practices and determine the applicability of regulatory
limitations prior to use.
1
This specification is under the jurisdiction ofASTM CommitteeA01 on Steel, Stainless Steel and RelatedAlloys and is the direct responsibility of SubcommitteeA01.11
on Steel Plates for Boilers and Pressure Vessels.
Current edition approved March 10, 2001. Published November 1996. Originally published as A 578–67T. Last previous edition A 578/A 578M–92.
Current edition approved Nov. 1, 2007. Published December 2007. Originally approved in 1967. Last previous edition approved in 2001 asA578/A578M–96(2001). DOI:
10.1520/A0578_A0578M-07.
2
For ASME Boiler and Pressure Vessel Code applications, see related Specification SA-578/SA-578M in Section II of that Code.
*A Summary of Changes section appears at the end of this standard.
Copyright © ASTM International, 100 Barr Harbor Drive, PO Box C700, West Conshohocken, PA 19428-2959, United States.
1
---------------------- Page: 1 ----------------------
A578/A578M – 07
2. Referenced Documents
3
2.1 ASTM Standards:
A263 Specification for Corrosion-Resisting Chromium Steel-Clad Plate, Sheet, and Strip Specification for Stainless Chromium
Steel-Clad Plate
3
A264 Specification for Stainless Chromium-Nickel SteelClad Plate, Sheet, and Strip Specification for Stainless Chromium-
Nickel Steel-Clad Plate
A265 Specification for Nickel and Nickel-Base Alloy-Clad Steel Plate
4
2.2 ANSI Standard:
B 46.1 Surface Texture
5
2.3 ASNT Standard:
SNT-TC-1A
3. Ordering Information
3.1 The inquiry and order shall indicate the following:
3.1.1 Acceptance level requirements (Sections 7, 8, and 9). Acceptance Level B shall apply unless otherwise agreed to by
purchaser and manufacturer.
3.1.2 Any additions to the provisions of this specification as prescribed in 5.2, 13.1, and Section 10.
3.1.3 Supplementary requirements, if any.
4. Apparatus
4.1 The amplitude linearity shall be checked by positioning the transducer over the depth resolution notch in the IIW or similar
block so that the signal from the notch is approximately 30 % of the screen height, and the signal from one of the back surfaces
is approximately 60 % of the screen height (two times the height of the signal from the notch). A curve is then plotted showing
the deviations from the above established 2:1 ratio that occurs as the amplitude of the signal from the notch is raised in increments
of one scale division until the back reflection signa
...
This document is not an ASTM standard and is intended only to provide the user of an ASTM standard an indication of what changes have been made to the previous version. Because
it may not be technically possible to adequately depict all changes accurately, ASTM recommends that users consult prior editions as appropriate. In all cases only the current version
of the standard as published by ASTM is to be considered the official document.
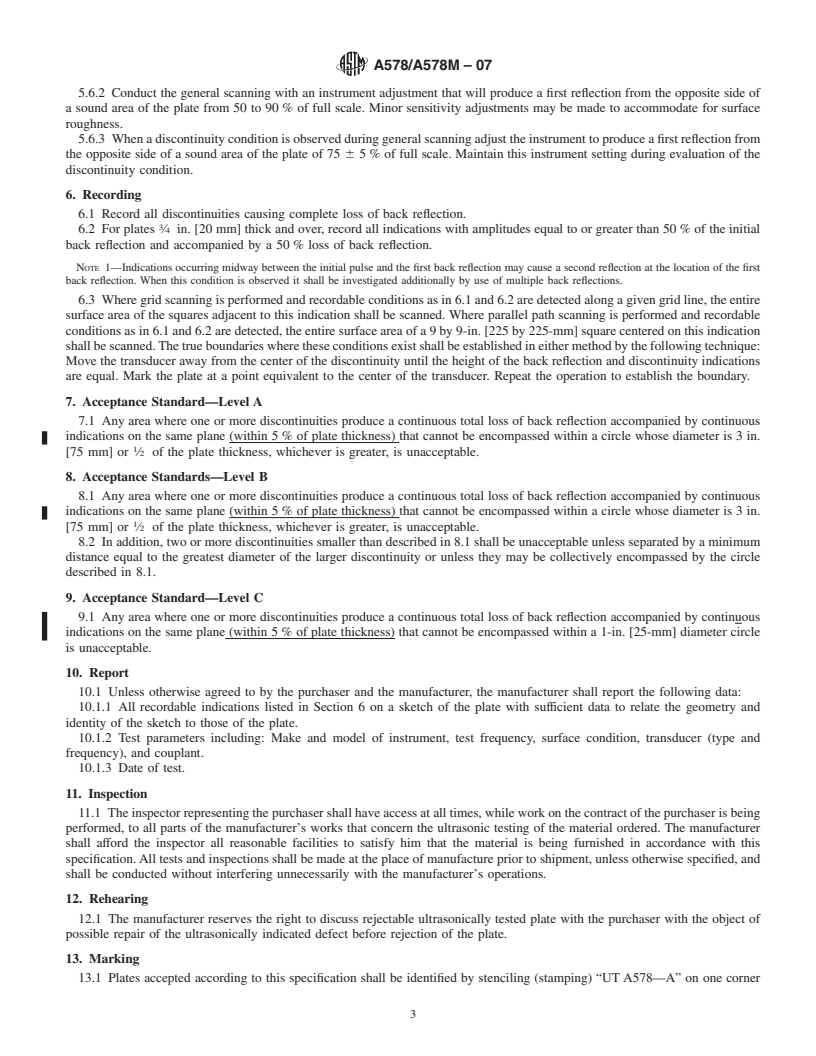
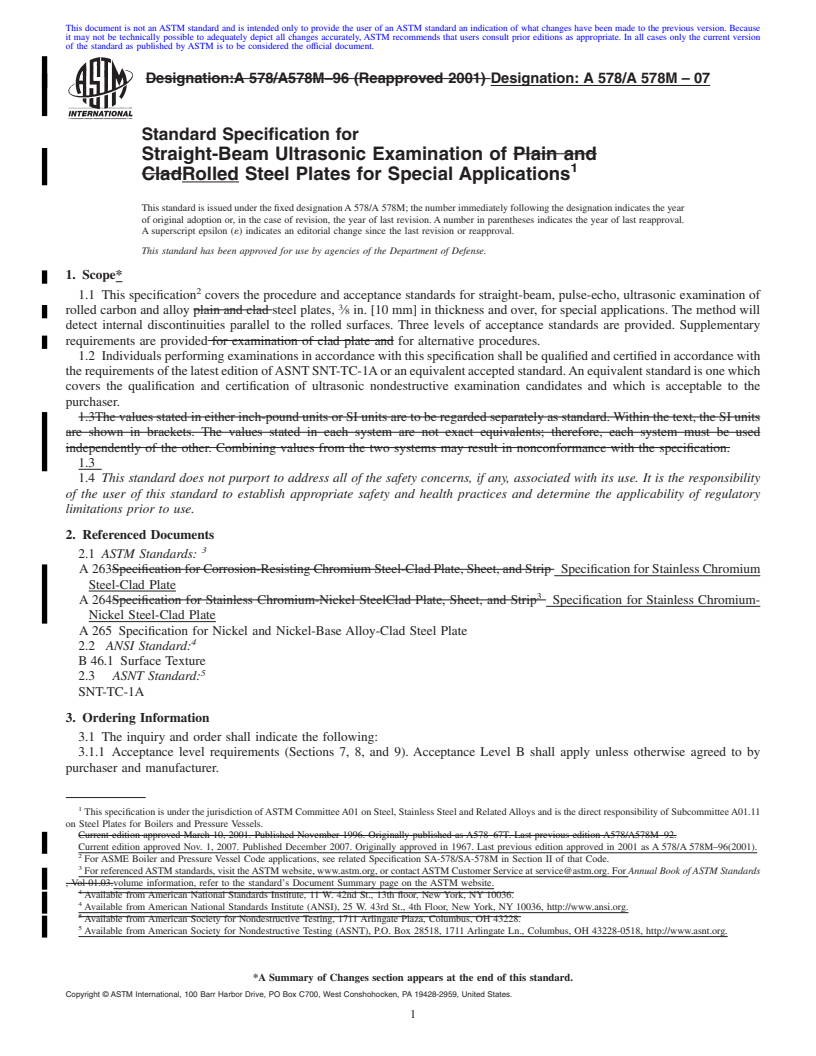
Designation:A 578/A578M–96 (Reapproved 2001) Designation: A 578/A 578M – 07
Standard Specification for
Straight-Beam Ultrasonic Examination of Plain and
1
CladRolled Steel Plates for Special Applications
This standard is issued under the fixed designationA 578/A 578M; the number immediately following the designation indicates the year
of original adoption or, in the case of revision, the year of last revision. A number in parentheses indicates the year of last reapproval.
A superscript epsilon (´) indicates an editorial change since the last revision or reapproval.
This standard has been approved for use by agencies of the Department of Defense.
1. Scope*
2
1.1 This specification covers the procedure and acceptance standards for straight-beam, pulse-echo, ultrasonic examination of
3
rolled carbon and alloy plain and clad steel plates, ⁄8 in. [10 mm] in thickness and over, for special applications. The method will
detect internal discontinuities parallel to the rolled surfaces. Three levels of acceptance standards are provided. Supplementary
requirements are provided for examination of clad plate and for alternative procedures.
1.2 Individuals performing examinations in accordance with this specification shall be qualified and certified in accordance with
therequirementsofthelatesteditionofASNTSNT-TC-1Aoranequivalentacceptedstandard.Anequivalentstandardisonewhich
covers the qualification and certification of ultrasonic nondestructive examination candidates and which is acceptable to the
purchaser.
1.3The values stated in either inch-pound units or SI units are to be regarded separately as standard. Within the text, the SI units
are shown in brackets. The values stated in each system are not exact equivalents; therefore, each system must be used
independently of the other. Combining values from the two systems may result in nonconformance with the specification.
1.3
1.4 This standard does not purport to address all of the safety concerns, if any, associated with its use. It is the responsibility
of the user of this standard to establish appropriate safety and health practices and determine the applicability of regulatory
limitations prior to use.
2. Referenced Documents
3
2.1 ASTM Standards:
A 263Specification for Corrosion-Resisting Chromium Steel-Clad Plate, Sheet, and Strip Specification for Stainless Chromium
Steel-Clad Plate
3
A 264Specification for Stainless Chromium-Nickel SteelClad Plate, Sheet, and Strip Specification for Stainless Chromium-
Nickel Steel-Clad Plate
A 265 Specification for Nickel and Nickel-Base Alloy-Clad Steel Plate
4
2.2 ANSI Standard:
B 46.1 Surface Texture
5
2.3 ASNT Standard:
SNT-TC-1A
3. Ordering Information
3.1 The inquiry and order shall indicate the following:
3.1.1 Acceptance level requirements (Sections 7, 8, and 9). Acceptance Level B shall apply unless otherwise agreed to by
purchaser and manufacturer.
1
This specification is under the jurisdiction ofASTM CommitteeA01 on Steel, Stainless Steel and RelatedAlloys and is the direct responsibility of SubcommitteeA01.11
on Steel Plates for Boilers and Pressure Vessels.
Current edition approved March 10, 2001. Published November 1996. Originally published as A578–67T. Last previous edition A578/A578M–92.
Current edition approved Nov. 1, 2007. Published December 2007. Originally approved in 1967. Last previous edition approved in 2001 as A 578/A 578M–96(2001).
2
For ASME Boiler and Pressure Vessel Code applications, see related Specification SA-578/SA-578M in Section II of that Code.
3
For referencedASTM standards, visit theASTM website, www.astm.org, or contactASTM Customer Service at service@astm.org. For Annual Book of ASTM Standards
, Vol 01.03.volume information, refer to the standard’s Document Summary page on the ASTM website.
4
Available from American National Standards Institute, 11 W. 42nd St., 13th floor, New York, NY 10036.
4
Available from American National Standards Institute (ANSI), 25 W. 43rd St., 4th Floor, New York, NY 10036, http://www.ansi.org.
5
Available from American Society for Nondestructive Testing, 1711 Arlingate Plaza, Columbus, OH 43228.
5
Available from American Society for Nondestructive Testing (ASNT), P.O. Box 28518, 1711 Arlingate Ln., Columbus, OH 43228-0518, http://www.asnt.org.
*A Summary of Changes section appears at the end of this standard.
Copyright © ASTM International, 100 Barr Harbor Drive, PO Box C700, West Conshohocken, PA 19428-2959, United States.
1
---------------------- Page: 1 ----------------------
A 578/A 578M – 07
3.1.2 Any additions to the provisions of
...


Questions, Comments and Discussion
Ask us and Technical Secretary will try to provide an answer. You can facilitate discussion about the standard in here.