ASTM F386-93
(Test Method)Standard Test Method for Measuring Thickness of Resilient Floor Covering With Foam Layer
Standard Test Method for Measuring Thickness of Resilient Floor Covering With Foam Layer
SCOPE
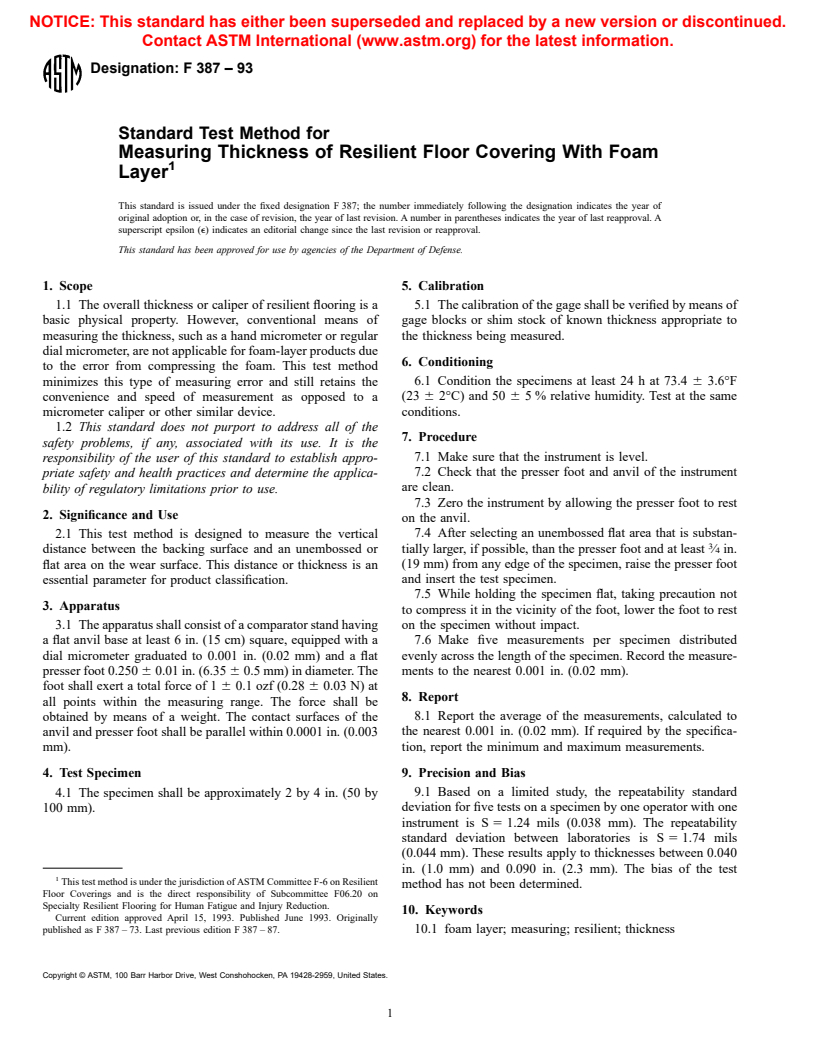
1.1 This test method covers the determination of the thickness of resilient non-textile floor coverings containing a foam layer as part of the construction.
1.2 This standard does not purport to address all of the safety concerns, if any, associated with its use. It is the responsibility of the user of this standard to establish appropriate safety and health practices and determine the applicability of regulatory limitations prior to use.
General Information
Relations
Standards Content (Sample)
NOTICE: This standard has either been superseded and replaced by a new version or discontinued.
Contact ASTM International (www.astm.org) for the latest information.
Designation: F 387 – 93
Standard Test Method for
Measuring Thickness of Resilient Floor Covering With Foam
Layer
This standard is issued under the fixed designation F 387; the number immediately following the designation indicates the year of
original adoption or, in the case of revision, the year of last revision. A number in parentheses indicates the year of last reapproval. A
superscript epsilon (e) indicates an editorial change since the last revision or reapproval.
This standard has been approved for use by agencies of the Department of Defense.
1. Scope 5. Calibration
1.1 The overall thickness or caliper of resilient flooring is a 5.1 The calibration of the gage shall be verified by means of
basic physical property. However, conventional means of gage blocks or shim stock of known thickness appropriate to
measuring the thickness, such as a hand micrometer or regular the thickness being measured.
dial micrometer, are not applicable for foam-layer products due
6. Conditioning
to the error from compressing the foam. This test method
6.1 Condition the specimens at least 24 h at 73.4 6 3.6°F
minimizes this type of measuring error and still retains the
convenience and speed of measurement as opposed to a (23 6 2°C) and 50 6 5 % relative humidity. Test at the same
conditions.
micrometer caliper or other similar device.
1.2 This standard does not purport to address all of the
7. Procedure
safety problems, if any, associated with its use. It is the
7.1 Make sure that the instrument is level.
responsibility of the user of this standard to establish appro-
7.2 Check that the presser foot and anvil of the instrument
priate safety and health practices and determine the applica-
are clean.
bility of regulatory limitations prior to use.
7.3 Zero the instrument by allowing the presser foot to rest
2. Significance and Use
on the anvil.
7.4 After selecting an unembossed flat area that is substan-
2.1 This test method is designed to measure the vertical
distance between the backing surface and an unembossed or tially larger, if possible, than the presser foot and at least ⁄4 in.
(19 mm) from any edge of the specimen, raise the presser foot
flat area on the wear surface. This distance or thickness is an
essential parameter for product classification. and insert the test specimen.
7.5 While holding the specimen flat, taking precaution not
3. Apparatus
to compress it in the vicinity of the foot, lower the foot to rest
3.1 The apparatus shall consist of a comparator stand having on the specimen without impact.
a flat anvil base at least 6 in. (15 cm) square, equipped with a 7.6 Make five measurements per specimen distributed
dial micrometer graduated to 0.001 in. (0.02 mm) and a flat evenly across the length of the specimen. Record the measure-
presser foot 0.250 6 0.01 in. (6.35 6
...


Questions, Comments and Discussion
Ask us and Technical Secretary will try to provide an answer. You can facilitate discussion about the standard in here.