ASTM E562-01
(Test Method)Standard Test Method for Determining Volume Fraction by Systematic Manual Point Count
Standard Test Method for Determining Volume Fraction by Systematic Manual Point Count
SCOPE
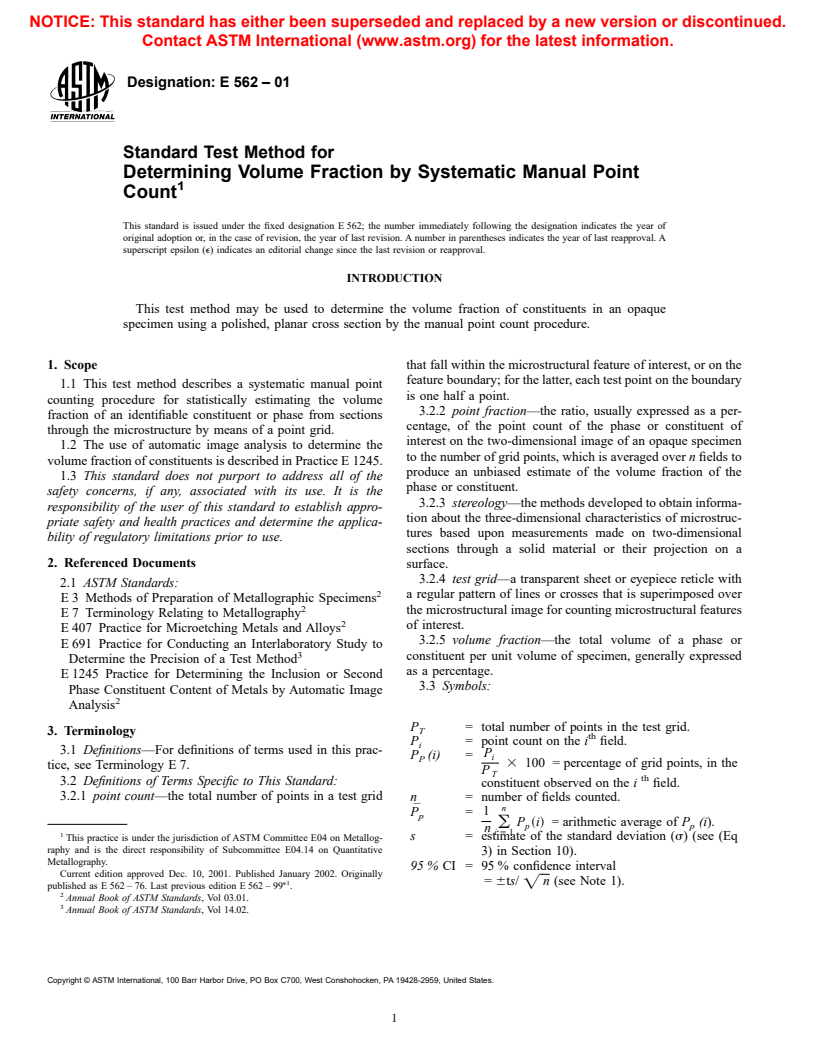
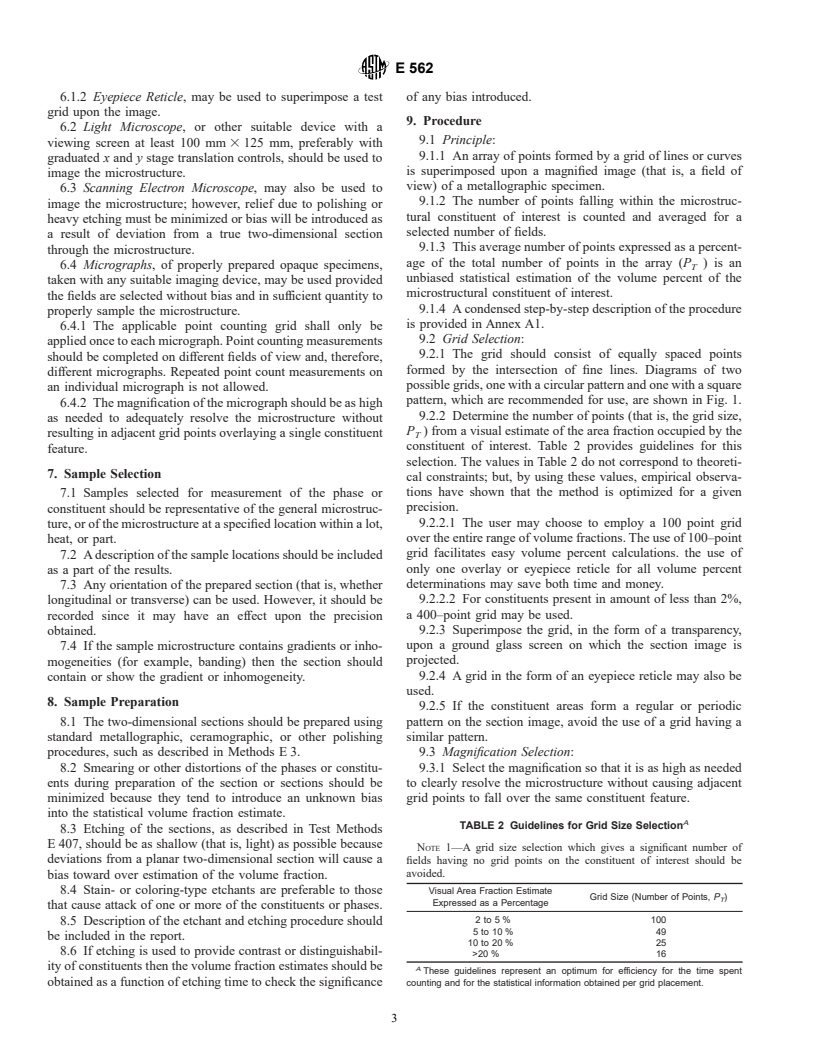
1.1 This test method describes a systematic manual point counting procedure for statistically estimating the volume fraction of an identifiable constituent or phase from sections through the microstructure by means of a point grid.
1.2 The use of automatic image analysis to determine the volume fraction of constituents is described in Practice E1245.
1.3 This standard does not purport to address all of the safety concerns, if any, associated with its use. It is the responsibility of the user of this standard to establish appropriate safety and health practices and determine the applicability of regulatory limitations prior to use.
General Information
Relations
Standards Content (Sample)
NOTICE: This standard has either been superseded and replaced by a new version or discontinued.
Contact ASTM International (www.astm.org) for the latest information.
Designation: E 562 – 01
Standard Test Method for
Determining Volume Fraction by Systematic Manual Point
1
Count
This standard is issued under the fixed designation E 562; the number immediately following the designation indicates the year of
original adoption or, in the case of revision, the year of last revision. A number in parentheses indicates the year of last reapproval. A
superscript epsilon (e) indicates an editorial change since the last revision or reapproval.
INTRODUCTION
This test method may be used to determine the volume fraction of constituents in an opaque
specimen using a polished, planar cross section by the manual point count procedure.
1. Scope that fall within the microstructural feature of interest, or on the
feature boundary; for the latter, each test point on the boundary
1.1 This test method describes a systematic manual point
is one half a point.
counting procedure for statistically estimating the volume
3.2.2 point fraction—the ratio, usually expressed as a per-
fraction of an identifiable constituent or phase from sections
centage, of the point count of the phase or constituent of
through the microstructure by means of a point grid.
interest on the two-dimensional image of an opaque specimen
1.2 The use of automatic image analysis to determine the
to the number of grid points, which is averaged over n fields to
volume fraction of constituents is described in Practice E 1245.
produce an unbiased estimate of the volume fraction of the
1.3 This standard does not purport to address all of the
phase or constituent.
safety concerns, if any, associated with its use. It is the
3.2.3 stereology—the methods developed to obtain informa-
responsibility of the user of this standard to establish appro-
tion about the three-dimensional characteristics of microstruc-
priate safety and health practices and determine the applica-
tures based upon measurements made on two-dimensional
bility of regulatory limitations prior to use.
sections through a solid material or their projection on a
2. Referenced Documents surface.
3.2.4 test grid—a transparent sheet or eyepiece reticle with
2.1 ASTM Standards:
2
a regular pattern of lines or crosses that is superimposed over
E 3 Methods of Preparation of Metallographic Specimens
2
the microstructural image for counting microstructural features
E 7 Terminology Relating to Metallography
2
of interest.
E 407 Practice for Microetching Metals and Alloys
3.2.5 volume fraction—the total volume of a phase or
E 691 Practice for Conducting an Interlaboratory Study to
3
constituent per unit volume of specimen, generally expressed
Determine the Precision of a Test Method
as a percentage.
E 1245 Practice for Determining the Inclusion or Second
3.3 Symbols:
Phase Constituent Content of Metals by Automatic Image
2
Analysis
P = total number of points in the test grid.
T
3. Terminology
th
P = point count on the i field.
i
3.1 Definitions—For definitions of terms used in this prac-
P
P (i) =
i
P
3 100 = percentage of grid points, in the
tice, see Terminology E 7.
P
T
th
3.2 Definitions of Terms Specific to This Standard:
constituent observed on the i field.
3.2.1 point count—the total number of points in a test grid
n = number of fields counted.
n
¯
P = 1
p
P ~i! = arithmetic average of P (i).
(
p p
n
i 5 1
1
s = estimate of the standard deviation (s) (see (Eq
This practice is under the jurisdiction of ASTM Committee E04 on Metallog-
raphy and is the direct responsibility of Subcommittee E04.14 on Quantitative
3) in Section 10).
Metallography.
95 % CI = 95 % confidence interval
Current edition approved Dec. 10, 2001. Published January 2002. Originally
e1 = 6ts/ n (see Note 1).
=
published as E 562 – 76. Last previous edition E 562 – 99 .
2
Annual Book of ASTM Standards, Vol 03.01.
3
Annual Book of ASTM Standards, Vol 14.02.
Copyright © ASTM International, 100 Barr Harbor Drive, PO Box C700, West Conshohocken, PA 19428-2959, United States.
1
---------------------- Page: 1 ----------------------
E 562
any type of solid material from which adequate two-
t = a multiplier related to the number of fields
dimensional sections can be prepared and observed.
examined and used in conjunction with the
5.4 A condensed step-by-step guide for using the method is
standard deviation of the measurements to de-
given in Annex A1.
termine the 95% CI.
V = volume fraction of the constituent or phase
V
6. Apparatus
expressed as a percentage (see (Eq 5) in Section
6.1 Test Grid, consisting of a specified number of equally
10).
spaced points formed by the intersection of very thin lines. Two
% RA = % relative accuracy, a measure of the statistical
common types of grids (circular or square array) are shown in
¯
precision = (95 % CI/ P ) 3 100.
p
Fig. 1.
NOTE 1— Table 1 gives the appropriate multiplying factors (t) for any
6.1.1 The test grid can be
...


Questions, Comments and Discussion
Ask us and Technical Secretary will try to provide an answer. You can facilitate discussion about the standard in here.