ASTM E1155-14
(Test Method)Standard Test Method for Determining FF Floor Flatness and FL Floor Levelness Numbers
Standard Test Method for Determining <emph type="ital">F<inf>F</inf></emph> Floor Flatness and <emph type="ital">F<inf>L</inf></emph> Floor Levelness Numbers
SIGNIFICANCE AND USE
5.1 This test method provides statistical (and graphical) information concerning floor surface profiles.
5.2 Results of this test method are used primarily to:
5.2.1 Establish compliance of randomly trafficked floor surfaces with specified FF Flatness and FL Levelness tolerances,
5.2.2 Evaluate the effect of different construction methods on resulting floor surface flatness and levelness, and
5.2.3 Investigate the curling and deflection of floor surfaces.
5.3 Results of this test method shall not be used to enforce contract flatness and levelness tolerances on those floor installations primarily intended to support the operation of fixed-path vehicle systems (for example, narrow aisle warehouse floors).
Note 2: When the traffic patterns across a floor are random, (as is generally the case) evaluation of the floor's FF Flatness and FL Levelness will necessarily involve a random sampling of the surface, since all of the infinite potential profiles to be seen by the traffic can not possibly be measured. In those instances when the traffic across a floor will be confined to specific paths, however, the requirement for random sampling is eliminated, since the floor can indeed be inspected exactly as it will be seen by all of the traffic. In these special cases, rather than inferring the condition of the traffic paths from a random sample, it is far more useful to measure each of the traffic paths directly using continuous recording floor profilometer configured to run exactly in the traffic wheel paths. Such direct simulation measurements eliminate the inherent uncertainties of statistical sampling and provide profile information immediately applicable to the correction of the surface in way of the future traffic.
SCOPE
1.1 This test method covers a quantitative method of measuring floor surface profiles to obtain estimates of the floor's characteristic FF Flatness and FL Levelness Face Floor Profile Numbers (F-Numbers) using the inch-pound system of units.
Note 1: A complete metric companion to Test Method E1155 has been developed, Test Method E1155M; therefore, no metric equivalents are shown in this test method.
1.2 The text of this test method references notes and footnotes that provide explanatory material. These notes and footnotes (excluding those in tables and figures) shall not be considered as requirements of this test method.
1.3 The values stated in inch-pound units are to be regarded as standard. No other units of measurement are included in this standard.
1.4 This standard does not purport to address all of the safety concerns, if any, associated with its use. It is the responsibility of the user of this standard to establish appropriate safety and health practices and determine the applicability of regulatory limitations prior to use.
General Information
Relations
Buy Standard
Standards Content (Sample)
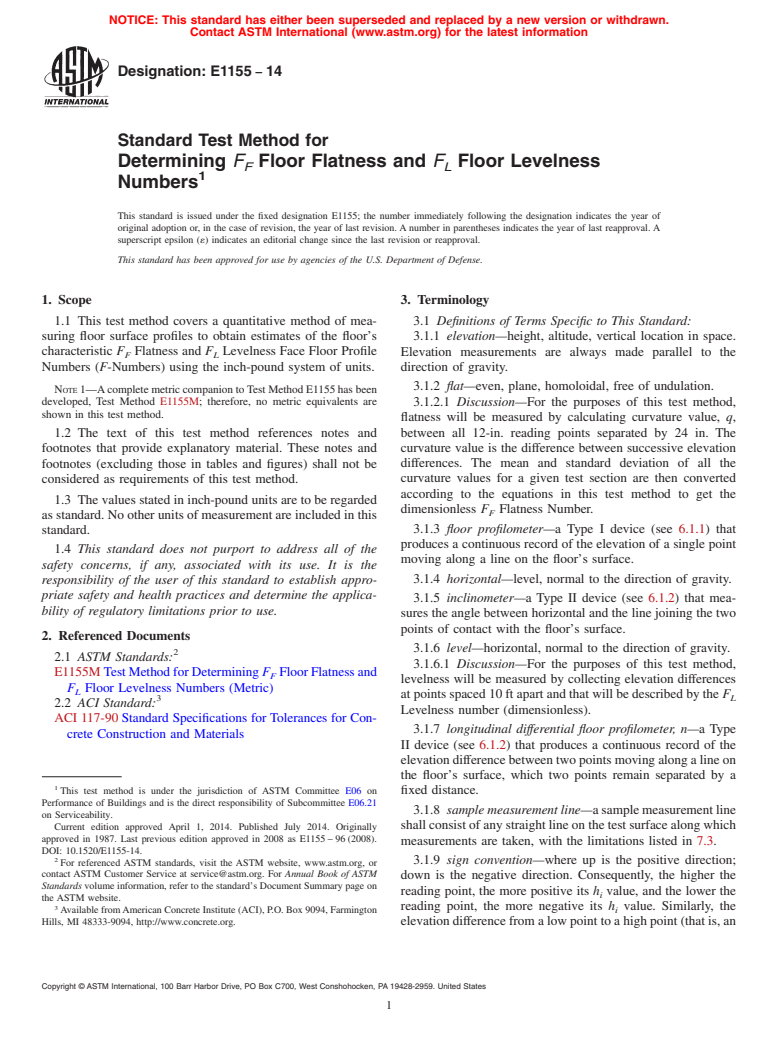
NOTICE: This standard has either been superseded and replaced by a new version or withdrawn.
Contact ASTM International (www.astm.org) for the latest information
Designation: E1155 − 14
Standard Test Method for
Determining F Floor Flatness and F Floor Levelness
F L
1
Numbers
This standard is issued under the fixed designation E1155; the number immediately following the designation indicates the year of
original adoption or, in the case of revision, the year of last revision.Anumber in parentheses indicates the year of last reapproval.A
superscript epsilon (´) indicates an editorial change since the last revision or reapproval.
This standard has been approved for use by agencies of the U.S. Department of Defense.
1. Scope 3. Terminology
1.1 This test method covers a quantitative method of mea- 3.1 Definitions of Terms Specific to This Standard:
suring floor surface profiles to obtain estimates of the floor’s 3.1.1 elevation—height, altitude, vertical location in space.
characteristic F Flatness and F Levelness Face Floor Profile
Elevation measurements are always made parallel to the
F L
Numbers (F-Numbers) using the inch-pound system of units. direction of gravity.
3.1.2 flat—even, plane, homoloidal, free of undulation.
NOTE1—AcompletemetriccompaniontoTestMethodE1155hasbeen
developed, Test Method E1155M; therefore, no metric equivalents are 3.1.2.1 Discussion—For the purposes of this test method,
shown in this test method.
flatness will be measured by calculating curvature value, q,
between all 12-in. reading points separated by 24 in. The
1.2 The text of this test method references notes and
footnotes that provide explanatory material. These notes and curvature value is the difference between successive elevation
differences. The mean and standard deviation of all the
footnotes (excluding those in tables and figures) shall not be
considered as requirements of this test method. curvature values for a given test section are then converted
according to the equations in this test method to get the
1.3 The values stated in inch-pound units are to be regarded
dimensionless F Flatness Number.
F
asstandard.Nootherunitsofmeasurementareincludedinthis
3.1.3 floor profilometer—a Type I device (see 6.1.1) that
standard.
produces a continuous record of the elevation of a single point
1.4 This standard does not purport to address all of the
moving along a line on the floor’s surface.
safety concerns, if any, associated with its use. It is the
3.1.4 horizontal—level, normal to the direction of gravity.
responsibility of the user of this standard to establish appro-
priate safety and health practices and determine the applica-
3.1.5 inclinometer—a Type II device (see 6.1.2) that mea-
bility of regulatory limitations prior to use.
sures the angle between horizontal and the line joining the two
points of contact with the floor’s surface.
2. Referenced Documents
3.1.6 level—horizontal, normal to the direction of gravity.
2
2.1 ASTM Standards:
3.1.6.1 Discussion—For the purposes of this test method,
E1155MTestMethodforDeterminingF FloorFlatnessand
F
levelness will be measured by collecting elevation differences
F Floor Levelness Numbers (Metric)
L
atpointsspaced10ftapartandthatwillbedescribedbytheF
3 L
2.2 ACI Standard:
Levelness number (dimensionless).
ACI 117-90Standard Specifications for Tolerances for Con-
3.1.7 longitudinal differential floor profilometer, n—a Type
crete Construction and Materials
II device (see 6.1.2) that produces a continuous record of the
elevationdifferencebetweentwopointsmovingalongalineon
the floor’s surface, which two points remain separated by a
1
This test method is under the jurisdiction of ASTM Committee E06 on
fixed distance.
Performance of Buildings and is the direct responsibility of Subcommittee E06.21
3.1.8 samplemeasurementline—asamplemeasurementline
on Serviceability.
Current edition approved April 1, 2014. Published July 2014. Originally shallconsistofanystraightlineonthetestsurfacealongwhich
approved in 1987. Last previous edition approved in 2008 as E1155–96(2008).
measurements are taken, with the limitations listed in 7.3.
DOI: 10.1520/E1155-14.
2
3.1.9 sign convention—where up is the positive direction;
For referenced ASTM standards, visit the ASTM website, www.astm.org, or
contact ASTM Customer Service at service@astm.org. For Annual Book of ASTM
down is the negative direction. Consequently, the higher the
Standards volume information, refer to the standard’s Document Summary page on
reading point, the more positive its h value, and the lower the
i
the ASTM website.
3
reading point, the more negative its h value. Similarly, the
Available fromAmerican Concrete Institute (ACI), P.O. Box 9094, Farmington i
Hills, MI 48333-9094, http://www.concrete.org. elevationdifferencefromalowpointtoahighpoint(thatis,an
Copyright © ASTM International, 100 Barr Harbor Drive, PO Box C700, West Conshohocken, PA 19428-2959. United States
1
---------------------- Page: 1 ----------------------
E1155 − 14
uphill diffe
...
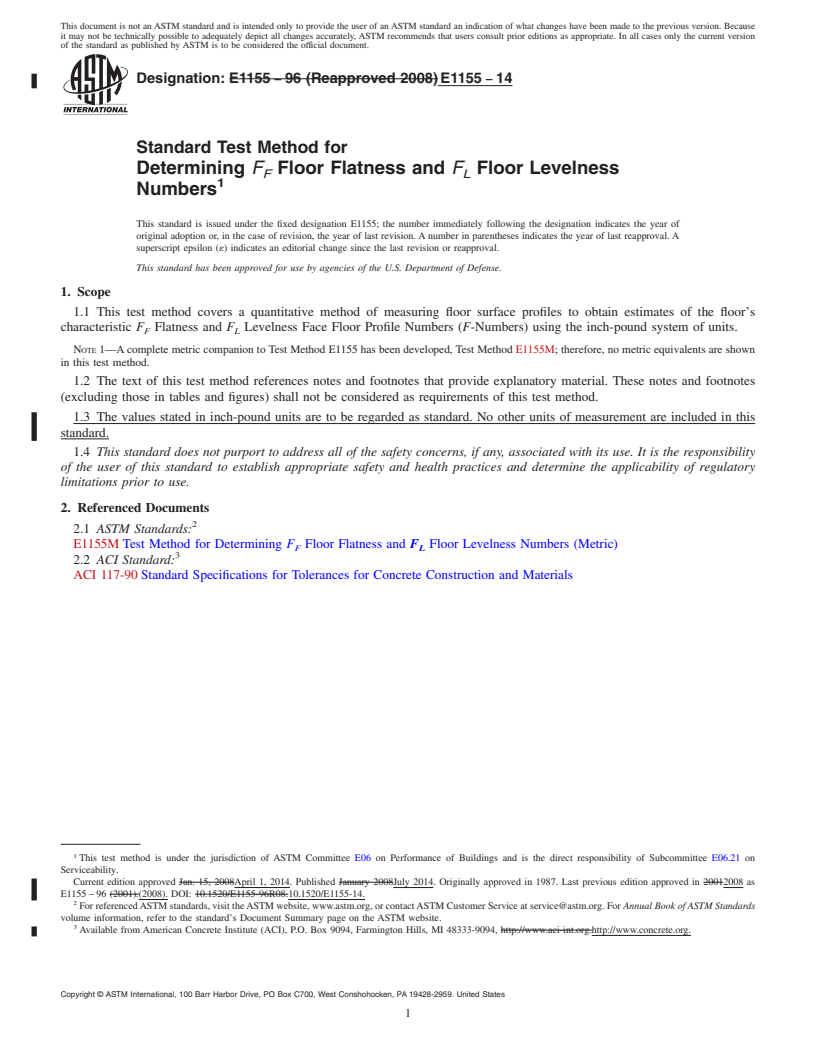
This document is not an ASTM standard and is intended only to provide the user of an ASTM standard an indication of what changes have been made to the previous version. Because
it may not be technically possible to adequately depict all changes accurately, ASTM recommends that users consult prior editions as appropriate. In all cases only the current version
of the standard as published by ASTM is to be considered the official document.
Designation: E1155 − 96 (Reapproved 2008) E1155 − 14
Standard Test Method for
Determining F Floor Flatness and F Floor Levelness
F L
1
Numbers
This standard is issued under the fixed designation E1155; the number immediately following the designation indicates the year of
original adoption or, in the case of revision, the year of last revision. A number in parentheses indicates the year of last reapproval. A
superscript epsilon (´) indicates an editorial change since the last revision or reapproval.
This standard has been approved for use by agencies of the U.S. Department of Defense.
1. Scope
1.1 This test method covers a quantitative method of measuring floor surface profiles to obtain estimates of the floor’s
characteristic F Flatness and F Levelness Face Floor Profile Numbers (F-Numbers) using the inch-pound system of units.
F L
NOTE 1—A complete metric companion to Test Method E1155 has been developed, Test Method E1155M; therefore, no metric equivalents are shown
in this test method.
1.2 The text of this test method references notes and footnotes that provide explanatory material. These notes and footnotes
(excluding those in tables and figures) shall not be considered as requirements of this test method.
1.3 The values stated in inch-pound units are to be regarded as standard. No other units of measurement are included in this
standard.
1.4 This standard does not purport to address all of the safety concerns, if any, associated with its use. It is the responsibility
of the user of this standard to establish appropriate safety and health practices and determine the applicability of regulatory
limitations prior to use.
2. Referenced Documents
2
2.1 ASTM Standards:
E1155M Test Method for Determining F Floor Flatness and F Floor Levelness Numbers (Metric)
F L
3
2.2 ACI Standard:
ACI 117-90 Standard Specifications for Tolerances for Concrete Construction and Materials
1
This test method is under the jurisdiction of ASTM Committee E06 on Performance of Buildings and is the direct responsibility of Subcommittee E06.21 on
Serviceability.
Current edition approved Jan. 15, 2008April 1, 2014. Published January 2008July 2014. Originally approved in 1987. Last previous edition approved in 20012008 as
E1155 – 96 (2001).(2008). DOI: 10.1520/E1155-96R08.10.1520/E1155-14.
2
For referenced ASTM standards, visit the ASTM website, www.astm.org, or contact ASTM Customer Service at service@astm.org. For Annual Book of ASTM Standards
volume information, refer to the standard’s Document Summary page on the ASTM website.
3
Available from American Concrete Institute (ACI), P.O. Box 9094, Farmington Hills, MI 48333-9094, http://www.aci-int.org.http://www.concrete.org.
Copyright © ASTM International, 100 Barr Harbor Drive, PO Box C700, West Conshohocken, PA 19428-2959. United States
1
---------------------- Page: 1 ----------------------
E1155 − 14
3. Terminology
3.1 Definitions of Terms Specific to This Standard:
3.1.1 elevation—height, altitude, vertical location in space. Elevation measurements are always made parallel to the direction
of gravity.
3.1.2 flat—even, plane, homoloidal, free of undulation.
3.1.2.1 Discussion—
For the purposes of this test method, flatness will be measured by calculating curvature value, q, between all 12-in. reading points
separated by 24 in. The curvature value is the difference between successive elevation differences. The mean and standard
deviation of all the curvature values for a given test section are then converted according to the equations in this test method to
get the dimensionless F Flatness Number.
F
3.1.3 floor profilometer—a Type I device (see 6.1.1) that produces a continuous record of the elevation of a single point moving
along a line on the floor’s surface.
3.1.4 horizontal—level, normal to the direction of gravity.
3.1.5 inclinometer—a Type II device (see 6.1.2) that measures the angle between horizontal and the line joining the two points
of contact with the floor’s surface.
3.1.6 level—horizontal, normal to the direction of gravity.
3.1.6.1 Discussion—
For the purposes of this test method, levelness will be measured by collecting elevation differences at points spaced 10 ft apart
and that will be described by the F Levelness number (dimensionless).
L
3.1.7 longitudinal differential floor profilometer, n—a Type II device (see 6.1.2) that produces a continuous record of the
elevation difference between two points moving along a line on the floor’s surface, which two points remain separated by a fixed
distance.
3.1.8 sample measurement line—a sample measure
...


Questions, Comments and Discussion
Ask us and Technical Secretary will try to provide an answer. You can facilitate discussion about the standard in here.