ISO 28079:2009
(Main)Hardmetals — Palmqvist toughness test
Hardmetals — Palmqvist toughness test
ISO 28079:2009 specifies a method for measuring the Palmqvist toughness of hardmetals and cermets at room temperature by an indentation method. ISO 28079:2009 applies to a measurement of toughness, called Palmqvist toughness, calculated from the total length of cracks emanating from the corners of a Vickers hardness indentation, and it is intended for use with metal-bonded carbides and carbonitrides (normally called hardmetals, cermets or cemented carbides). The test procedures proposed in ISO 28079:2009 are intended for use at ambient temperatures, but can be extended to higher or lower temperatures by agreement. The test procedures proposed in ISO 28079:2009 are also intended for use in a normal laboratory-air environment. They are not intended for use in corrosive environments, such as strong acids or seawater.
Métaux durs — Méthode d'essai de dureté de Palmqvist
General Information
Standards Content (Sample)
INTERNATIONAL ISO
STANDARD 28079
First edition
2009-07-15
Hardmetals — Palmqvist toughness test
Métaux durs — Méthode d'essai de dureté de Palmqvist
Reference number
©
ISO 2009
PDF disclaimer
This PDF file may contain embedded typefaces. In accordance with Adobe's licensing policy, this file may be printed or viewed but
shall not be edited unless the typefaces which are embedded are licensed to and installed on the computer performing the editing. In
downloading this file, parties accept therein the responsibility of not infringing Adobe's licensing policy. The ISO Central Secretariat
accepts no liability in this area.
Adobe is a trademark of Adobe Systems Incorporated.
Details of the software products used to create this PDF file can be found in the General Info relative to the file; the PDF-creation
parameters were optimized for printing. Every care has been taken to ensure that the file is suitable for use by ISO member bodies. In
the unlikely event that a problem relating to it is found, please inform the Central Secretariat at the address given below.
© ISO 2009
All rights reserved. Unless otherwise specified, no part of this publication may be reproduced or utilized in any form or by any means,
electronic or mechanical, including photocopying and microfilm, without permission in writing from either ISO at the address below or
ISO's member body in the country of the requester.
ISO copyright office
Case postale 56 • CH-1211 Geneva 20
Tel. + 41 22 749 01 11
Fax + 41 22 749 09 47
E-mail copyright@iso.org
Web www.iso.org
Published in Switzerland
ii © ISO 2009 – All rights reserved
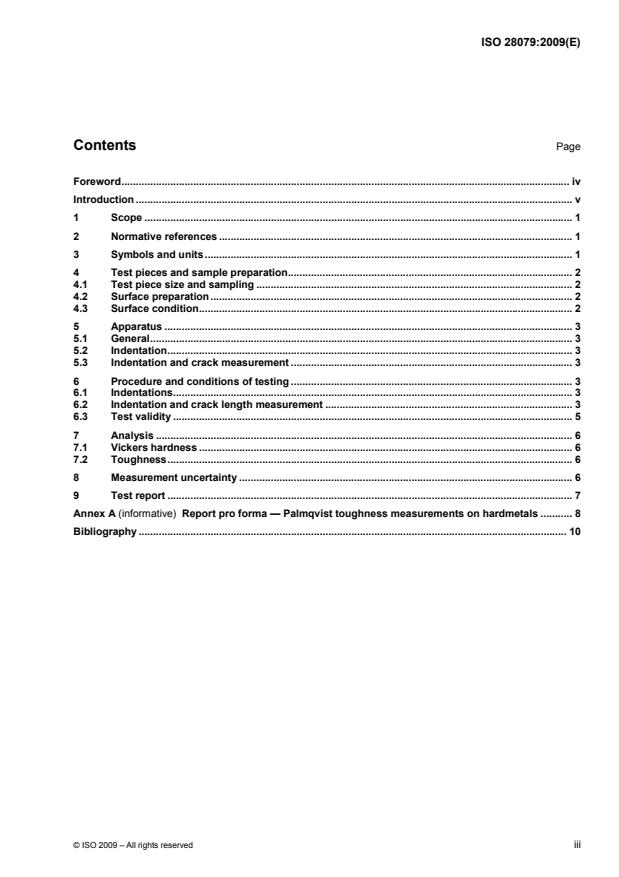
Contents Page
Foreword. iv
Introduction . v
1 Scope . 1
2 Normative references . 1
3 Symbols and units. 1
4 Test pieces and sample preparation. 2
4.1 Test piece size and sampling . 2
4.2 Surface preparation. 2
4.3 Surface condition. 2
5 Apparatus . 3
5.1 General. 3
5.2 Indentation. 3
5.3 Indentation and crack measurement . 3
6 Procedure and conditions of testing . 3
6.1 Indentations. 3
6.2 Indentation and crack length measurement . 3
6.3 Test validity . 5
7 Analysis . 6
7.1 Vickers hardness . 6
7.2 Toughness. 6
8 Measurement uncertainty . 6
9 Test report . 7
Annex A (informative) Report pro forma — Palmqvist toughness measurements on hardmetals . 8
Bibliography . 10
Foreword
ISO (the International Organization for Standardization) is a worldwide federation of national standards bodies
(ISO member bodies). The work of preparing International Standards is normally carried out through ISO
technical committees. Each member body interested in a subject for which a technical committee has been
established has the right to be represented on that committee. International organizations, governmental and
non-governmental, in liaison with ISO, also take part in the work. ISO collaborates closely with the
International Electrotechnical Commission (IEC) on all matters of electrotechnical standardization.
International Standards are drafted in accordance with the rules given in the ISO/IEC Directives, Part 2.
The main task of technical committees is to prepare International Standards. Draft International Standards
adopted by the technical committees are circulated to the member bodies for voting. Publication as an
International Standard requires approval by at least 75 % of the member bodies casting a vote.
Attention is drawn to the possibility that some of the elements of this document may be the subject of patent
rights. ISO shall not be held responsible for identifying any or all such patent rights.
ISO 28079 was prepared by Technical Committee ISO/TC 119, Powder metallurgy, Subcommittee SC 4,
Sampling and testing methods for hardmetals.
iv © ISO 2009 – All rights reserved
Introduction
Good test methods are those which enable a user or manufacturer to clearly discriminate between different
materials.
Fracture toughness values are required for three reasons:
a) for product design and performance assessment;
b) for selection of materials;
c) for quality control.
1)
A specific International Standard for the toughness of hardmetals has not been developed to date, primarily
because of the difficulty of introducing stable precracks into these tough but hard materials. However,
Palmqvist tests for toughness are widely used because of their perceived apparent simplicity. Cracks are
formed at the corners of Vickers hardness indentations and these can be used to calculate a nominal surface
toughness value. This value is sensitive to the method of measurement and to the method of surface
preparation of the sample. This International Standard outlines good practice to minimize uncertainties due to
these issues.
There are several possible methods for the measurement of the fracture toughness of hardmetals. The results
−3/2 −2
can be expressed either as a stress intensity factor, in MN·m , or as a fracture surface energy, in J·m .
−3/2 −3/2
The range of values for typical WC/Co hardmetals is from 7 MN·m to 25 MN·m . There is a general
inverse trend of hardness against fracture toughness (see [1] and [2] in the Bibliography).
When applied unqualified to hardmetals, “toughness” can have several meanings.
−3/2
a) Plane-strain fracture toughness, K , in MN·m , is a value obtained from tests on specimens with
Ic
appropriate geometries for plane-strain conditions and containing a well-defined geometry of crack. There
is no standard method for hardmetals and different organizations use different test methods for
introducing the precrack.
b) Strain-energy release rate (or work of fracture), G, is an alternative expression for toughness, often
2 2
obtained by converting plane-strain toughness, K, to G [i.e. G = K /E(1 − ν ), where E is Young's modulus
−2
and ν is Poisson's ratio]. G has units of J·m . Again, there is no standard method.
c) Palmqvist toughness, W, is a value obtained by measuring the total length of cracks emanating from the
four corners of a Vickers hardness indentation. For a given indentation load, the shorter the crack, the
tougher the hardmetal.
d) Finally, toughness is also widely used, in a loose sense, to describe the empirical relation between
perceived resistance to dynamic impacts. This is neither standardized nor quantified, but is clearly
important for many industrial applications of hard materials. Also, principally for hardmetals, it can be
more realistically assessed through either fatigue tests or high-rate strength tests, rather than a
conventional fracture toughness test.
1) Terminology — There is a range of terms used for this type of material, especially including cemented carbides and/or
cermets, as well as hardmetals. The word “hardmetals” has been used in this document. It includes all hard materials
based on carbides that are bonded with a metal. In ISO 3252 terminology, “hardmetal” is stated to be “a sintered material
characterized by high strength and wear resistance, comprising carbides of refractory metals as the main component
together with a metallic binder phase”. “Cemented carbide” is synonymous with “hardmetal”. A “cermet” is defined as “a
sintered material containing at least one metallic phase and at least one non-metallic phase, generally of a ceramic
nature”.
There is a considerable body of published information on Palmqvist toughness tests for hardmetals (see [5] to
[29] in the Bibliography). Palmqvist toughness, W, is a toughness value obtained by measuring the crack
lengths at the corners of a Vickers indentation. It can be evaluated by making indentations either at a single
load, usually 30 kgf, or from the inverse of the slope of a plot of crack length against load for a range of
applied loads. For hardmetals, the crack depth profile is normally of the Palmqvist type, i.e. independent
shallow arcs emanating from each indentation corner. The measurement of surface crack length is, however,
open to operator error. It is widely recognized that test surfaces are carefully prepared to remove the effects of
residual surface stresses (see [8] in the Bibliography). The test also has a poor fracture-mechanics pedigree
because of the uncertainties associated with residual stresses introduced by the indentation.
One advantage of the Palmqvist method is that parallel measurements are made of sample hardness, which
is required for quality-control purposes. The crack length, and thus toughness measurements, do not therefore
require much more effort and can yield equally useful material characterization data, provided the
measurements are obtained carefully in line with the methods proposed in this International Standard.
This International Standard is based on a “Good Practice Guide for the Measurement of Palmqvist
Toughness” published by the UK National Physical Laboratory in 1998. This International Standard
recommends good practice to minimize levels of uncertainty in the measurement process. The procedure has
2)
been validated through underpinning technical work within the VAMAS framework (see [29] in the
Bibliography). An interlaboratory exercise was conducted to generate underpinning technical information on
toughness tests for hardmetals. More than ten industrial organizations participated, either by correspondence,
supply of materials or by conducting tests. Eight organizations were able to complete Palmqvist tests. Good
statistics were obtained on the Palmqvist data that enabled a quantitative assessment of uncertainties to be
performed for this relatively simple test. Single-edge precracked beam data was thought to be closest to the
“true” value, and the mean values from the Palmqvist test data compared reasonably well with these results.
However, care was needed in test piece preparation to ensure a good correlation between data from the
Palmqvist tests and the single-edge precracked beam results.
2) VAMAS, Versailles Project on Advanced Materials and Standards, supports trade in high technology products through
international collaborative projects aimed at providing the technical basis for drafting codes of practice and specifications
for advanced materials. The scope of the collaboration embraces all agreed aspects of enabling science and technology,
i.e. databases, test methods, design methods, and materials technology, which are required as a precursor to the drafting
of standards for advanced materials. VAMAS activity emphasises collaboration on pre-standards measurement research,
intercomparison of test results, and consolidation of existing views on priorities for standardization action. Through this
activity, VAMAS fosters the development of internationally acceptable standards for advanced materials by the various
existing standards agencies.
vi © ISO 2009 – All rights reserved
INTERNATIONAL STANDARD ISO 28079:2009(E)
Hardmetals — Palmqvist toughness test
1 Scope
This International Standard specifies a method for measuring the Palmqvist toughness of hardmetals and
cermets at room temperature by an indentation method. This International Standard applies to a measurement
of toughness, called Palmqvist toughness, calculated from the total length of cracks emanating from the
corners of a Vickers hardness indentation, and it is intended for use with metal-bo
...


Questions, Comments and Discussion
Ask us and Technical Secretary will try to provide an answer. You can facilitate discussion about the standard in here.