ASTM F2537-23
(Practice)Standard Practice for Calibration of Linear Displacement Sensor Systems Used to Measure Micromotion
Standard Practice for Calibration of Linear Displacement Sensor Systems Used to Measure Micromotion
SIGNIFICANCE AND USE
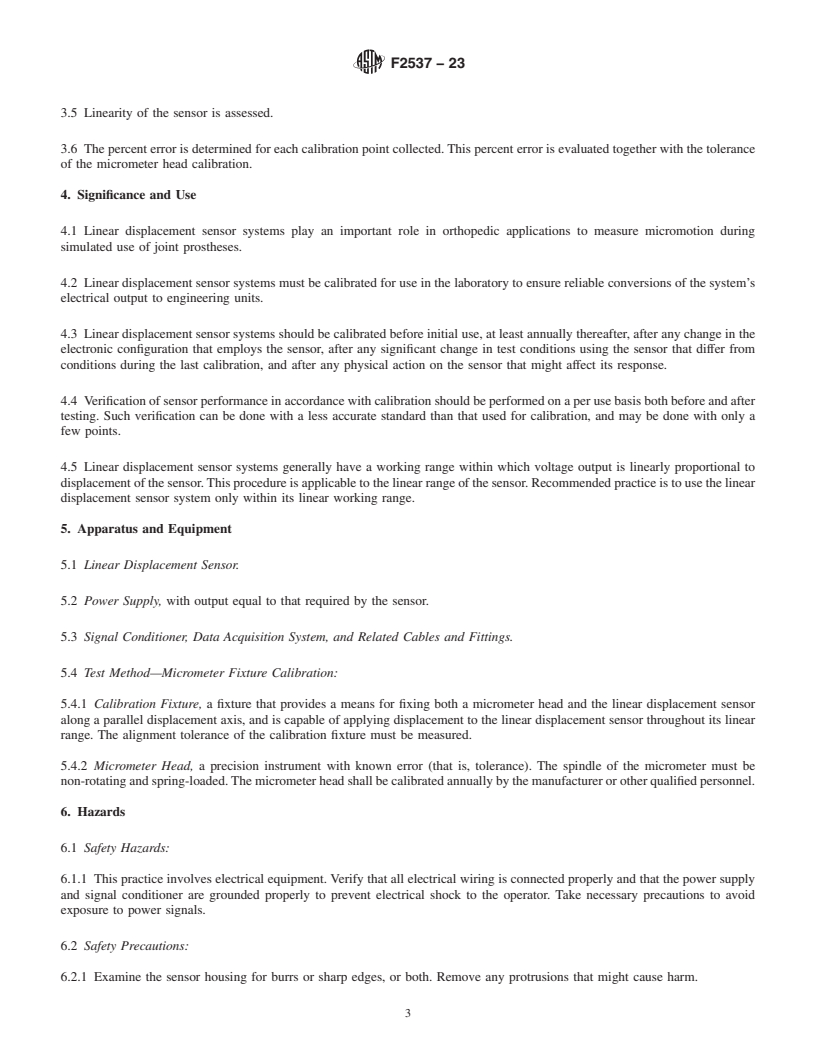
4.1 Linear displacement sensor systems play an important role in orthopedic applications to measure micromotion during simulated use of joint prostheses.
4.2 Linear displacement sensor systems must be calibrated for use in the laboratory to ensure reliable conversions of the system’s electrical output to engineering units.
4.3 Linear displacement sensor systems should be calibrated before initial use, at least annually thereafter, after any change in the electronic configuration that employs the sensor, after any significant change in test conditions using the sensor that differ from conditions during the last calibration, and after any physical action on the sensor that might affect its response.
4.4 Verification of sensor performance in accordance with calibration should be performed on a per use basis both before and after testing. Such verification can be done with a less accurate standard than that used for calibration, and may be done with only a few points.
4.5 Linear displacement sensor systems generally have a working range within which voltage output is linearly proportional to displacement of the sensor. This procedure is applicable to the linear range of the sensor. Recommended practice is to use the linear displacement sensor system only within its linear working range.
SCOPE
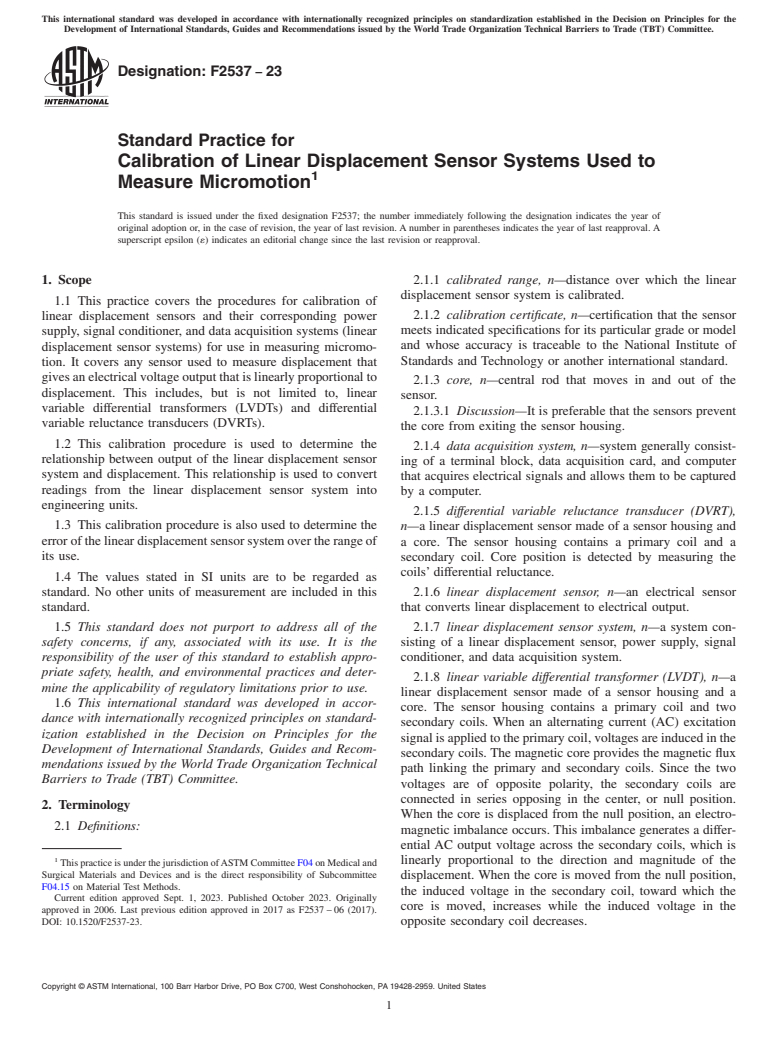
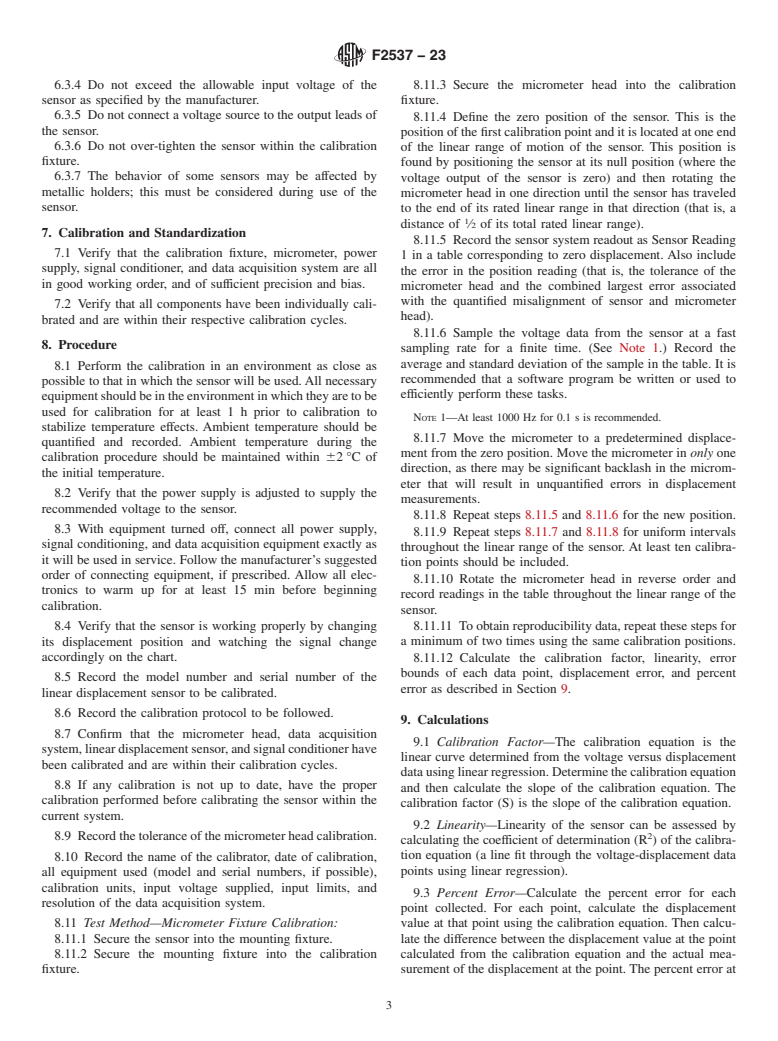
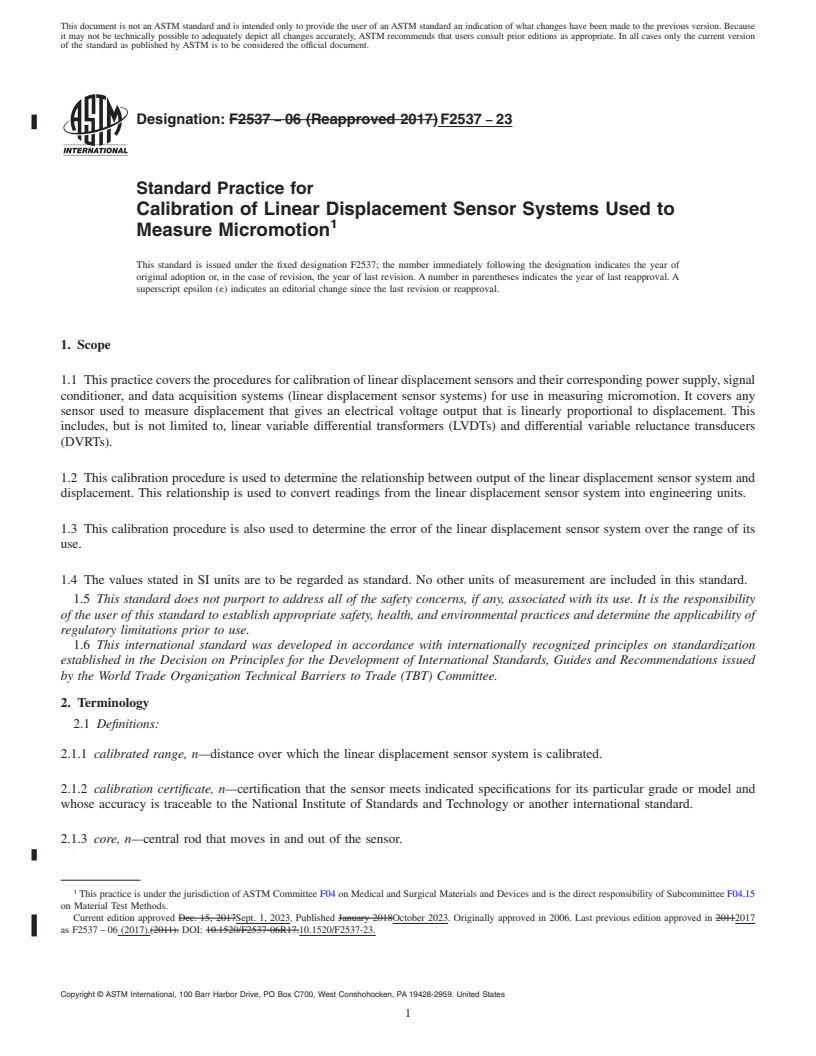
1.1 This practice covers the procedures for calibration of linear displacement sensors and their corresponding power supply, signal conditioner, and data acquisition systems (linear displacement sensor systems) for use in measuring micromotion. It covers any sensor used to measure displacement that gives an electrical voltage output that is linearly proportional to displacement. This includes, but is not limited to, linear variable differential transformers (LVDTs) and differential variable reluctance transducers (DVRTs).
1.2 This calibration procedure is used to determine the relationship between output of the linear displacement sensor system and displacement. This relationship is used to convert readings from the linear displacement sensor system into engineering units.
1.3 This calibration procedure is also used to determine the error of the linear displacement sensor system over the range of its use.
1.4 The values stated in SI units are to be regarded as standard. No other units of measurement are included in this standard.
1.5 This standard does not purport to address all of the safety concerns, if any, associated with its use. It is the responsibility of the user of this standard to establish appropriate safety, health, and environmental practices and determine the applicability of regulatory limitations prior to use.
1.6 This international standard was developed in accordance with internationally recognized principles on standardization established in the Decision on Principles for the Development of International Standards, Guides and Recommendations issued by the World Trade Organization Technical Barriers to Trade (TBT) Committee.
General Information
Relations
Buy Standard
Standards Content (Sample)
This international standard was developed in accordance with internationally recognized principles on standardization established in the Decision on Principles for the
Development of International Standards, Guides and Recommendations issued by the World Trade Organization Technical Barriers to Trade (TBT) Committee.
Designation: F2537 − 23
Standard Practice for
Calibration of Linear Displacement Sensor Systems Used to
1
Measure Micromotion
This standard is issued under the fixed designation F2537; the number immediately following the designation indicates the year of
original adoption or, in the case of revision, the year of last revision. A number in parentheses indicates the year of last reapproval. A
superscript epsilon (´) indicates an editorial change since the last revision or reapproval.
1. Scope 2.1.1 calibrated range, n—distance over which the linear
displacement sensor system is calibrated.
1.1 This practice covers the procedures for calibration of
2.1.2 calibration certificate, n—certification that the sensor
linear displacement sensors and their corresponding power
supply, signal conditioner, and data acquisition systems (linear meets indicated specifications for its particular grade or model
and whose accuracy is traceable to the National Institute of
displacement sensor systems) for use in measuring micromo-
Standards and Technology or another international standard.
tion. It covers any sensor used to measure displacement that
gives an electrical voltage output that is linearly proportional to
2.1.3 core, n—central rod that moves in and out of the
displacement. This includes, but is not limited to, linear
sensor.
variable differential transformers (LVDTs) and differential
2.1.3.1 Discussion—It is preferable that the sensors prevent
variable reluctance transducers (DVRTs).
the core from exiting the sensor housing.
1.2 This calibration procedure is used to determine the
2.1.4 data acquisition system, n—system generally consist-
relationship between output of the linear displacement sensor
ing of a terminal block, data acquisition card, and computer
system and displacement. This relationship is used to convert
that acquires electrical signals and allows them to be captured
readings from the linear displacement sensor system into
by a computer.
engineering units.
2.1.5 differential variable reluctance transducer (DVRT),
1.3 This calibration procedure is also used to determine the
n—a linear displacement sensor made of a sensor housing and
error of the linear displacement sensor system over the range of a core. The sensor housing contains a primary coil and a
its use.
secondary coil. Core position is detected by measuring the
coils’ differential reluctance.
1.4 The values stated in SI units are to be regarded as
standard. No other units of measurement are included in this 2.1.6 linear displacement sensor, n—an electrical sensor
standard. that converts linear displacement to electrical output.
1.5 This standard does not purport to address all of the 2.1.7 linear displacement sensor system, n—a system con-
safety concerns, if any, associated with its use. It is the sisting of a linear displacement sensor, power supply, signal
responsibility of the user of this standard to establish appro- conditioner, and data acquisition system.
priate safety, health, and environmental practices and deter-
2.1.8 linear variable differential transformer (LVDT), n—a
mine the applicability of regulatory limitations prior to use.
linear displacement sensor made of a sensor housing and a
1.6 This international standard was developed in accor-
core. The sensor housing contains a primary coil and two
dance with internationally recognized principles on standard-
secondary coils. When an alternating current (AC) excitation
ization established in the Decision on Principles for the
signal is applied to the primary coil, voltages are induced in the
Development of International Standards, Guides and Recom-
secondary coils. The magnetic core provides the magnetic flux
mendations issued by the World Trade Organization Technical
path linking the primary and secondary coils. Since the two
Barriers to Trade (TBT) Committee.
voltages are of opposite polarity, the secondary coils are
connected in series opposing in the center, or null position.
2. Terminology
When the core is displaced from the null position, an electro-
2.1 Definitions:
magnetic imbalance occurs. This imbalance generates a differ-
ential AC output voltage across the secondary coils, which is
1
linearly proportional to the direction and magnitude of the
This practice is under the jurisdiction of ASTM Committee F04 on Medical and
Surgical Materials and Devices and is the direct responsibility of Subcommittee
displacement. When the core is moved from the null position,
F04.15 on Material Test Methods.
the induced voltage in the secondary coil, toward which the
Current edition approved Sept. 1, 2023. Published October 2023. Originally
core is moved, increases while the induce
...
This document is not an ASTM standard and is intended only to provide the user of an ASTM standard an indication of what changes have been made to the previous version. Because
it may not be technically possible to adequately depict all changes accurately, ASTM recommends that users consult prior editions as appropriate. In all cases only the current version
of the standard as published by ASTM is to be considered the official document.
Designation: F2537 − 06 (Reapproved 2017) F2537 − 23
Standard Practice for
Calibration of Linear Displacement Sensor Systems Used to
1
Measure Micromotion
This standard is issued under the fixed designation F2537; the number immediately following the designation indicates the year of
original adoption or, in the case of revision, the year of last revision. A number in parentheses indicates the year of last reapproval. A
superscript epsilon (´) indicates an editorial change since the last revision or reapproval.
1. Scope
1.1 This practice covers the procedures for calibration of linear displacement sensors and their corresponding power supply, signal
conditioner, and data acquisition systems (linear displacement sensor systems) for use in measuring micromotion. It covers any
sensor used to measure displacement that gives an electrical voltage output that is linearly proportional to displacement. This
includes, but is not limited to, linear variable differential transformers (LVDTs) and differential variable reluctance transducers
(DVRTs).
1.2 This calibration procedure is used to determine the relationship between output of the linear displacement sensor system and
displacement. This relationship is used to convert readings from the linear displacement sensor system into engineering units.
1.3 This calibration procedure is also used to determine the error of the linear displacement sensor system over the range of its
use.
1.4 The values stated in SI units are to be regarded as standard. No other units of measurement are included in this standard.
1.5 This standard does not purport to address all of the safety concerns, if any, associated with its use. It is the responsibility
of the user of this standard to establish appropriate safety, health, and environmental practices and determine the applicability of
regulatory limitations prior to use.
1.6 This international standard was developed in accordance with internationally recognized principles on standardization
established in the Decision on Principles for the Development of International Standards, Guides and Recommendations issued
by the World Trade Organization Technical Barriers to Trade (TBT) Committee.
2. Terminology
2.1 Definitions:
2.1.1 calibrated range, n—distance over which the linear displacement sensor system is calibrated.
2.1.2 calibration certificate, n—certification that the sensor meets indicated specifications for its particular grade or model and
whose accuracy is traceable to the National Institute of Standards and Technology or another international standard.
2.1.3 core, n—central rod that moves in and out of the sensor.
1
This practice is under the jurisdiction of ASTM Committee F04 on Medical and Surgical Materials and Devices and is the direct responsibility of Subcommittee F04.15
on Material Test Methods.
Current edition approved Dec. 15, 2017Sept. 1, 2023. Published January 2018October 2023. Originally approved in 2006. Last previous edition approved in 20112017
as F2537 – 06 (2017).(2011). DOI: 10.1520/F2537-06R17.10.1520/F2537-23.
Copyright © ASTM International, 100 Barr Harbor Drive, PO Box C700, West Conshohocken, PA 19428-2959. United States
1
---------------------- Page: 1 ----------------------
F2537 − 23
NOTE 1—It is preferable that the sensors prevent the core from exiting the sensor housing.
2.1.3.1 Discussion—
It is preferable that the sensors prevent the core from exiting the sensor housing.
2.1.4 data acquisition system, n—system generally consisting of a terminal block, data acquisition card, and computer that
acquires electrical signals and allows them to be captured by a computer.
2.1.5 differential variable reluctance transducer (DVRT), n—a linear displacement sensor made of a sensor housing and a core.
The sensor housing contains a primary coil and a secondary coil. Core position is detected by measuring the coils’ differential
reluctance.
2.1.6 linear displacement sensor, n—an electrical sensor that converts linear displacement to electrical output.
2.1.7 linear displacement sensor system, n—a system consisting of a linear displacement sensor, power supply, signal conditioner,
and data acquisition system.
2.1.8 linear variable differential transformer (LVDT), n—a linear displacement sensor made of a sensor housing and a core. The
sensor housing contains a primary coil and two secondary coils. When an ac alternating current (AC) excitation signal is applied
to the primary coil, voltages are induced in the secondary coils. The magnetic core provides the magnetic flux path linking th
...


Questions, Comments and Discussion
Ask us and Technical Secretary will try to provide an answer. You can facilitate discussion about the standard in here.