ASTM B84-07(2013)
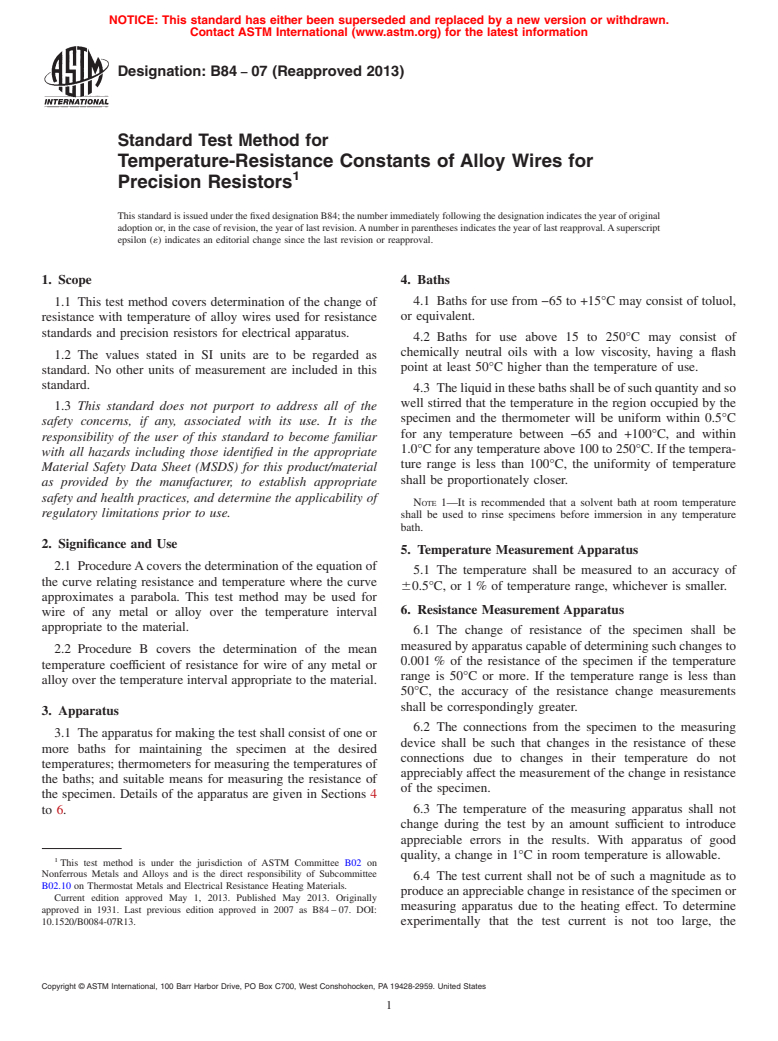
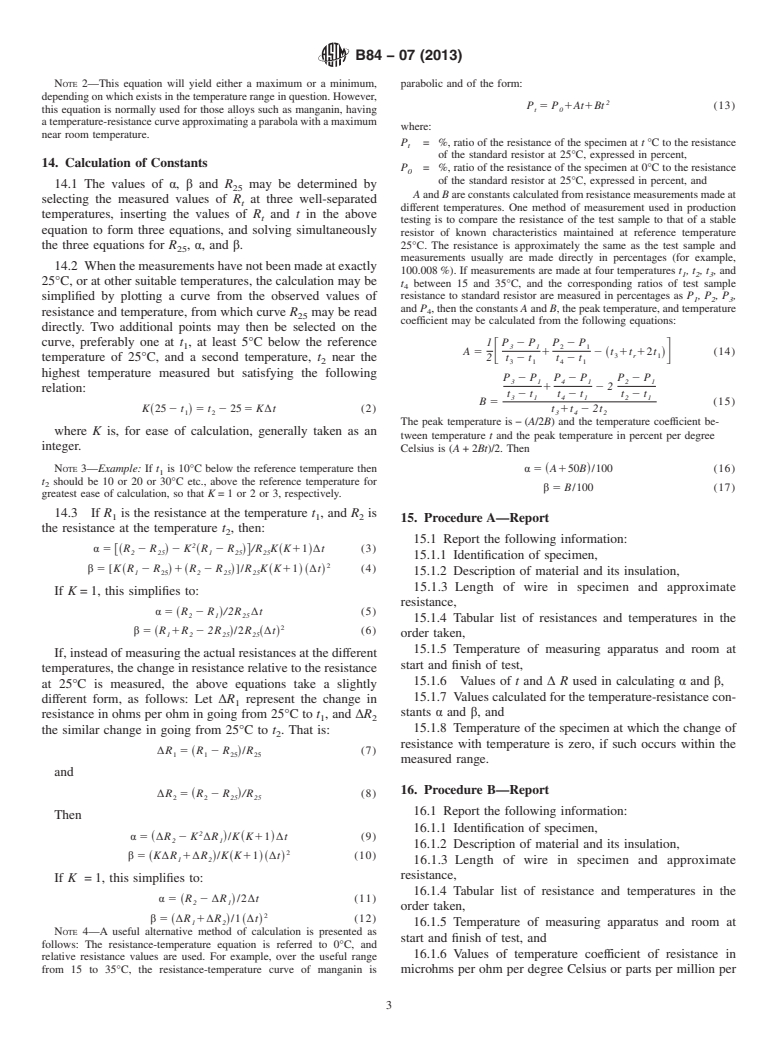
(Test Method)Standard Test Method for Temperature-Resistance Constants of Alloy Wires for Precision Resistors
Standard Test Method for Temperature-Resistance Constants of Alloy Wires for Precision Resistors
SIGNIFICANCE AND USE
2.1 Procedure A covers the determination of the equation of the curve relating resistance and temperature where the curve approximates a parabola. This test method may be used for wire of any metal or alloy over the temperature interval appropriate to the material.
2.2 Procedure B covers the determination of the mean temperature coefficient of resistance for wire of any metal or alloy over the temperature interval appropriate to the material.
SCOPE
1.1 This test method covers determination of the change of resistance with temperature of alloy wires used for resistance standards and precision resistors for electrical apparatus.
1.2 The values stated in SI units are to be regarded as standard. No other units of measurement are included in this standard.
1.3 This standard does not purport to address all of the safety concerns, if any, associated with its use. It is the responsibility of the user of this standard to become familiar with all hazards including those identified in the appropriate Material Safety Data Sheet (MSDS) for this product/material as provided by the manufacturer, to establish appropriate safety and health practices, and determine the applicability of regulatory limitations prior to use.
General Information
Relations
Standards Content (Sample)
NOTICE: This standard has either been superseded and replaced by a new version or withdrawn.
Contact ASTM International (www.astm.org) for the latest information
Designation: B84 − 07 (Reapproved 2013)
Standard Test Method for
Temperature-Resistance Constants of Alloy Wires for
Precision Resistors
ThisstandardisissuedunderthefixeddesignationB84;thenumberimmediatelyfollowingthedesignationindicatestheyearoforiginal
adoptionor,inthecaseofrevision,theyearoflastrevision.Anumberinparenthesesindicatestheyearoflastreapproval.Asuperscript
epsilon (´) indicates an editorial change since the last revision or reapproval.
1. Scope 4. Baths
4.1 Baths for use from −65 to +15°C may consist of toluol,
1.1 This test method covers determination of the change of
or equivalent.
resistance with temperature of alloy wires used for resistance
standards and precision resistors for electrical apparatus.
4.2 Baths for use above 15 to 250°C may consist of
chemically neutral oils with a low viscosity, having a flash
1.2 The values stated in SI units are to be regarded as
point at least 50°C higher than the temperature of use.
standard. No other units of measurement are included in this
standard.
4.3 Theliquidinthesebathsshallbeofsuchquantityandso
well stirred that the temperature in the region occupied by the
1.3 This standard does not purport to address all of the
specimen and the thermometer will be uniform within 0.5°C
safety concerns, if any, associated with its use. It is the
for any temperature between −65 and +100°C, and within
responsibility of the user of this standard to become familiar
1.0°C for any temperature above 100 to 250°C. If the tempera-
with all hazards including those identified in the appropriate
ture range is less than 100°C, the uniformity of temperature
Material Safety Data Sheet (MSDS) for this product/material
shall be proportionately closer.
as provided by the manufacturer, to establish appropriate
safety and health practices, and determine the applicability of
NOTE 1—It is recommended that a solvent bath at room temperature
regulatory limitations prior to use.
shall be used to rinse specimens before immersion in any temperature
bath.
2. Significance and Use
5. Temperature Measurement Apparatus
2.1 ProcedureAcovers the determination of the equation of
5.1 The temperature shall be measured to an accuracy of
the curve relating resistance and temperature where the curve
60.5°C, or 1% of temperature range, whichever is smaller.
approximates a parabola. This test method may be used for
6. Resistance Measurement Apparatus
wire of any metal or alloy over the temperature interval
appropriate to the material.
6.1 The change of resistance of the specimen shall be
measuredbyapparatuscapableofdeterminingsuchchangesto
2.2 Procedure B covers the determination of the mean
0.001% of the resistance of the specimen if the temperature
temperature coefficient of resistance for wire of any metal or
range is 50°C or more. If the temperature range is less than
alloy over the temperature interval appropriate to the material.
50°C, the accuracy of the resistance change measurements
shall be correspondingly greater.
3. Apparatus
6.2 The connections from the specimen to the measuring
3.1 The apparatus for making the test shall consist of one or
device shall be such that changes in the resistance of these
more baths for maintaining the specimen at the desired
connections due to changes in their temperature do not
temperatures; thermometers for measuring the temperatures of
appreciably affect the measurement of the change in resistance
the baths; and suitable means for measuring the resistance of
of the specimen.
the specimen. Details of the apparatus are given in Sections 4
to 6. 6.3 The temperature of the measuring apparatus shall not
change during the test by an amount sufficient to introduce
appreciable errors in the results. With apparatus of good
quality, a change in 1°C in room temperature is allowable.
This test method is under the jurisdiction of ASTM Committee B02 on
Nonferrous Metals and Alloys and is the direct responsibility of Subcommittee
6.4 The test current shall not be of such a magnitude as to
B02.10 on Thermostat Metals and Electrical Resistance Heating Materials.
produceanappreciablechangeinresistanceofthespecimenor
Current edition approved May 1, 2013. Published May 2013. Originally
measuring apparatus due to the heating effect. To determine
approved in 1931. Last previous edition approved in 2007 as B84–07. DOI:
10.1520/B0084-07R13. experimentally that the test current is not too large, the
Copyright © ASTM International, 100 Barr Harbor Drive, PO Box C700, West Conshohocken, PA 19428-2959. United States
B84 − 07 (2013)
specimen may be immersed in a bath having a temperature at 9.3 In coils made of fine wire where there is not sufficient
which it has been found that the wire has a relatively large rigidityinthecoilitselftofurnishasatisfactorysupportforthe
change in resistance with temperature. Apply the test current terminals, short lengths of thin glass or ceramic rods may be
and maintain until the resistance of the specimen has become found across the coil to act as struts and furnish an anchorage
constant. Then increase the current by 40% and maintain at for the terminals.
thisvalueuntiltheresistancehasagainbecomeconstant.Ifthe
change in resistance is greater than 0.01%, the test current is 10. Preliminary Treatment of Specimen
too large and shall be reduced until the foregoing limitation is
10.1 The finished specimen shall be subjected to a baking
reached.
treatment as necessary to stabilize the resistance of the speci-
6.5 The measurements shall be made in such a way that the men. For manganin the treatment shall be at 140 6 10°C
effectsofthermoelectromotiveforcesandparasiticcurrentsare continuously for a period of 48 h.
avoided. When these effects are small, the resistance of the
specimen may be obtained by either of the following methods: 11. Procedure A
6.5.1 Obtain the galvanometer zero with the galvanometer
11.1 Connect the test specimen in the measuring circuit and
key open. Balance the bridge both with the direct and reversed
submerge entirely in the bath. For a check on the constancy of
connection of the battery, the average value of the two results
the specimen, make an initial resistance measurement at 25°C.
being the resistance of the specimen.
Raise the temperature of the bath or transfer the specimen to a
6.5.2 Obtain the zero of the galvanometer with the galva-
bath maintained constant at the highest temperature at which
nometer key closed and the battery key opened. A single
measurementsaretobemade.Whenthespecimenhasattained
balance of the bridge is then sufficient to obtain the resistance
a constant resistance, record the reading of the measuring
of the specimen.
device and the temperature of the bath.
11.2 Decrease the temperature of the test specimen to the
7. Sampling
next lower temperature either by cooling the bath and main-
7.1 Take one test specimen from each continuous length of
taining it constant at the next lower temperature, or by
the material to be tested.
removingthespecimentoanotherbathmaintainedatthelower
temperature. When the resistance of the specimen has become
8. Test Specimen
constant, again make observations of resistance and tempera-
8.1 The test specimen shall be of a length that will give a
ture.
resistance that can be measured to the required accuracy.
11.3 In this manner, make a series of determinations of the
8.2 If the wire is insulated, it may be wound in a circular,
change of resistance with temperature for the desired descend-
open coil not less than 50 mm in diameter.
ing temperature range, measurements being taken at intervals
of approximately 10% of the temperature range or any
8.3 If the wire is not insulated, it may be wound on an
temperature interval specified by agreement between producer
insulating form of a type that will not introduce strains in the
and consumer.
wire when subjected to temperature changes.
11.4 Test at not less than four temperatures.
8.4 The tension used in winding shall be no more than
sufficient to produce a neat coil of insulated wire or to prevent
11.5 Note the temperature of the measuring apparatus at
the touching of adjacent turns when bare wire is wound on an
frequent intervals during the test of each specimen.
insulating form.
12. Procedure B
8.5 For fine wires of sufficiently high-resistivity alloys,
straight wire specimens may be used. Precautions should be
12.1 See Section 11, except 11.4. Tests shall be made at not
taken to avoid the introduction of strains in the sample during
less than three temperatures, including 25°C.
preparation.
13. Resistance-Temperature Equation
9. Terminals
13.1 Express the results in terms of the constants in an
9.1 For specimens having a resistance so large that the
equation of the following form:
resistance of the leads is negligible, a copper wire may be
R 5 R 11α t 2 25 1β t 2 25 (1)
@ ~ ! ~ ! #
t 25
brazed,soldered,orweldedtoeachendofthespecimenforuse
as a terminal. The resistance of the copper terminals shall be
where:
less than 0.02% of the resistance of the specimen.
R = resistanceofthespecimeninohmsattemperature,
t
°C, t,
9.2 If the resistance of the specimen is less than 10 Ω,so
R = resistanceofthespecimeninohmsatthestandard
that it is necessary to use both current and potential terminals 25
temperature of 25°C,
in measuring the resistance, two copper wires may be brazed,
t = temperature of specimen, °C, and
soldered, or welded to each end of the specimen for use as
α and β = temperature-resistance constants of the material.
terminals. The terminals shall be placed so that the measured
potential does not include the potential drop in the current Temperature of maximum or minimum resistance
connections. =25°C−(α/2β)
B84 − 07 (2013)
NOTE 2—This equation will yield either a maximum or a minimum, parabolic and of the form:
dependingonwhichexistsinthetemperaturerangeinquestion.However,
P 5 P 1At1Bt (13)
this equation is normally used for those alloys such as manganin, having t 0
atemperature-resistancecurveapproximatingaparabolawithamaximum
where:
near room temperature.
P = %, ratio of the resistance of the specimen at t°C to the resistance
t
of the standard resistor at 25°C, expressed in percent,
14. Calculation of Constants
P = %, ratio of the resistance of the specimen at 0°C to the resistance
of the standard resistor at 25°C, expressed in percent, and
14.1 The values of α, β and R may be determined by
Aand Bareconstantscalculatedfromresistancemeasurementsmadeat
selecting the
...


Questions, Comments and Discussion
Ask us and Technical Secretary will try to provide an answer. You can facilitate discussion about the standard in here.