ASTM B386/B386M-19
(Specification)Standard Specification for Molybdenum and Molybdenum Alloy Plate,Sheet, Strip, Foil, and Ribbon
Standard Specification for Molybdenum and Molybdenum Alloy Plate,<brk/>Sheet, Strip, Foil, and Ribbon
ABSTRACT
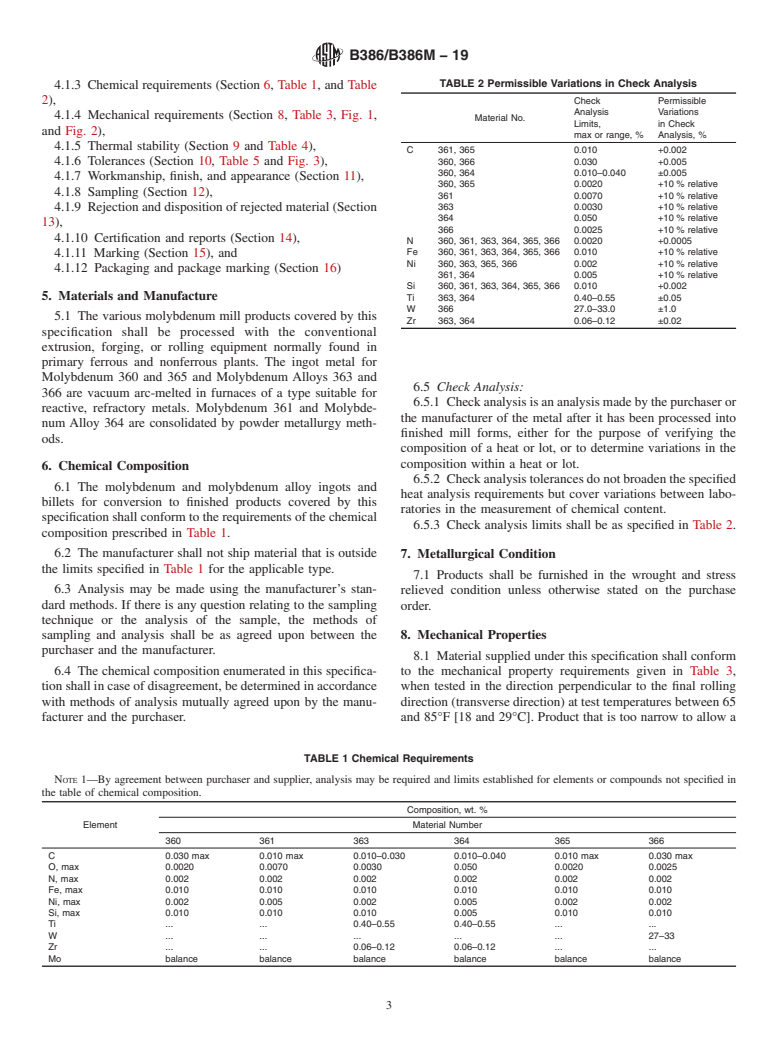
This specification covers unalloyed molybdenum and molybdenum alloy plate, sheet, strip, and foil as follows: Molybdenum 360; Molybdenum 361; Molybdenum Alloy 363; Molybdenum Alloy 364; Molybdenum 365; and Molybdenum Alloy 366. The various molybdenum mill products covered by this specification shall be formed with the conventional extrusion, forging, or rolling equipment normally found in primary ferrous and nonferrous plants. The ingot metal for Molybdenum 360 and 365 and Molybdenum Alloys 363 and 366 is vacuum arc-melted in furnaces of a type suitable for reactive, refractory metals. For Molybdenum 361 and Molybdenum Alloy 364, the metal is consolidated by powder metallurgy methods. The molybdenum and molybdenum alloy ingots and billets for conversion to finished products covered by this specification shall conform to the chemical composition requirements for carbon, oxygen, nitrogen, iron, nickel, silicon, titanium, tungsten, zirconium, and molybdenum. The material shall conform to the mechanical property requirements for tensile strength, yield strength, elongation, and minimum bend radius.
SCOPE
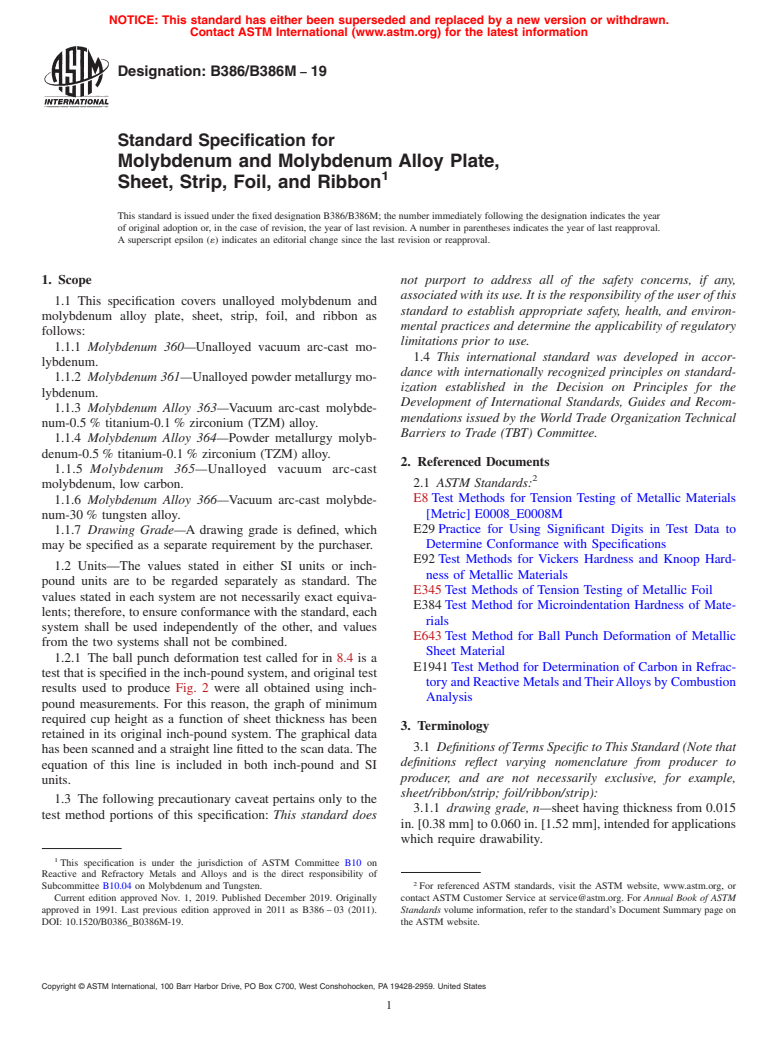
1.1 This specification covers unalloyed molybdenum and molybdenum alloy plate, sheet, strip, foil, and ribbon as follows:
1.1.1 Molybdenum 360—Unalloyed vacuum arc-cast molybdenum.
1.1.2 Molybdenum 361—Unalloyed powder metallurgy molybdenum.
1.1.3 Molybdenum Alloy 363—Vacuum arc-cast molybdenum-0.5 % titanium-0.1 % zirconium (TZM) alloy.
1.1.4 Molybdenum Alloy 364—Powder metallurgy molybdenum-0.5 % titanium-0.1 % zirconium (TZM) alloy.
1.1.5 Molybdenum 365—Unalloyed vacuum arc-cast molybdenum, low carbon.
1.1.6 Molybdenum Alloy 366—Vacuum arc-cast molybdenum-30 % tungsten alloy.
1.1.7 Drawing Grade—A drawing grade is defined, which may be specified as a separate requirement by the purchaser.
1.2 Units—The values stated in either SI units or inch-pound units are to be regarded separately as standard. The values stated in each system are not necessarily exact equivalents; therefore, to ensure conformance with the standard, each system shall be used independently of the other, and values from the two systems shall not be combined.
1.2.1 The ball punch deformation test called for in 8.4 is a test that is specified in the inch-pound system, and original test results used to produce Fig. 2 were all obtained using inch-pound measurements. For this reason, the graph of minimum required cup height as a function of sheet thickness has been retained in its original inch-pound system. The graphical data has been scanned and a straight line fitted to the scan data. The equation of this line is included in both inch-pound and SI units.
1.3 The following precautionary caveat pertains only to the test method portions of this specification: This standard does not purport to address all of the safety concerns, if any, associated with its use. It is the responsibility of the user of this standard to establish appropriate safety, health, and environmental practices and determine the applicability of regulatory limitations prior to use.
1.4 This international standard was developed in accordance with internationally recognized principles on standardization established in the Decision on Principles for the Development of International Standards, Guides and Recommendations issued by the World Trade Organization Technical Barriers to Trade (TBT) Committee.
General Information
Relations
Buy Standard
Standards Content (Sample)
NOTICE: This standard has either been superseded and replaced by a new version or withdrawn.
Contact ASTM International (www.astm.org) for the latest information
Designation:B386/B386M −19
Standard Specification for
Molybdenum and Molybdenum Alloy Plate,
1
Sheet, Strip, Foil, and Ribbon
This standard is issued under the fixed designation B386/B386M; the number immediately following the designation indicates the year
of original adoption or, in the case of revision, the year of last revision. A number in parentheses indicates the year of last reapproval.
A superscript epsilon (´) indicates an editorial change since the last revision or reapproval.
1. Scope not purport to address all of the safety concerns, if any,
associated with its use. It is the responsibility of the user of this
1.1 This specification covers unalloyed molybdenum and
standard to establish appropriate safety, health, and environ-
molybdenum alloy plate, sheet, strip, foil, and ribbon as
mental practices and determine the applicability of regulatory
follows:
limitations prior to use.
1.1.1 Molybdenum 360—Unalloyed vacuum arc-cast mo-
1.4 This international standard was developed in accor-
lybdenum.
dance with internationally recognized principles on standard-
1.1.2 Molybdenum 361—Unalloyed powder metallurgy mo-
ization established in the Decision on Principles for the
lybdenum.
Development of International Standards, Guides and Recom-
1.1.3 Molybdenum Alloy 363—Vacuum arc-cast molybde-
mendations issued by the World Trade Organization Technical
num-0.5 % titanium-0.1 % zirconium (TZM) alloy.
Barriers to Trade (TBT) Committee.
1.1.4 Molybdenum Alloy 364—Powder metallurgy molyb-
denum-0.5 % titanium-0.1 % zirconium (TZM) alloy.
2. Referenced Documents
1.1.5 Molybdenum 365—Unalloyed vacuum arc-cast
2
2.1 ASTM Standards:
molybdenum, low carbon.
E8 Test Methods for Tension Testing of Metallic Materials
1.1.6 Molybdenum Alloy 366—Vacuum arc-cast molybde-
[Metric] E0008_E0008M
num-30 % tungsten alloy.
E29 Practice for Using Significant Digits in Test Data to
1.1.7 Drawing Grade—A drawing grade is defined, which
Determine Conformance with Specifications
may be specified as a separate requirement by the purchaser.
E92 Test Methods for Vickers Hardness and Knoop Hard-
1.2 Units—The values stated in either SI units or inch-
ness of Metallic Materials
pound units are to be regarded separately as standard. The
E345 Test Methods of Tension Testing of Metallic Foil
values stated in each system are not necessarily exact equiva-
E384 Test Method for Microindentation Hardness of Mate-
lents; therefore, to ensure conformance with the standard, each
rials
system shall be used independently of the other, and values
E643 Test Method for Ball Punch Deformation of Metallic
from the two systems shall not be combined.
Sheet Material
1.2.1 The ball punch deformation test called for in 8.4 is a
E1941 Test Method for Determination of Carbon in Refrac-
test that is specified in the inch-pound system, and original test
tory and Reactive Metals andTheirAlloys by Combustion
results used to produce Fig. 2 were all obtained using inch-
Analysis
pound measurements. For this reason, the graph of minimum
required cup height as a function of sheet thickness has been
3. Terminology
retained in its original inch-pound system. The graphical data
3.1 Definitions of Terms Specific to This Standard (Note that
has been scanned and a straight line fitted to the scan data. The
definitions reflect varying nomenclature from producer to
equation of this line is included in both inch-pound and SI
producer, and are not necessarily exclusive, for example,
units.
sheet/ribbon/strip; foil/ribbon/strip):
1.3 The following precautionary caveat pertains only to the
3.1.1 drawing grade, n—sheet having thickness from 0.015
test method portions of this specification: This standard does
in. [0.38 mm] to 0.060 in. [1.52 mm], intended for applications
which require drawability.
1
This specification is under the jurisdiction of ASTM Committee B10 on
Reactive and Refractory Metals and Alloys and is the direct responsibility of
2
Subcommittee B10.04 on Molybdenum and Tungsten. For referenced ASTM standards, visit the ASTM website, www.astm.org, or
Current edition approved Nov. 1, 2019. Published December 2019. Originally contact ASTM Customer Service at service@astm.org. For Annual Book of ASTM
approved in 1991. Last previous edition approved in 2011 as B386 – 03 (2011). Standards volume information, refer to the standard’s Document Summary page on
DOI: 10.1520/B0386_B0386M-19. the ASTM website.
Copyright © ASTM International, 100 Barr Harbor Drive, PO Box C700, West Conshohocken, PA 19428-2959. United States
1
---------------------- Page: 1 ----------------------
B386/B386M−19
FIG. 1 Sample for Bending Test
3.1.5 plate, n—product 0.187 in. [4.75 mm] or more in
thickness. Depending upon starting ingot thickness and fin-
ished plate thickness, Plate may be rolled unidirectionally (in a
single direction), or cross-rolle
...
This document is not an ASTM standard and is intended only to provide the user of an ASTM standard an indication of what changes have been made to the previous version. Because
it may not be technically possible to adequately depict all changes accurately, ASTM recommends that users consult prior editions as appropriate. In all cases only the current version
of the standard as published by ASTM is to be considered the official document.
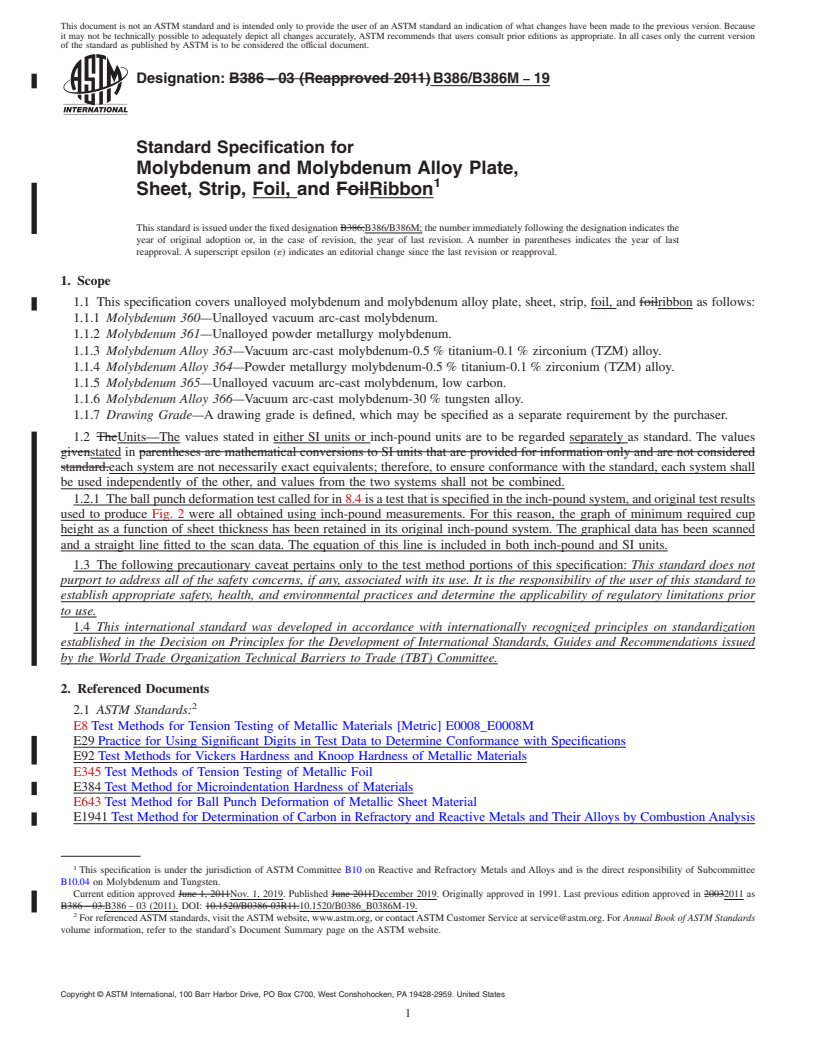
Designation: B386 − 03 (Reapproved 2011) B386/B386M − 19
Standard Specification for
Molybdenum and Molybdenum Alloy Plate,
1
Sheet, Strip, Foil, and FoilRibbon
This standard is issued under the fixed designation B386;B386/B386M; the number immediately following the designation indicates the
year of original adoption or, in the case of revision, the year of last revision. A number in parentheses indicates the year of last
reapproval. A superscript epsilon (´) indicates an editorial change since the last revision or reapproval.
1. Scope
1.1 This specification covers unalloyed molybdenum and molybdenum alloy plate, sheet, strip, foil, and foilribbon as follows:
1.1.1 Molybdenum 360—Unalloyed vacuum arc-cast molybdenum.
1.1.2 Molybdenum 361—Unalloyed powder metallurgy molybdenum.
1.1.3 Molybdenum Alloy 363—Vacuum arc-cast molybdenum-0.5 % titanium-0.1 % zirconium (TZM) alloy.
1.1.4 Molybdenum Alloy 364—Powder metallurgy molybdenum-0.5 % titanium-0.1 % zirconium (TZM) alloy.
1.1.5 Molybdenum 365—Unalloyed vacuum arc-cast molybdenum, low carbon.
1.1.6 Molybdenum Alloy 366—Vacuum arc-cast molybdenum-30 % tungsten alloy.
1.1.7 Drawing Grade—A drawing grade is defined, which may be specified as a separate requirement by the purchaser.
1.2 TheUnits—The values stated in either SI units or inch-pound units are to be regarded separately as standard. The values
givenstated in parentheses are mathematical conversions to SI units that are provided for information only and are not considered
standard.each system are not necessarily exact equivalents; therefore, to ensure conformance with the standard, each system shall
be used independently of the other, and values from the two systems shall not be combined.
1.2.1 The ball punch deformation test called for in 8.4 is a test that is specified in the inch-pound system, and original test results
used to produce Fig. 2 were all obtained using inch-pound measurements. For this reason, the graph of minimum required cup
height as a function of sheet thickness has been retained in its original inch-pound system. The graphical data has been scanned
and a straight line fitted to the scan data. The equation of this line is included in both inch-pound and SI units.
1.3 The following precautionary caveat pertains only to the test method portions of this specification: This standard does not
purport to address all of the safety concerns, if any, associated with its use. It is the responsibility of the user of this standard to
establish appropriate safety, health, and environmental practices and determine the applicability of regulatory limitations prior
to use.
1.4 This international standard was developed in accordance with internationally recognized principles on standardization
established in the Decision on Principles for the Development of International Standards, Guides and Recommendations issued
by the World Trade Organization Technical Barriers to Trade (TBT) Committee.
2. Referenced Documents
2
2.1 ASTM Standards:
E8 Test Methods for Tension Testing of Metallic Materials [Metric] E0008_E0008M
E29 Practice for Using Significant Digits in Test Data to Determine Conformance with Specifications
E92 Test Methods for Vickers Hardness and Knoop Hardness of Metallic Materials
E345 Test Methods of Tension Testing of Metallic Foil
E384 Test Method for Microindentation Hardness of Materials
E643 Test Method for Ball Punch Deformation of Metallic Sheet Material
E1941 Test Method for Determination of Carbon in Refractory and Reactive Metals and Their Alloys by Combustion Analysis
1
This specification is under the jurisdiction of ASTM Committee B10 on Reactive and Refractory Metals and Alloys and is the direct responsibility of Subcommittee
B10.04 on Molybdenum and Tungsten.
Current edition approved June 1, 2011Nov. 1, 2019. Published June 2011December 2019. Originally approved in 1991. Last previous edition approved in 20032011 as
B386 – 03.B386 – 03 (2011). DOI: 10.1520/B0386-03R11.10.1520/B0386_B0386M-19.
2
For referenced ASTM standards, visit the ASTM website, www.astm.org, or contact ASTM Customer Service at service@astm.org. For Annual Book of ASTM Standards
volume information, refer to the standard’s Document Summary page on the ASTM website.
Copyright © ASTM International, 100 Barr Harbor Drive, PO Box C700, West Conshohocken, PA 19428-2959. United States
1
---------------------- Page: 1 ----------------------
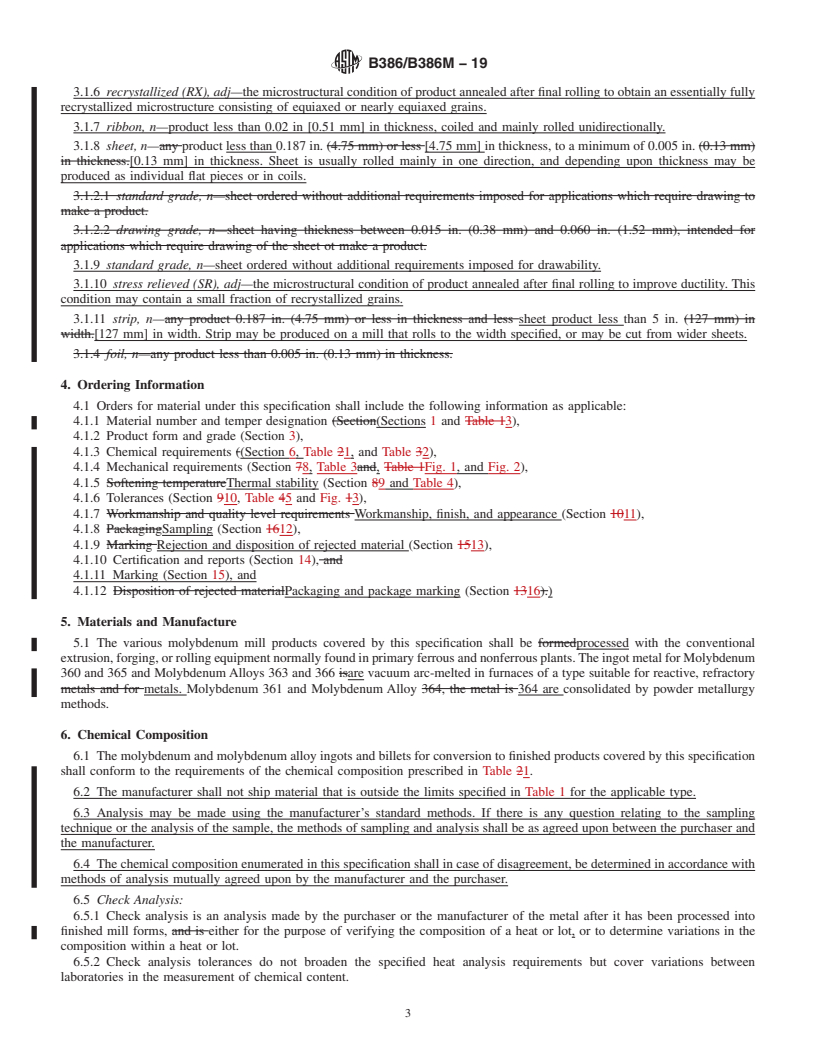
B386/B386M − 19
FIG. 1 Sample for Bending Test
FIG. 2 Ball Punch Deformation Requirements for Drawing Grade Sheet
3. Terminology
3.1 Definitions of Term
...


Questions, Comments and Discussion
Ask us and Technical Secretary will try to provide an answer. You can facilitate discussion about the standard in here.