ASTM G9-87(1998)
(Test Method)Standard Test Method for Water Penetration into Pipeline Coatings (Withdrawn 2007)
Standard Test Method for Water Penetration into Pipeline Coatings (Withdrawn 2007)
SCOPE
1.1 This method covers the determination of the apparent rate of depth of water penetration into insulating coatings applied to pipe.
1.2 The values stated in inch-pound units are to be regarded as the standard.
1.3 This standard does not purport to address all of the safety problems, if any, associated with its use. It is the responsibility of the user of this standard to establish appropriate safety and health practices and determine the applicability of regulatory limitations prior to use.
WITHDRAWN RATIONALE
This test method covers the determination of the apparent rate of depth of water penetration into insulating coatings applied to pipe.
Formerly under the jurisdiction of Committee D01 on Paint and Related Coatings, Materials, and Applications, this test method was withdrawn in March 2007 in accordance with section 10.5.3.1 of the Regulations Governing ASTM Technical Committees, which requires that standards shall be updated by the end of the eighth year since the last approval date.
General Information
Relations
Standards Content (Sample)
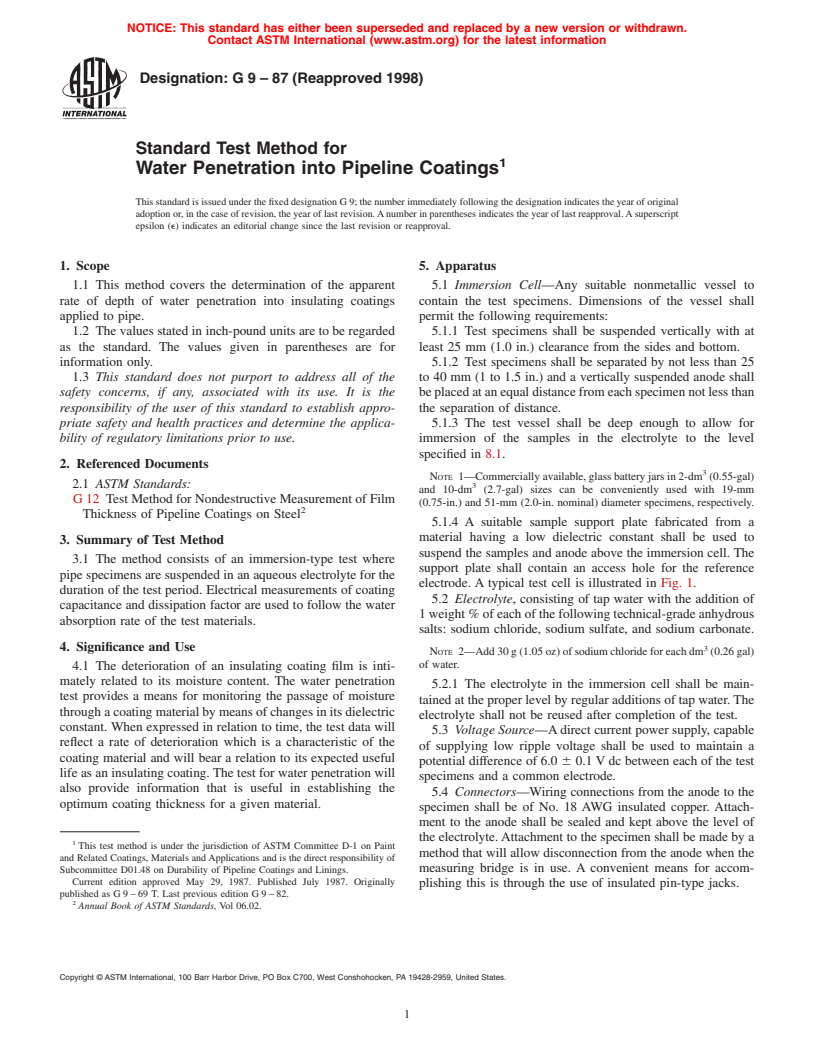
NOTICE: This standard has either been superseded and replaced by a new version or withdrawn.
Contact ASTM International (www.astm.org) for the latest information
Designation:G9–87(Reapproved1998)
Standard Test Method for
Water Penetration into Pipeline Coatings
This standard is issued under the fixed designation G 9; the number immediately following the designation indicates the year of original
adoption or, in the case of revision, the year of last revision.Anumber in parentheses indicates the year of last reapproval.Asuperscript
epsilon (e) indicates an editorial change since the last revision or reapproval.
1. Scope 5. Apparatus
1.1 This method covers the determination of the apparent 5.1 Immersion Cell—Any suitable nonmetallic vessel to
rate of depth of water penetration into insulating coatings contain the test specimens. Dimensions of the vessel shall
applied to pipe. permit the following requirements:
1.2 The values stated in inch-pound units are to be regarded 5.1.1 Test specimens shall be suspended vertically with at
as the standard. The values given in parentheses are for least 25 mm (1.0 in.) clearance from the sides and bottom.
information only. 5.1.2 Test specimens shall be separated by not less than 25
1.3 This standard does not purport to address all of the to 40 mm (1 to 1.5 in.) and a vertically suspended anode shall
safety concerns, if any, associated with its use. It is the beplacedatanequaldistancefromeachspecimennotlessthan
responsibility of the user of this standard to establish appro- the separation of distance.
priate safety and health practices and determine the applica- 5.1.3 The test vessel shall be deep enough to allow for
bility of regulatory limitations prior to use. immersion of the samples in the electrolyte to the level
specified in 8.1.
2. Referenced Documents
NOTE 1—Commerciallyavailable,glassbatteryjarsin2-dm (0.55-gal)
2.1 ASTM Standards:
and 10-dm (2.7-gal) sizes can be conveniently used with 19-mm
G12 Test Method for Nondestructive Measurement of Film
(0.75-in.) and 51-mm (2.0-in. nominal) diameter specimens, respectively.
Thickness of Pipeline Coatings on Steel
5.1.4 A suitable sample support plate fabricated from a
material having a low dielectric constant shall be used to
3. Summary of Test Method
suspend the samples and anode above the immersion cell. The
3.1 The method consists of an immersion-type test where
support plate shall contain an access hole for the reference
pipe specimens are suspended in an aqueous electrolyte for the
electrode. A typical test cell is illustrated in Fig. 1.
duration of the test period. Electrical measurements of coating
5.2 Electrolyte, consisting of tap water with the addition of
capacitance and dissipation factor are used to follow the water
1 weight % of each of the following technical-grade anhydrous
absorption rate of the test materials.
salts: sodium chloride, sodium sulfate, and sodium carbonate.
4. Significance and Use 3
NOTE 2—Add30g(1.05oz)ofsodiumchlorideforeachdm (0.26gal)
of water.
4.1 The deterioration of an insulating coating film is inti-
mately related to its moisture content. The water penetration
5.2.1 The electrolyte in the immersion cell shall be main-
test provides a means for monitoring the passage of moisture
tained at the proper level by regular additions of tap water.The
through a coating material by means of changes in its dielectric
electrolyte shall not be reused after completion of the test.
constant. When expressed in relation to time, the test data will
5.3 Voltage Source—Adirect current power supply, capable
reflect a rate of deterioration which is a characteristic of the
of supplying low ripple voltage shall be used to maintain a
coating material and will bear a relation to its expected useful
potential difference of 6.0 6 0.1 V dc between each of the test
life as an insulating coating. The test for water penetration will
specimens and a common electrode.
also provide information that is useful in establishing the
5.4 Connectors—Wiring connections from the anode to the
optimum coating thickness for a given material.
specimen shall be of No. 18 AWG insulated copper. Attach-
ment to the anode shall be sealed and kept above the level of
the electrolyte.Attachment to the specimen shall be made by a
This test method is under the jurisdiction of ASTM Committee D-1 on Paint
method that will allow disconnection from the anode when the
and Related Coatings, Materials andApplications and is the direct responsibility of
Subcommittee D01.48 on Durability of Pipeline Coatings and Linings. measuring bridge is in use. A convenient means for accom-
Current edition approved May 29, 1987. Published July 1987. Originally
plishing this is through the use of insulated pin-type jacks.
published asG9–69T. Last previous editionG9–82.
Annual Book of ASTM Standards, Vol 06.02.
Copyright © ASTM International, 100 Barr Harbor Drive, PO Box C700, West Conshohocken, PA 19428-2959, United States.
G9–87 (1998)
5.7 Thickness Gage—Measurements of coating thickness
will be required for this test. Any instrument suitable for use
with Test MethodG12 can be used.
5.8 Anode, fabricated from 4.76-mm (0.1875-in.) diameter
AISI Type 303 stainless-steel rod, and shall be 178 mm (7.00
in.) long, with the upper 50 mm (2.00 in.) threaded to accept a
locking nut.
6. Test Specimen
6.1 The test specimen shall be a representative piece of
production-coated pipe and shall be free of obvious coating
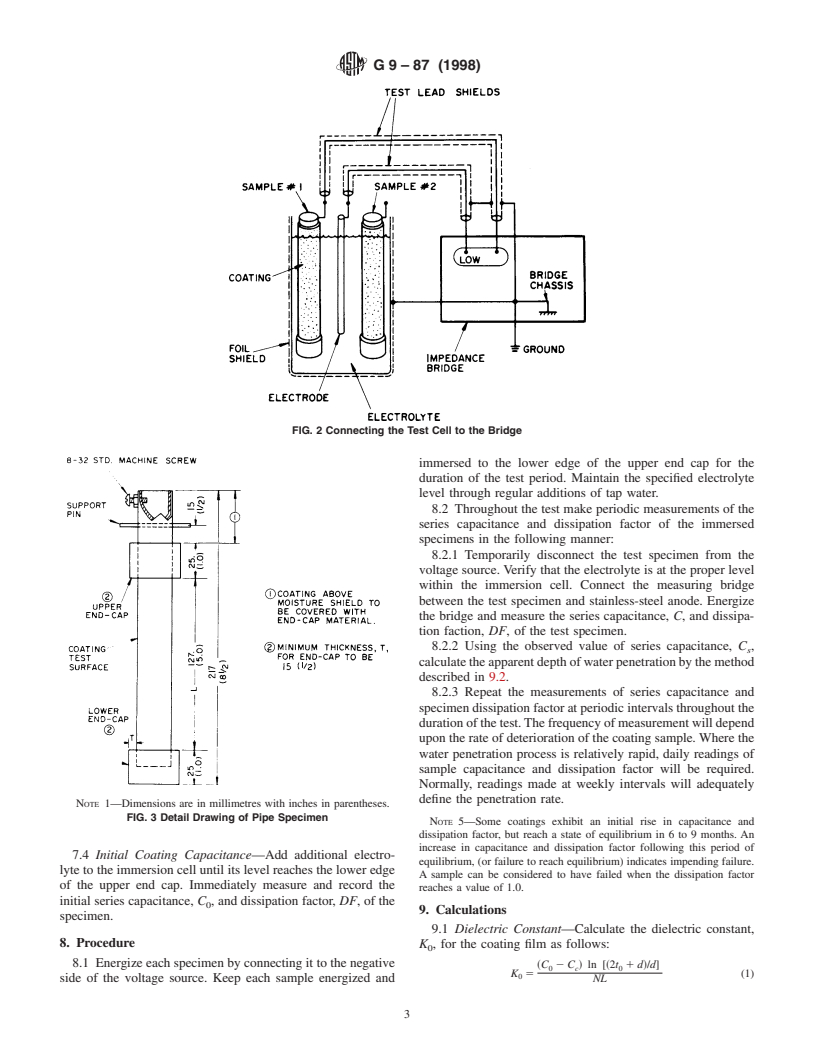
flaws or defects (see Fig. 3). Any suitable diameter and
specimen length can be used. Physical limitations of the
immersion cells suggested in 5.1.3, Note 1, make it necessary
to restrict the over-all sample length to approximately 300 mm
(12.0 in.) for both the 26.7-mm (0.75-in. nominal) and
60.3-mm (2.0-in. nominal) diameter coated pipe specimens.
6.2 The upper and lower ends of the test specimen shall be
plugged and sealed with nonconductive caps of sufficient bulk
to minimize effectively capacitive end effects in the measuring
circuit. For this purpose, an end-cap thickness of from 13 mm
(0.5 in.) to 19 mm (0.75 in.) shall be maintained.
6.2.1 The end-cap material shall have a dielectric constant
in the range from 2 to 6, bond well to the coating surface, and
exhibit a low water-absorption rate. Several commercially
available poly(vinyl chloride)-paraffin compounds, are well
suited for this purpose.They have a melting point in the 150 to
200°C (300 to 390°F) range, can be poured into molds around
FIG. 1 Typical Test Cell
the pipe sample, and appear as resilient, durable solids at room
temperature.
5.5 Capacitance Bridge —Measurements of equivalent
NOTE 4—Using these materials, the end-caps can be applied to the
specimen capacitance and coating dissipation factor shall be
required thickness by repeated dipping of the sample ends into a
made with a low-voltage a-c, resistive-ratio-arm type measur-
molten-wax bath, or through the use of light-weight, disposable molds of
ing bridge having the following characteristics:
aluminumfoilorpaperformedaroundthepipesampletoallowthecasting
5.5.1 Oscillator frequency, 1 kHz 62%,
of the caps directly to the surface of the coated pipe sample.
5.5.2 Series capacitance range, 1 to 1100 pF 61%,
6.3 The end of the specimen which will protrude above the
5.5.3 Series capacitance sensitivity, 0.5 pF,
immersion line shall be provided with a suitable means of
5.5.4 Dissipation factor range, 0.001 to 1.0 at 1 kHz, and
support and a separate wire connection for electrical purposes.
5.5.5 Dissipation factor sensitivity, 0.001 at 1 kHz.
The protruding end of the sample shall be waterproofed with a
5.6 Measuring Circuit—Measurements of specimen capaci-
thin coating of end-cap material (see Fig. 1).
tance and coating dissipation factor shall be made using a
circuit that places the sample unknown in series with the
7. Preliminary Test Measurements
comparison circuit of the measuring bridge. Connection of the
7.1 Coating Thickness—Measure and record the coating
unknown to the measuring bridge shall be made in such a
thickness by
...


Questions, Comments and Discussion
Ask us and Technical Secretary will try to provide an answer. You can facilitate discussion about the standard in here.