ASTM E915-21
(Practice)Standard Practice for Verifying the Alignment of X-Ray Diffraction Instruments for Residual Stress Measurement
Standard Practice for Verifying the Alignment of X-Ray Diffraction Instruments for Residual Stress Measurement
SIGNIFICANCE AND USE
4.1 This practice provides a means of verifying the alignment of an X-ray diffraction instrument so as to quantify and minimize systematic experimental error in residual stress measurements. This practice is suitable for application to conventional X-ray diffraction instruments or to X-ray diffraction residual stress measurement instruments of either the diverging or parallel beam types3,4
4.2 Application of this practice requires the use of a flat stress-free specimen that diffracts X-rays within the angular range of the diffraction peak to be used for subsequent residual stress measurements. The specimen shall have sufficiently small coherent domains or grains, be quasi-homogeneous, quasi-isotropic, and be of sufficient thickness such that incident X-rays interact with and diffract from an adequate number of individual coherent domains or grains such that a near-random grain orientation distribution is sampled. The crystals shall provide intense diffraction at all tilt angles ψ that will be employed.
Note 1: A major bias in crystal structure orientation is undesirable, but complete freedom from preferred orientation in the stress-free specimen is not critical in the application of the technique.
SCOPE
1.1 This practice describes the procedure for verifying the alignment of X-ray diffraction instruments used for residual stress measurements.
1.2 This practice further describes the use of iron powder for fabrication of a stress-free test specimen to be used to quantify the systematic error that can occur in residual stress measurement of ferritic or martensitic steels. This practice is easily adapted to other alloys and ceramics by the use of a powder having a similar diffraction angle to the material to be measured.
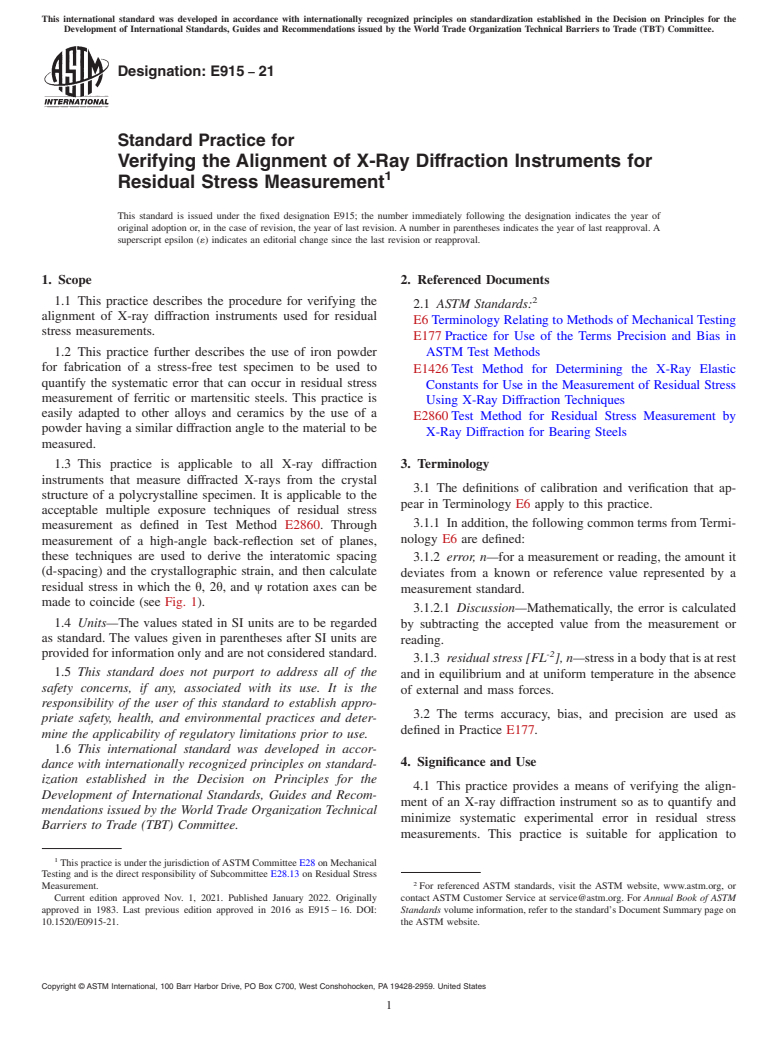
1.3 This practice is applicable to all X-ray diffraction instruments that measure diffracted X-rays from the crystal structure of a polycrystalline specimen. It is applicable to the acceptable multiple exposure techniques of residual stress measurement as defined in Test Method E2860. Through measurement of a high-angle back-reflection set of planes, these techniques are used to derive the interatomic spacing (d-spacing) and the crystallographic strain, and then calculate residual stress in which the θ, 2θ, and ψ rotation axes can be made to coincide (see Fig. 1).
FIG. 1 X-Ray Diffraction Residual Stress Measurement Geometry and Angles Defined
1.4 Units—The values stated in SI units are to be regarded as standard. The values given in parentheses after SI units are provided for information only and are not considered standard.
1.5 This standard does not purport to address all of the safety concerns, if any, associated with its use. It is the responsibility of the user of this standard to establish appropriate safety, health, and environmental practices and determine the applicability of regulatory limitations prior to use.
1.6 This international standard was developed in accordance with internationally recognized principles on standardization established in the Decision on Principles for the Development of International Standards, Guides and Recommendations issued by the World Trade Organization Technical Barriers to Trade (TBT) Committee.
General Information
Buy Standard
Standards Content (Sample)
This international standard was developed in accordance with internationally recognized principles on standardization established in the Decision on Principles for the
Development of International Standards, Guides and Recommendations issued by the World Trade Organization Technical Barriers to Trade (TBT) Committee.
Designation: E915 −21
Standard Practice for
Verifying the Alignment of X-Ray Diffraction Instruments for
1
Residual Stress Measurement
This standard is issued under the fixed designation E915; the number immediately following the designation indicates the year of
original adoption or, in the case of revision, the year of last revision.Anumber in parentheses indicates the year of last reapproval.A
superscript epsilon (´) indicates an editorial change since the last revision or reapproval.
1. Scope 2. Referenced Documents
2
1.1 This practice describes the procedure for verifying the
2.1 ASTM Standards:
alignment of X-ray diffraction instruments used for residual
E6Terminology Relating to Methods of Mechanical Testing
stress measurements.
E177Practice for Use of the Terms Precision and Bias in
1.2 This practice further describes the use of iron powder ASTM Test Methods
for fabrication of a stress-free test specimen to be used to
E1426Test Method for Determining the X-Ray Elastic
quantify the systematic error that can occur in residual stress
Constants for Use in the Measurement of Residual Stress
measurement of ferritic or martensitic steels. This practice is
Using X-Ray Diffraction Techniques
easily adapted to other alloys and ceramics by the use of a
E2860Test Method for Residual Stress Measurement by
powder having a similar diffraction angle to the material to be
X-Ray Diffraction for Bearing Steels
measured.
1.3 This practice is applicable to all X-ray diffraction 3. Terminology
instruments that measure diffracted X-rays from the crystal
3.1 The definitions of calibration and verification that ap-
structure of a polycrystalline specimen. It is applicable to the
pear in Terminology E6 apply to this practice.
acceptable multiple exposure techniques of residual stress
3.1.1 In addition, the following common terms fromTermi-
measurement as defined in Test Method E2860. Through
nology E6 are defined:
measurement of a high-angle back-reflection set of planes,
these techniques are used to derive the interatomic spacing
3.1.2 error, n—for a measurement or reading, the amount it
(d-spacing) and the crystallographic strain, and then calculate
deviates from a known or reference value represented by a
residual stress in which the θ,2θ, and ψ rotation axes can be
measurement standard.
made to coincide (see Fig. 1).
3.1.2.1 Discussion—Mathematically, the error is calculated
1.4 Units—The values stated in SI units are to be regarded
by subtracting the accepted value from the measurement or
as standard. The values given in parentheses after SI units are
reading.
-2
provided for informationonlyandarenotconsideredstandard.
3.1.3 residual stress [FL ], n—stressinabodythatisatrest
1.5 This standard does not purport to address all of the
and in equilibrium and at uniform temperature in the absence
safety concerns, if any, associated with its use. It is the
of external and mass forces.
responsibility of the user of this standard to establish appro-
3.2 The terms accuracy, bias, and precision are used as
priate safety, health, and environmental practices and deter-
defined in Practice E177.
mine the applicability of regulatory limitations prior to use.
1.6 This international standard was developed in accor-
4. Significance and Use
dance with internationally recognized principles on standard-
ization established in the Decision on Principles for the
4.1 This practice provides a means of verifying the align-
Development of International Standards, Guides and Recom-
ment of an X-ray diffraction instrument so as to quantify and
mendations issued by the World Trade Organization Technical
minimize systematic experimental error in residual stress
Barriers to Trade (TBT) Committee.
measurements. This practice is suitable for application to
1
ThispracticeisunderthejurisdictionofASTMCommitteeE28onMechanical
Testing and is the direct responsibility of Subcommittee E28.13 on Residual Stress
2
Measurement. For referenced ASTM standards, visit the ASTM website, www.astm.org, or
Current edition approved Nov. 1, 2021. Published January 2022. Originally contact ASTM Customer Service at service@astm.org. For Annual Book of ASTM
approved in 1983. Last previous edition approved in 2016 as E915–16. DOI: Standards volume information, refer to the standard’s Document Summary page on
10.1520/E0915-21. the ASTM website.
Copyright © ASTM International, 100 Barr Harbor Drive, PO Box C700, West Conshohocken, PA 19428-2959. United States
1
---------------------- Page: 1 ----------------------
E915 − 21
FIG. 1 X-Ray Diffraction Residual Stress Measurement Geometry and Angles Defined
conventional X-ray diffraction instruments or to X-ray diffrac- 5.1
...
This document is not an ASTM standard and is intended only to provide the user of an ASTM standard an indication of what changes have been made to the previous version. Because
it may not be technically possible to adequately depict all changes accurately, ASTM recommends that users consult prior editions as appropriate. In all cases only the current version
of the standard as published by ASTM is to be considered the official document.
Designation: E915 − 19 E915 − 21
Standard Test Method Practice for
Verifying the Alignment of X-Ray Diffraction
InstrumentationInstruments for Residual Stress
1
Measurement
This standard is issued under the fixed designation E915; the number immediately following the designation indicates the year of
original adoption or, in the case of revision, the year of last revision. A number in parentheses indicates the year of last reapproval. A
superscript epsilon (´) indicates an editorial change since the last revision or reapproval.
1. Scope
1.1 This test method covers the procedure for preparation and usage of a stress-free test specimen for the purpose of verifying the
systematic error caused by instrument misalignment and/or sample positioning during X-ray diffraction residual stress
measurement.
1.2 This test method is applicable to all X-ray diffraction instruments that measure diffracted X-rays from the crystal structure
of a polycrystalline specimen and is applicable to single, double, and multiple exposure techniques. Through measurement of a
high-angle back-reflection, these techniques are used to derive the interatomic spacing (d-spacing) and the macroscopic strain and
to then calculate residual stress in which the θ, 2θ, and ψ rotation axes can be made to coincide (see Fig. 1).
1.3 This test method describes the use of iron powder for fabrication of the stress-free test specimen that is used to verify the
systematic error for residual stress measurement of ferritic or martensitic steels. This test method is easily adapted to other alloys
and ceramics through use of powder having a similar diffraction angle as the material to be measured.
1.4 This standard does not purport to address all of the safety concerns, if any, associated with its use. It is the responsibility
of the user of this standard to establish appropriate safety, health, and environmental practices and determine the applicability of
regulatory limitations prior to use.
1.5 This international standard was developed in accordance with internationally recognized principles on standardization
established in the Decision on Principles for the Development of International Standards, Guides and Recommendations issued
by the World Trade Organization Technical Barriers to Trade (TBT) Committee.
2. Referenced Documents
2
2.1 ASTM Standards:
E6 Terminology Relating to Methods of Mechanical Testing
3. Terminology
3.1 The definitions of mechanical testing terms that appear in Terminology E6 apply to this test method.
1
This test method practice is under the jurisdiction of ASTM Committee E28 on Mechanical Testing and is the direct responsibility of Subcommittee E28.13 on Residual
Stress Measurement.
Current edition approved Oct. 15, 2019Nov. 1, 2021. Published December 2019January 2022. Originally approved in 1983. Last previous edition approved in 2016 as
E915 – 16. DOI: 10.1520/E0915-19.10.1520/E0915-21.
2
For referenced ASTM standards, visit the ASTM website, www.astm.org, or contact ASTM Customer Service at service@astm.org. For Annual Book of ASTM Standards
volume information, refer to the standard’s Document Summary page on the ASTM website.
Copyright © ASTM International, 100 Barr Harbor Drive, PO Box C700, West Conshohocken, PA 19428-2959. United States
1
---------------------- Page: 1 ----------------------
E915 − 21
FIG. 1 X-Ray Diffraction Residual Stress Measurement Geometry and Angles Defined
3.1.1 In addition, the following common term from Terminology E6 is defined:
-2
3.1.2 residual stress [FL ], n—stress in a body that is at rest and in equilibrium and at uniform temperature in the absence of
external and mass forces.
4. Significance and Use
4.1 This test method provides a means of verifying the alignment of an X-ray diffraction instrument in order to quantify and
minimize systematic experimental error in residual stress measurement. This method is suitable for application to conventional
diffractometers or to X-ray diffraction instrumentation designed for residual stress measurement of either the diverging or parallel
3,4
beam types.
4.2 Application of this test method requires the use of a flat stress-free specimen that diffracts X-rays within the angular range of
the diffraction peak to be used for residual stress measurement. The specimen shall be sufficiently fine-grained, homogeneous,
isotropic, and of sufficient depth such that incident X-rays interact with and diffract from an adequate number of individual
coherent domains and or grains such that a near random grain orientation distribution is s
...


Questions, Comments and Discussion
Ask us and Technical Secretary will try to provide an answer. You can facilitate discussion about the standard in here.