ASTM C1421-09
(Test Method)Standard Test Methods for Determination of Fracture Toughness of Advanced Ceramics at Ambient Temperature
Standard Test Methods for Determination of Fracture Toughness of Advanced Ceramics at Ambient Temperature
SIGNIFICANCE AND USE
Fracture toughness, KIc, is a measure of the resistance to crack extension in a brittle material. These test methods may be used for material development, material comparison, quality assessment, and characterization.
The pb and the vb fracture toughness values provide information on the fracture resistance of advanced ceramics containing large sharp cracks, while the sc fracture toughness value provides this information for small cracks comparable in size to natural fracture sources. Cracks of different sizes may be used for the sc method. If the fracture toughness values vary as a function of the crack size it can be expected that KIsc will differ from KIpb and KIvb.
SCOPE
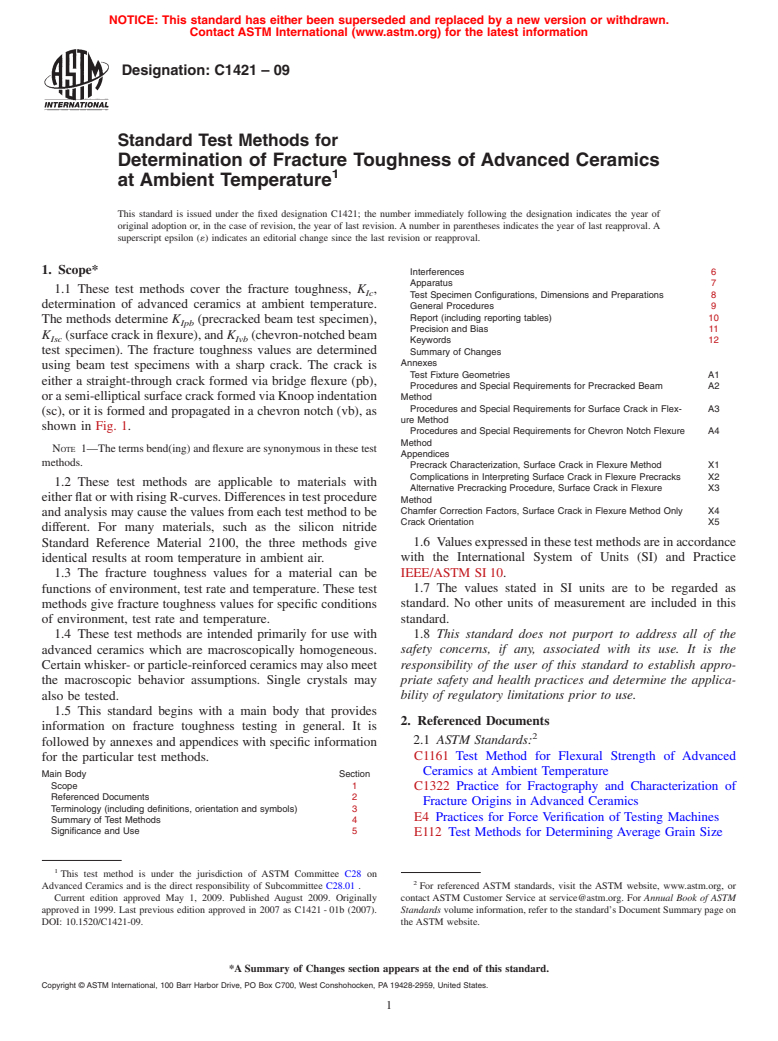
1.1 These test methods cover the fracture toughness, KIc, determination of advanced ceramics at ambient temperature. The methods determine KIpb (precracked beam test specimen), KIsc (surface crack in flexure), and KIvb (chevron-notched beam test specimen). The fracture toughness values are determined using beam test specimens with a sharp crack. The crack is either a straight-through crack formed via bridge flexure (pb), or a semi-elliptical surface crack formed via Knoop indentation (sc), or it is formed and propagated in a chevron notch (vb), as shown in Fig. 1.
Note 1—The terms bend(ing) and flexure are synonymous in these test methods.
1.2 These test methods are applicable to materials with either flat or with rising R-curves. Differences in test procedure and analysis may cause the values from each test method to be different. For many materials, such as the silicon nitride Standard Reference Material 2100, the three methods give identical results at room temperature in ambient air.
1.3 The fracture toughness values for a material can be functions of environment, test rate and temperature. These test methods give fracture toughness values for specific conditions of environment, test rate and temperature.
1.4 These test methods are intended primarily for use with advanced ceramics which are macroscopically homogeneous. Certain whisker- or particle-reinforced ceramics may also meet the macroscopic behavior assumptions. Single crystals may also be tested.
1.5 This standard begins with a main body that provides information on fracture toughness testing in general. It is followed by annexes and appendices with specific information for the particular test methods.
Main BodySection Scope1 Referenced Documents2 Terminology (including definitions, orientation and symbols)3 Summary of Test Methods4 Significance and Use5 Interferences6 Apparatus7 Test Specimen Configurations, Dimensions and Preparations8 General Procedures9 Report (including reporting tables)11 Precision and Bias12 Keywords13 Summary of Changes Annexes Test Fixture GeometriesA1 Procedures and Special Requirements for Precracked Beam MethodA2 Procedures and Special Requirements for Surface Crack in Flexure MethodA3 Procedures and Special Requirements for Chevron Notch Flexure MethodA4 Appendices Precrack Characterization, Surface Crack in Flexure MethodX1 Complications in Interpreting Surface Crack in Flexure PrecracksX2 Alternative Precracking Procedure, Surface Crack in Flexure MethodX3 Chamfer Correction Factors, Surface Crack in Flexure Method OnlyX4 Crack OrientationX5
1.6 Values expressed in these test methods are in accordance with the International System of Units (SI) and Practice E 380.
1.7 The values stated in SI units are to be regarded as standard. No other units of measurement are included in this standard.
1.8 This standard does not purport to address all of the safety concerns, if any, associated with its use. It is the responsibility of the user of this standard to establish appropriate safety and health practices and determine the applicability of regulatory limitations prior to use.
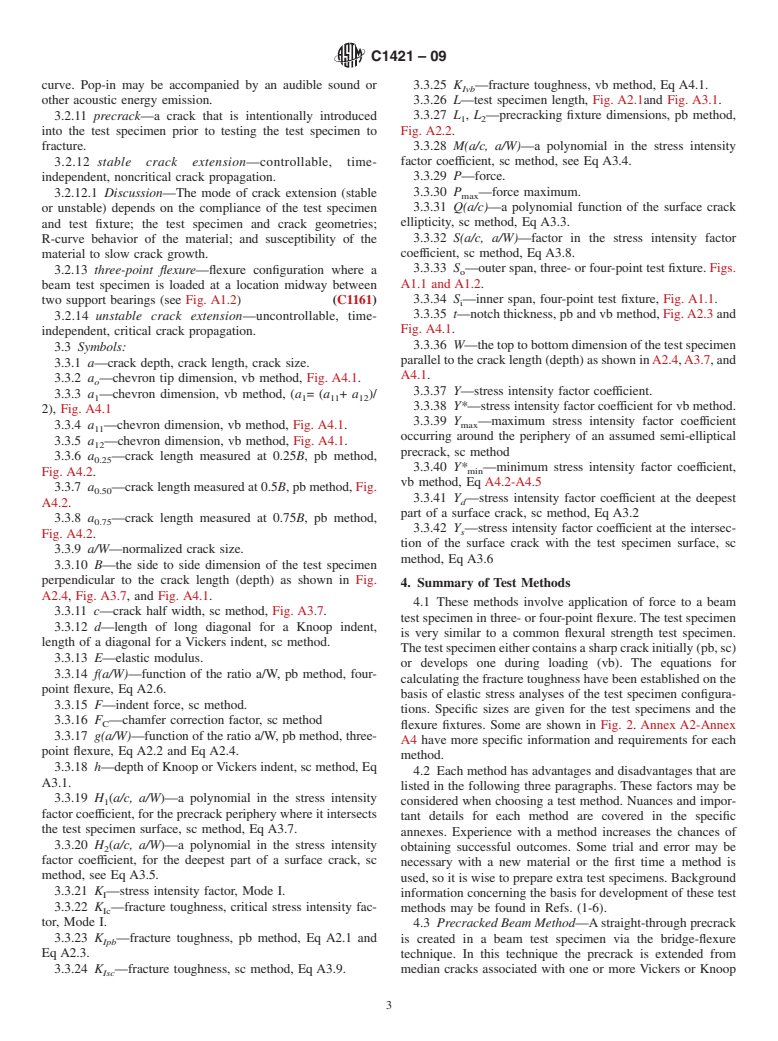
Note—The figures on the right show the test specimen cross sections and crack types. Four-point loading may be us...
General Information
Relations
Buy Standard
Standards Content (Sample)
NOTICE: This standard has either been superseded and replaced by a new version or withdrawn.
Contact ASTM International (www.astm.org) for the latest information
Designation: C1421 – 09
Standard Test Methods for
Determination of Fracture Toughness of Advanced Ceramics
1
at Ambient Temperature
This standard is issued under the fixed designation C1421; the number immediately following the designation indicates the year of
original adoption or, in the case of revision, the year of last revision.Anumber in parentheses indicates the year of last reapproval.A
superscript epsilon (´) indicates an editorial change since the last revision or reapproval.
1. Scope*
Interferences 6
Apparatus 7
1.1 These test methods cover the fracture toughness, K ,
Ic
Test Specimen Configurations, Dimensions and Preparations 8
determination of advanced ceramics at ambient temperature.
General Procedures 9
Report (including reporting tables) 10
The methods determine K (precracked beam test specimen),
Ipb
Precision and Bias 11
K (surfacecrackinflexure),and K (chevron-notchedbeam
Isc Ivb
Keywords 12
test specimen). The fracture toughness values are determined
Summary of Changes
Annexes
using beam test specimens with a sharp crack. The crack is
Test Fixture Geometries A1
either a straight-through crack formed via bridge flexure (pb),
Procedures and Special Requirements for Precracked Beam A2
orasemi-ellipticalsurfacecrackformedviaKnoopindentation Method
Procedures and Special Requirements for Surface Crack in Flex- A3
(sc), or it is formed and propagated in a chevron notch (vb), as
ure Method
shown in Fig. 1.
Procedures and Special Requirements for Chevron Notch Flexure A4
Method
NOTE 1—Thetermsbend(ing)andflexurearesynonymousinthesetest
Appendices
methods.
Precrack Characterization, Surface Crack in Flexure Method X1
Complications in Interpreting Surface Crack in Flexure Precracks X2
1.2 These test methods are applicable to materials with
Alternative Precracking Procedure, Surface Crack in Flexure X3
eitherflatorwithrisingR-curves.Differencesintestprocedure
Method
Chamfer Correction Factors, Surface Crack in Flexure Method Only X4
and analysis may cause the values from each test method to be
Crack Orientation X5
different. For many materials, such as the silicon nitride
Standard Reference Material 2100, the three methods give 1.6 Valuesexpressedinthesetestmethodsareinaccordance
with the International System of Units (SI) and Practice
identical results at room temperature in ambient air.
1.3 The fracture toughness values for a material can be IEEE/ASTM SI10.
1.7 The values stated in SI units are to be regarded as
functions of environment, test rate and temperature. These test
methods give fracture toughness values for specific conditions standard. No other units of measurement are included in this
of environment, test rate and temperature. standard.
1.4 These test methods are intended primarily for use with 1.8 This standard does not purport to address all of the
advanced ceramics which are macroscopically homogeneous. safety concerns, if any, associated with its use. It is the
responsibility of the user of this standard to establish appro-
Certainwhisker-orparticle-reinforcedceramicsmayalsomeet
the macroscopic behavior assumptions. Single crystals may priate safety and health practices and determine the applica-
bility of regulatory limitations prior to use.
also be tested.
1.5 This standard begins with a main body that provides
2. Referenced Documents
information on fracture toughness testing in general. It is
2
2.1 ASTM Standards:
followed by annexes and appendices with specific information
C1161 Test Method for Flexural Strength of Advanced
for the particular test methods.
Ceramics at Ambient Temperature
Main Body Section
Scope 1
C1322 Practice for Fractography and Characterization of
Referenced Documents 2
Fracture Origins in Advanced Ceramics
Terminology (including definitions, orientation and symbols) 3
E4 Practices for Force Verification of Testing Machines
Summary of Test Methods 4
Significance and Use 5
E112 Test Methods for Determining Average Grain Size
1
This test method is under the jurisdiction of ASTM Committee C28 on
2
Advanced Ceramics and is the direct responsibility of Subcommittee C28.01 . For referenced ASTM standards, visit the ASTM website, www.astm.org, or
Current edition approved May 1, 2009. Published August 2009. Originally contact ASTM Customer Service at service@astm.org. For Annual Book of ASTM
approved in 1999. Last previous edition approved in 2007 as C1421-01b (2007). Standards volume information, refer to the standard’s Document Summary page on
DOI: 10.1520/C1421-09. the ASTM website.
*A Summary of Changes section appears at the end of this standard.
Copyright © ASTM International, 100 Barr Harbor Drive, PO Box C700, West Conshohocken, PA 19428-2959, United States.
1
---------------------- Page: 1 ----------------------
C1421 – 09
NOTE 1—The figures on the right show the test specimen cross sections and crack t
...
This document is not anASTM standard and is intended only to provide the user of anASTM standard an indication of what changes have been made to the previous version. Because
it may not be technically possible to adequately depict all changes accurately, ASTM recommends that users consult prior editions as appropriate. In all cases only the current version
of the standard as published by ASTM is to be considered the official document.
Designation:C1421–01b (Reapproved 2007) Designation: C 1421 – 09
Standard Test Methods for
Determination of Fracture Toughness of Advanced Ceramics
1
at Ambient Temperature
This standard is issued under the fixed designation C1421; the number immediately following the designation indicates the year of
original adoption or, in the case of revision, the year of last revision.Anumber in parentheses indicates the year of last reapproval.A
superscript epsilon (´) indicates an editorial change since the last revision or reapproval.
1. Scope
1.1These test methods cover the fracture toughness determination of K (precracked beam test specimen), K (surface crack
Ipb Isc
in flexure), and K (chevron-notched beam test specimen) of advanced ceramics at ambient temperature. The fracture toughness
Ivb
values are determined using beam test specimens with a sharp crack. The crack is either a straight-through crack (pb), or a
semi-elliptical surface crack (sc), or it is propagated in a chevron notch (vb). *
1.1 These test methods cover the fracture toughness, K , determination of advanced ceramics at ambient temperature. The
Ic
methods determine K (precracked beam test specimen), K (surface crack in flexure), and K (chevron-notched beam test
Ipb Isc Ivb
specimen). The fracture toughness values are determined using beam test specimens with a sharp crack. The crack is either a
straight-through crack formed via bridge flexure (pb), or a semi-elliptical surface crack formed via Knoop indentation (sc), or it
is formed and propagated in a chevron notch (vb), as shown in Fig. 1.
NOTE 1—The terms bend(ing) and flexure are synonymous in these test methods.
1.2These test methods determine fracture toughness values based on a force and crack length measurement (pb, sc), or a force
measurement and an inferred crack length (vb). In general, the fracture toughness is determined from maximum force. Applied
force and displacement or an alternative (for example, time) are recorded for the pb test specimen and vb test specimen.
1.3ThesetestmethodsareapplicabletomaterialswitheitherflatorwithrisingR-curves.Thefracturetoughnessmeasuredfrom
stablecrackextensionmaybedifferentthanthatmeasuredfromunstablecrackextension.Thisdifferencemaybemorepronounced
for materials exhibiting a rising R-curve.
NOTE2—One difference between the procedures in these test methods and test methods such as Test Method E399, which measure fracture toughness,
K , by one set of specific operational procedures, is that Test Method E399 focuses on the start of crack extension from a fatigue precrack for metallic
Ic
materials. In these test methods the test methods for advanced ceramics make use of either a sharp precrack formed via bridge flexure (pb) or via Knoop
indent (sc) prior to the test, or a crack formed during the test (vb). Differences in test procedure and analysis may cause the values from each test method
to be different.Therefore, fracture toughness values determined with these methods cannot be interchanged with K as defined inTest Method E399 and
Ic
may not be interchangeable with each other.
1.4These test methods give fracture toughness values, K ,K , and K , for specific conditions of environment, test rate and
Ipb Isc Ivb
temperature. The fracture toughness values, K ,K , and K for a material can be functions of environment, test rate and
Ipb Isc Ivb
temperature.
1.5Thesetestmethodsareintendedprimarilyforusewithadvancedceramicswhicharemacroscopicallyhomogeneous.Certain
whisker- or particle-reinforced ceramics may also meet the macroscopic behavior assumptions.
1.6These test methods are divided into three major parts and related sub parts as shown below. The first major part is the main
body and provides general information on the test methods described, the applicability to materials comparison and qualification,
andrequirementsandrecommendationsforfracturetoughnesstesting.Thesecondmajorpartiscomposedofannexesthatprovide
procedures, test specimen design, precracking, testing, and data analysis for each method. Annex A1 describes suggested test
fixtures,AnnexA2describesthepbmethod,AnnexA3describesthescmethod,andAnnexA4describesthevbmethod.Thethird
major part consists of three appendices detailing issues related to the fractography and precracking used for the sc method.
1.2 These test methods are applicable to materials with either flat or with rising R-curves. Differences in test procedure and
analysis may cause the values from each test method to be different. For many materials, such as the silicon nitride Standard
Reference Material 2100,
...


Questions, Comments and Discussion
Ask us and Technical Secretary will try to provide an answer. You can facilitate discussion about the standard in here.