ASTM B556-90(1997)
(Guide)Standard Guide for Measurement of Thin Chromium Coatings by the Spot Test
Standard Guide for Measurement of Thin Chromium Coatings by the Spot Test
SCOPE
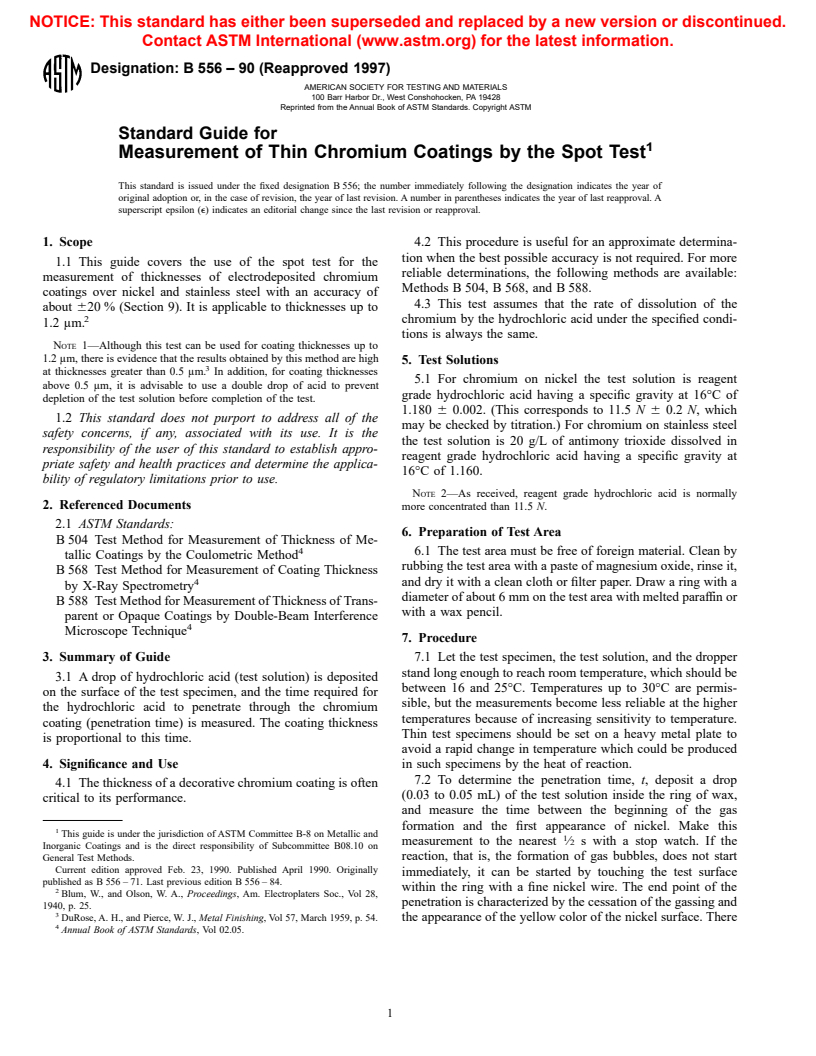
1.1 This guide covers the use of the spot test for the measurement of thicknesses of electrodeposited chromium coatings over nickel and stainless steel with an accuracy of about ±20 % (Section 9). It is applicable to thicknesses up to 1.2 μm.
Note 1—Although this test can be used for coating thicknesses up to 1.2 μm, there is evidence that the results obtained by this method are high at thicknesses greater than 0.5 μm. In addition, for coating thicknesses above 0.5 μm, it is advisable to use a double drop of acid to prevent depletion of the test solution before completion of the test.
1.2 This standard does not purport to address all of the safety concerns, if any, associated with its use. It is the responsibility of the user of this standard to establish appropriate safety and health practices and determine the applicability of regulatory limitations prior to use.
General Information
Relations
Standards Content (Sample)
NOTICE: This standard has either been superseded and replaced by a new version or discontinued.
Contact ASTM International (www.astm.org) for the latest information.
Designation: B 556 – 90 (Reapproved 1997)
AMERICAN SOCIETY FOR TESTING AND MATERIALS
100 Barr Harbor Dr., West Conshohocken, PA 19428
Reprinted from the Annual Book of ASTM Standards. Copyright ASTM
Standard Guide for
Measurement of Thin Chromium Coatings by the Spot Test
This standard is issued under the fixed designation B 556; the number immediately following the designation indicates the year of
original adoption or, in the case of revision, the year of last revision. A number in parentheses indicates the year of last reapproval. A
superscript epsilon (e) indicates an editorial change since the last revision or reapproval.
1. Scope 4.2 This procedure is useful for an approximate determina-
tion when the best possible accuracy is not required. For more
1.1 This guide covers the use of the spot test for the
reliable determinations, the following methods are available:
measurement of thicknesses of electrodeposited chromium
Methods B 504, B 568, and B 588.
coatings over nickel and stainless steel with an accuracy of
4.3 This test assumes that the rate of dissolution of the
about 620 % (Section 9). It is applicable to thicknesses up to
chromium by the hydrochloric acid under the specified condi-
1.2 μm.
tions is always the same.
NOTE 1—Although this test can be used for coating thicknesses up to
1.2 μm, there is evidence that the results obtained by this method are high
5. Test Solutions
at thicknesses greater than 0.5 μm. In addition, for coating thicknesses
5.1 For chromium on nickel the test solution is reagent
above 0.5 μm, it is advisable to use a double drop of acid to prevent
grade hydrochloric acid having a specific gravity at 16°C of
depletion of the test solution before completion of the test.
1.180 6 0.002. (This corresponds to 11.5 N 6 0.2 N, which
1.2 This standard does not purport to address all of the
may be checked by titration.) For chromium on stainless steel
safety concerns, if any, associated with its use. It is the
the test solution is 20 g/L of antimony trioxide dissolved in
responsibility of the user of this standard to establish appro-
reagent grade hydrochloric acid having a specific gravity at
priate safety and health practices and determine the applica-
16°C of 1.160.
bility of regulatory limitations prior to use.
NOTE 2—As received, reagent grade hydrochloric acid is normally
2. Referenced Documents
more concentrated than 11.5 N.
2.1 ASTM Standards:
6. Preparation of Test Area
B 504 Test Method for Measurement of Thickness of Me-
6.1 The test area must be free of foreign material. Clean by
tallic Coatings by the Coulometric Method
rubbing the test area with a paste of magnesium oxide, rinse it,
B 568 Test Method for Measurement of Coating Thickness
and dry it with a clean cloth or filter paper. Draw a ring with a
by X-Ray Spectrometry
diameter of about 6 mm on the test area with melted paraffin or
B 588 Test Method for Measurement of Thickness of Trans-
with a wax pencil.
parent or Opaque Coatings by Double-Beam Interference
Microscope Technique
7. Procedure
3. Summary of Guide 7.1 Let the test specimen, the test solution, and the dropper
stand long enough to reach room temperature, which should be
3.1 A drop of hydrochloric acid (test solution) is deposited
between 16 and 25°C. Temperatures up to 30°C are permis-
on the surface of the test specimen, and the time required for
sible, but the measurements become less reliable at the higher
the hydrochloric acid to penetrate through the chromium
temperatures because of increasing sensitivity to temperature.
coating (penetration time) is measured. The coating thickness
Thin test specimens should be set on a heavy metal plate to
is proportional to this time.
avoid a rapid change in temperature which could be produced
4. Significance and Use
in s
...


Questions, Comments and Discussion
Ask us and Technical Secretary will try to provide an answer. You can facilitate discussion about the standard in here.