ASTM E2700-20
(Practice)Standard Practice for Contact Ultrasonic Testing of Welds Using Phased Arrays
Standard Practice for Contact Ultrasonic Testing of Welds Using Phased Arrays
SIGNIFICANCE AND USE
5.1 Phased array ultrasonic testing (PAUT) is an advanced examination technique used for enhanced flaw detection, sizing, and imaging as compared to conventional UT employing single-element transducers. PAUT utilizes multi-element (array) probes in which groups of elements are pulsed with pre-calculated time delays (“focal laws”) for each element (“phasing”). The resulting constructive and destructive interference allows for electronic steering, shaping, and focusing of the sound beam.
5.2 Though primarily a method of generating and receiving ultrasound, phased arrays are also a method of scanning and imaging. The two basic types of scans are the Linear or Electronic scan (E-Scan) and the Sectorial or Azimuthal scan (S-Scan). In the E-Scan, which emulates a manual scan, multiple sound beams are created at the same refracted angle. The beam is electronically translated along the active axis of the array by sequentially adding an element on one end and dropping an element off the other end of the active group of elements within the probe, with time multiplexing coordinated by the instrument’s on-board processor. In the S-Scan, which is unique to phased arrays, the sound beam is electronically swept through a range of user-defined angles by sequentially changing the time delays applied to each element. Because the beam angle is no longer solely dependent upon the wedge angle, more complete data can be obtained and more complex geometries can be examined versus conventional UT. With their distinct features and capabilities, phased arrays require special set-ups and standardization, as addressed by this practice. Commercial software permits the operator to easily make set ups without detailed knowledge of the phasing requirements.
5.3 Phased arrays can be used in different ways: manual or encoded linear scanning; and different displays or combinations of displays. In manual scanning, the dominant display will be an S-scan with associated A-scans. S-scans have the a...
SCOPE
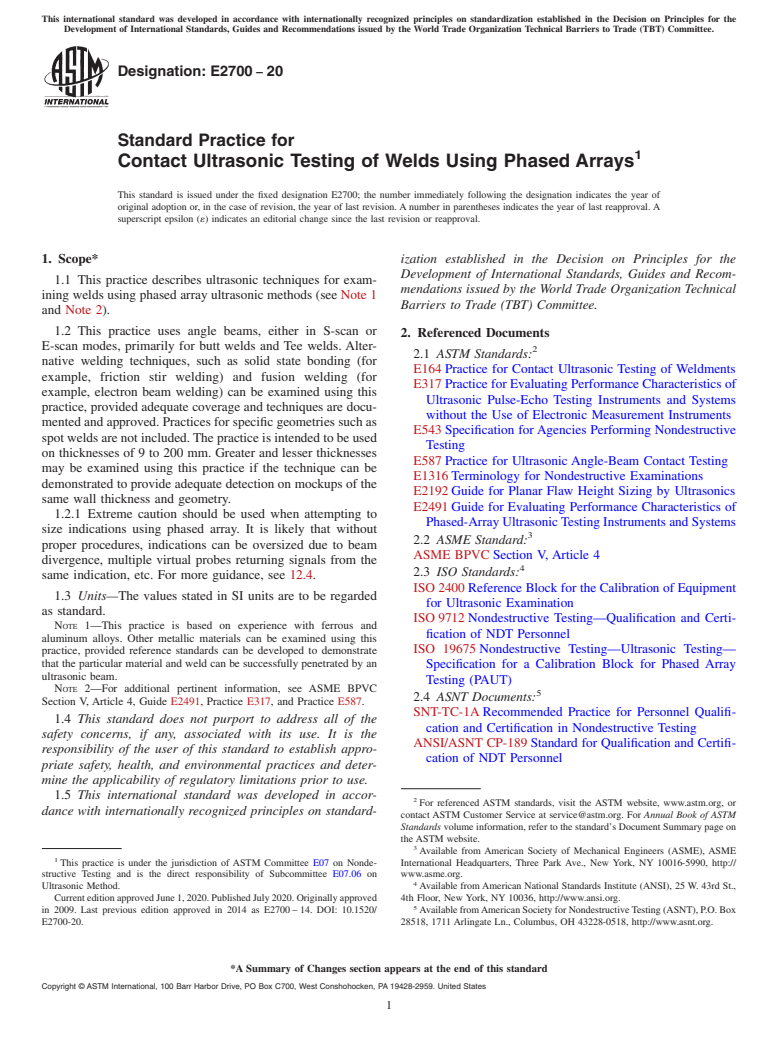
1.1 This practice describes ultrasonic techniques for examining welds using phased array ultrasonic methods (see Note 1 and Note 2).
1.2 This practice uses angle beams, either in S-scan or E-scan modes, primarily for butt welds and Tee welds. Alternative welding techniques, such as solid state bonding (for example, friction stir welding) and fusion welding (for example, electron beam welding) can be examined using this practice, provided adequate coverage and techniques are documented and approved. Practices for specific geometries such as spot welds are not included. The practice is intended to be used on thicknesses of 9 to 200 mm. Greater and lesser thicknesses may be examined using this practice if the technique can be demonstrated to provide adequate detection on mockups of the same wall thickness and geometry.
1.2.1 Extreme caution should be used when attempting to size indications using phased array. It is likely that without proper procedures, indications can be oversized due to beam divergence, multiple virtual probes returning signals from the same indication, etc. For more guidance, see 12.4.
1.3 Units—The values stated in SI units are to be regarded as standard.
Note 1: This practice is based on experience with ferrous and aluminum alloys. Other metallic materials can be examined using this practice, provided reference standards can be developed to demonstrate that the particular material and weld can be successfully penetrated by an ultrasonic beam.
Note 2: For additional pertinent information, see ASME BPVC Section V, Article 4, Guide E2491, Practice E317, and Practice E587.
1.4 This standard does not purport to address all of the safety concerns, if any, associated with its use. It is the responsibility of the user of this standard to establish appropriate safety, health, and environmental practices and determine the applicability of regulatory limitations prior to use.
1.5 This internat...
General Information
Relations
Buy Standard
Standards Content (Sample)
This international standard was developed in accordance with internationally recognized principles on standardization established in the Decision on Principles for the
Development of International Standards, Guides and Recommendations issued by the World Trade Organization Technical Barriers to Trade (TBT) Committee.
Designation: E2700 − 20
Standard Practice for
1
Contact Ultrasonic Testing of Welds Using Phased Arrays
This standard is issued under the fixed designation E2700; the number immediately following the designation indicates the year of
original adoption or, in the case of revision, the year of last revision. A number in parentheses indicates the year of last reapproval. A
superscript epsilon (´) indicates an editorial change since the last revision or reapproval.
1. Scope* ization established in the Decision on Principles for the
Development of International Standards, Guides and Recom-
1.1 This practice describes ultrasonic techniques for exam-
mendations issued by the World Trade Organization Technical
ining welds using phased array ultrasonic methods (see Note 1
Barriers to Trade (TBT) Committee.
and Note 2).
1.2 This practice uses angle beams, either in S-scan or
2. Referenced Documents
E-scan modes, primarily for butt welds and Tee welds. Alter-
2
2.1 ASTM Standards:
native welding techniques, such as solid state bonding (for
E164 Practice for Contact Ultrasonic Testing of Weldments
example, friction stir welding) and fusion welding (for
E317 Practice for Evaluating Performance Characteristics of
example, electron beam welding) can be examined using this
Ultrasonic Pulse-Echo Testing Instruments and Systems
practice, provided adequate coverage and techniques are docu-
without the Use of Electronic Measurement Instruments
mented and approved. Practices for specific geometries such as
E543 Specification for Agencies Performing Nondestructive
spot welds are not included.The practice is intended to be used
Testing
on thicknesses of 9 to 200 mm. Greater and lesser thicknesses
E587 Practice for Ultrasonic Angle-Beam Contact Testing
may be examined using this practice if the technique can be
E1316 Terminology for Nondestructive Examinations
demonstrated to provide adequate detection on mockups of the
E2192 Guide for Planar Flaw Height Sizing by Ultrasonics
same wall thickness and geometry.
E2491 Guide for Evaluating Performance Characteristics of
1.2.1 Extreme caution should be used when attempting to
Phased-Array UltrasonicTesting Instruments and Systems
size indications using phased array. It is likely that without
3
2.2 ASME Standard:
proper procedures, indications can be oversized due to beam
ASME BPVC Section V, Article 4
divergence, multiple virtual probes returning signals from the
4
2.3 ISO Standards:
same indication, etc. For more guidance, see 12.4.
ISO 2400 Reference Block for the Calibration of Equipment
1.3 Units—The values stated in SI units are to be regarded
for Ultrasonic Examination
as standard.
ISO 9712 Nondestructive Testing—Qualification and Certi-
NOTE 1—This practice is based on experience with ferrous and
fication of NDT Personnel
aluminum alloys. Other metallic materials can be examined using this
ISO 19675 Nondestructive Testing—Ultrasonic Testing—
practice, provided reference standards can be developed to demonstrate
that the particular material and weld can be successfully penetrated by an
Specification for a Calibration Block for Phased Array
ultrasonic beam.
Testing (PAUT)
NOTE 2—For additional pertinent information, see ASME BPVC
5
2.4 ASNT Documents:
Section V, Article 4, Guide E2491, Practice E317, and Practice E587.
SNT-TC-1A Recommended Practice for Personnel Qualifi-
1.4 This standard does not purport to address all of the
cation and Certification in Nondestructive Testing
safety concerns, if any, associated with its use. It is the
ANSI/ASNT CP-189 Standard for Qualification and Certifi-
responsibility of the user of this standard to establish appro-
cation of NDT Personnel
priate safety, health, and environmental practices and deter-
mine the applicability of regulatory limitations prior to use.
1.5 This international standard was developed in accor-
2
For referenced ASTM standards, visit the ASTM website, www.astm.org, or
dance with internationally recognized principles on standard-
contact ASTM Customer Service at service@astm.org. For Annual Book of ASTM
Standards volume information, refer to the standard’s Document Summary page on
the ASTM website.
3
Available from American Society of Mechanical Engineers (ASME), ASME
1
This practice is under the jurisdiction of ASTM Committee E07 on Nonde- International Headquarters, Three Park Ave., New York, NY 10016-5990, http://
structive Testing and is the direct responsibility of Subcommittee E07.06 on www.asme.org.
4
Ultrasonic Method. Available from American National Standards Institute (ANSI), 25 W. 43rd St.,
CurrenteditionapprovedJune1,2020.PublishedJuly2020.Originallyapproved 4th Floor, New York, NY 10036, http://www.ansi
...
This document is not an ASTM standard and is intended only to provide the user of an ASTM standard an indication of what changes have been made to the previous version. Because
it may not be technically possible to adequately depict all changes accurately, ASTM recommends that users consult prior editions as appropriate. In all cases only the current version
of the standard as published by ASTM is to be considered the official document.
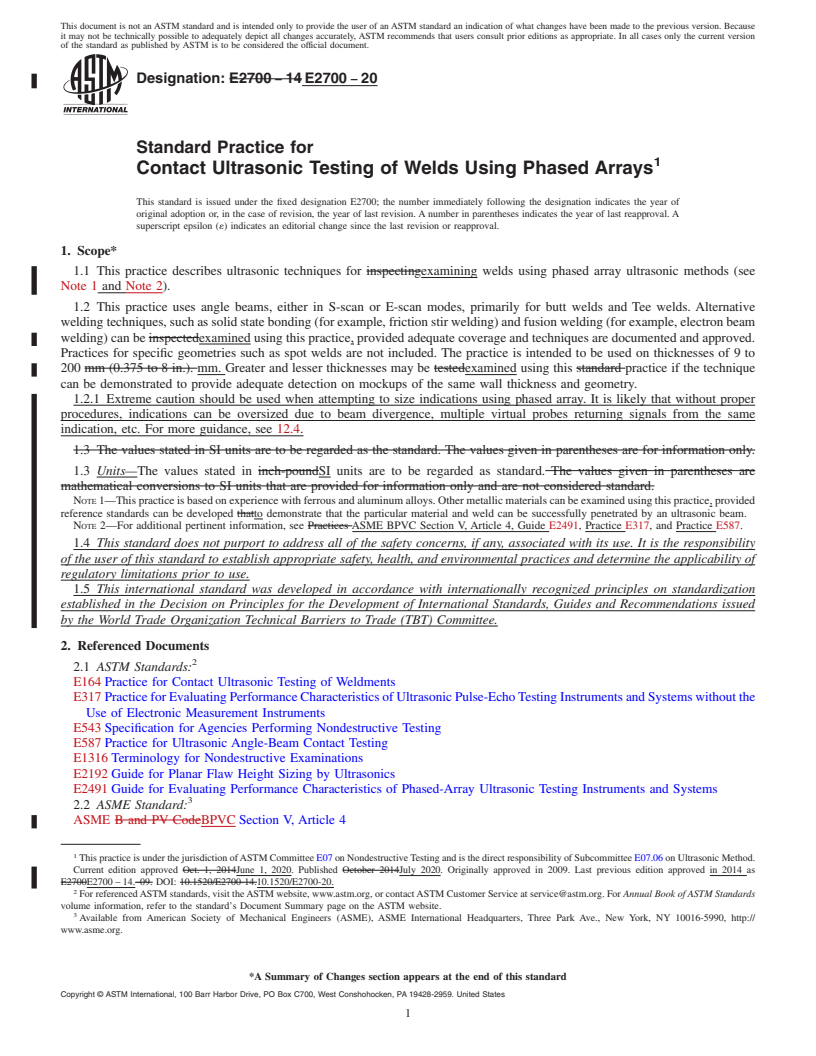
Designation: E2700 − 14 E2700 − 20
Standard Practice for
1
Contact Ultrasonic Testing of Welds Using Phased Arrays
This standard is issued under the fixed designation E2700; the number immediately following the designation indicates the year of
original adoption or, in the case of revision, the year of last revision. A number in parentheses indicates the year of last reapproval. A
superscript epsilon (´) indicates an editorial change since the last revision or reapproval.
1. Scope*
1.1 This practice describes ultrasonic techniques for inspectingexamining welds using phased array ultrasonic methods (see
Note 1 and Note 2).
1.2 This practice uses angle beams, either in S-scan or E-scan modes, primarily for butt welds and Tee welds. Alternative
welding techniques, such as solid state bonding (for example, friction stir welding) and fusion welding (for example, electron beam
welding) can be inspectedexamined using this practice, provided adequate coverage and techniques are documented and approved.
Practices for specific geometries such as spot welds are not included. The practice is intended to be used on thicknesses of 9 to
200 mm (0.375 to 8 in.). mm. Greater and lesser thicknesses may be testedexamined using this standard practice if the technique
can be demonstrated to provide adequate detection on mockups of the same wall thickness and geometry.
1.2.1 Extreme caution should be used when attempting to size indications using phased array. It is likely that without proper
procedures, indications can be oversized due to beam divergence, multiple virtual probes returning signals from the same
indication, etc. For more guidance, see 12.4.
1.3 The values stated in SI units are to be regarded as the standard. The values given in parentheses are for information only.
1.3 Units—The values stated in inch-poundSI units are to be regarded as standard. The values given in parentheses are
mathematical conversions to SI units that are provided for information only and are not considered standard.
NOTE 1—This practice is based on experience with ferrous and aluminum alloys. Other metallic materials can be examined using this practice, provided
reference standards can be developed thatto demonstrate that the particular material and weld can be successfully penetrated by an ultrasonic beam.
NOTE 2—For additional pertinent information, see Practices ASME BPVC Section V, Article 4, Guide E2491, Practice E317, and Practice E587.
1.4 This standard does not purport to address all of the safety concerns, if any, associated with its use. It is the responsibility
of the user of this standard to establish appropriate safety, health, and environmental practices and determine the applicability of
regulatory limitations prior to use.
1.5 This international standard was developed in accordance with internationally recognized principles on standardization
established in the Decision on Principles for the Development of International Standards, Guides and Recommendations issued
by the World Trade Organization Technical Barriers to Trade (TBT) Committee.
2. Referenced Documents
2
2.1 ASTM Standards:
E164 Practice for Contact Ultrasonic Testing of Weldments
E317 Practice for Evaluating Performance Characteristics of Ultrasonic Pulse-Echo Testing Instruments and Systems without the
Use of Electronic Measurement Instruments
E543 Specification for Agencies Performing Nondestructive Testing
E587 Practice for Ultrasonic Angle-Beam Contact Testing
E1316 Terminology for Nondestructive Examinations
E2192 Guide for Planar Flaw Height Sizing by Ultrasonics
E2491 Guide for Evaluating Performance Characteristics of Phased-Array Ultrasonic Testing Instruments and Systems
3
2.2 ASME Standard:
ASME B and PV CodeBPVC Section V, Article 4
1
This practice is under the jurisdiction of ASTM Committee E07 on Nondestructive Testing and is the direct responsibility of Subcommittee E07.06 on Ultrasonic Method.
Current edition approved Oct. 1, 2014June 1, 2020. Published October 2014July 2020. Originally approved in 2009. Last previous edition approved in 2014 as
E2700E2700 – 14.–09. DOI: 10.1520/E2700-14.10.1520/E2700-20.
2
For referenced ASTM standards, visit the ASTM website, www.astm.org, or contact ASTM Customer Service at service@astm.org. For Annual Book of ASTM Standards
volume information, refer to the standard’s Document Summary page on the ASTM website.
3
Available from American Society of Mechanical Engineers (ASME), ASME International Headquarters, Three Park Ave., New York, NY 10016-5990, http://
www.asme.org.
*A Summary
...


Questions, Comments and Discussion
Ask us and Technical Secretary will try to provide an answer. You can facilitate discussion about the standard in here.