ISO 8642:2025
(Main)Aerospace — Self-locking nuts with maximum operating temperature greater than 425 °C — Test methods
Aerospace — Self-locking nuts with maximum operating temperature greater than 425 °C — Test methods
This document specifies test methods for metric self-locking nuts with MJ threads intended for use in aerospace applications at maximum operating temperature greater than 425 °C. It describes the test device and the method for each test. It applies to self-locking nuts as defined above, provided that the relevant documents (dimensional standard, product standard, drawing, procurement specification, etc.) refer to this document.
Aéronautique et espace — Écrous à freinage interne dont la température maximale d'utilisation est supérieure à 425 °C — Méthodes d'essai
General Information
Relations
Standards Content (Sample)
International
Standard
ISO 8642
Third edition
Aerospace — Self-locking nuts with
2025-07
maximum operating temperature
greater than 425 °C — Test methods
Aéronautique et espace — Écrous à freinage interne dont la
température maximale d'utilisation est supérieure à 425 °C —
Méthodes d'essai
Reference number
© ISO 2025
All rights reserved. Unless otherwise specified, or required in the context of its implementation, no part of this publication may
be reproduced or utilized otherwise in any form or by any means, electronic or mechanical, including photocopying, or posting on
the internet or an intranet, without prior written permission. Permission can be requested from either ISO at the address below
or ISO’s member body in the country of the requester.
ISO copyright office
CP 401 • Ch. de Blandonnet 8
CH-1214 Vernier, Geneva
Phone: +41 22 749 01 11
Email: copyright@iso.org
Website: www.iso.org
Published in Switzerland
ii
Contents Page
Foreword .iv
1 Scope . 1
2 Normative references . 1
3 Terms and definitions . 1
4 Inspections and tests . 1
4.1 Hardness test .1
4.1.1 Procedure .1
4.1.2 Method . .2
4.2 Bearing surface squareness test .2
4.2.1 Test device .2
4.2.2 Method . .3
4.3 Axial load test .4
4.3.1 Test device .4
4.3.2 Method . .4
4.4 Wrenching feature test .5
4.4.1 General .5
4.4.2 Test device .5
4.4.3 Method . .6
4.5 Torque-out test .6
4.5.1 General .6
4.5.2 Test device .7
4.5.3 Method . .7
4.6 Test of no rotation of the captive washer.8
4.6.1 General .8
4.6.2 Test device .8
4.6.3 Method . .8
4.7 Push-out test .8
4.7.1 General .8
4.7.2 Test device .9
4.7.3 Method . .9
4.8 Self-locking torque at ambient temperature .10
4.8.1 Test device .10
4.8.2 Method . .11
4.9 Self-locking torque at ambient temperature after heat soak at maximum operating
temperature . 12
4.9.1 Test device . 12
4.9.2 Method . .14
4.10 Permanent set test . 15
4.10.1 General . 15
4.10.2 Test device . 15
4.10.3 Method . .16
4.11 Vibration test .17
4.11.1 General .17
4.11.2 Test device .17
4.11.3 Method . .19
4.12 Swaging test . 20
4.12.1 General . 20
4.12.2 Visual examination . 20
Bibliography .21
iii
Foreword
ISO (the International Organization for Standardization) is a worldwide federation of national standards
bodies (ISO member bodies). The work of preparing International Standards is normally carried out through
ISO technical committees. Each member body interested in a subject for which a technical committee
has been established has the right to be represented on that committee. International organizations,
governmental and non-governmental, in liaison with ISO, also take part in the work. ISO collaborates closely
with the International Electrotechnical Commission (IEC) on all matters of electrotechnical standardization.
The procedures used to develop this document and those intended for its further maintenance are described
in the ISO/IEC Directives, Part 1. In particular, the different approval criteria needed for the different types
of ISO documents should be noted. This document was drafted in accordance with the editorial rules of the
ISO/IEC Directives, Part 2 (see www.iso.org/directives).
ISO draws attention to the possibility that the implementation of this document may involve the use of (a)
patent(s). ISO takes no position concerning the evidence, validity or applicability of any claimed patent
rights in respect thereof. As of the date of publication of this document, ISO had not received notice of (a)
patent(s) which may be required to implement this document. However, implementers are cautioned that
this may not represent the latest information, which may be obtained from the patent database available at
www.iso.org/patents. ISO shall not be held responsible for identifying any or all such patent rights.
Any trade name used in this document is information given for the convenience of users and does not
constitute an endorsement.
For an explanation of the voluntary nature of standards, the meaning of ISO specific terms and expressions
related to conformity assessment, as well as information about ISO's adherence to the World Trade
Organization (WTO) principles in the Technical Barriers to Trade (TBT), see www.iso.org/iso/foreword.html.
This document was prepared by Technical Committee ISO/TC 20, Aircraft and space vehicles,
Subcommittee SC 4, Aerospace fastener systems.
This third edition cancels and replaces the second edition (ISO 8642:2008), which has been technically
revised.
The main changes are as follows:
— several references to figures and tables have been corrected;
— designation of figures and tables has been complemented.
Any feedback or questions on this document should be directed to the user’s national standards body. A
complete listing of these bodies can be found at www.iso.org/members.html.
iv
International Standard ISO 8642:2025(en)
Aerospace — Self-locking nuts with maximum operating
temperature greater than 425 °C — Test methods
1 Scope
This document specifies test methods for metric self-locking nuts with MJ threads intended for use in
aerospace applications at maximum operating temperature greater than 425 °C. It describes the test device
and the method for each test.
It applies to self-locking nuts as defined above, provided that the relevant documents (dimensional standard,
product standard, drawing, procurement specification, etc.) refer to this
...
FINAL DRAFT
International
Standard
ISO/FDIS 8642
ISO/TC 20/SC 4
Aerospace — Self-locking nuts with
Secretariat: DIN
maximum operating temperature
Voting begins on:
greater than 425 °C — Test methods
2025-04-18
Aéronautique et espace — Écrous à freinage interne dont la
Voting terminates on:
température maximale d'utilisation est supérieure à 425 °C —
2025-06-13
Méthodes d'essai
RECIPIENTS OF THIS DRAFT ARE INVITED TO SUBMIT,
WITH THEIR COMMENTS, NOTIFICATION OF ANY
RELEVANT PATENT RIGHTS OF WHICH THEY ARE AWARE
AND TO PROVIDE SUPPOR TING DOCUMENTATION.
IN ADDITION TO THEIR EVALUATION AS
BEING ACCEPTABLE FOR INDUSTRIAL, TECHNO
LOGICAL, COMMERCIAL AND USER PURPOSES, DRAFT
INTERNATIONAL STANDARDS MAY ON OCCASION HAVE
TO BE CONSIDERED IN THE LIGHT OF THEIR POTENTIAL
TO BECOME STAN DARDS TO WHICH REFERENCE MAY BE
MADE IN NATIONAL REGULATIONS.
Reference number
ISO/FDIS 8642:2025(en) © ISO 2025
FINAL DRAFT
ISO/FDIS 8642:2025(en)
International
Standard
ISO/FDIS 8642
ISO/TC 20/SC 4
Aerospace — Self-locking nuts with
Secretariat: DIN
maximum operating temperature
Voting begins on:
greater than 425 °C — Test methods
Aéronautique et espace — Écrous à freinage interne dont la
Voting terminates on:
température maximale d'utilisation est supérieure à 425 °C —
Méthodes d'essai
RECIPIENTS OF THIS DRAFT ARE INVITED TO SUBMIT,
WITH THEIR COMMENTS, NOTIFICATION OF ANY
RELEVANT PATENT RIGHTS OF WHICH THEY ARE AWARE
AND TO PROVIDE SUPPOR TING DOCUMENTATION.
© ISO 2025
IN ADDITION TO THEIR EVALUATION AS
All rights reserved. Unless otherwise specified, or required in the context of its implementation, no part of this publication may
BEING ACCEPTABLE FOR INDUSTRIAL, TECHNO
LOGICAL, COMMERCIAL AND USER PURPOSES, DRAFT
be reproduced or utilized otherwise in any form or by any means, electronic or mechanical, including photocopying, or posting on
INTERNATIONAL STANDARDS MAY ON OCCASION HAVE
the internet or an intranet, without prior written permission. Permission can be requested from either ISO at the address below
TO BE CONSIDERED IN THE LIGHT OF THEIR POTENTIAL
or ISO’s member body in the country of the requester.
TO BECOME STAN DARDS TO WHICH REFERENCE MAY BE
MADE IN NATIONAL REGULATIONS.
ISO copyright office
CP 401 • Ch. de Blandonnet 8
CH-1214 Vernier, Geneva
Phone: +41 22 749 01 11
Email: copyright@iso.org
Website: www.iso.org
Published in Switzerland Reference number
ISO/FDIS 8642:2025(en) © ISO 2025
ii
ISO/FDIS 8642:2025(en)
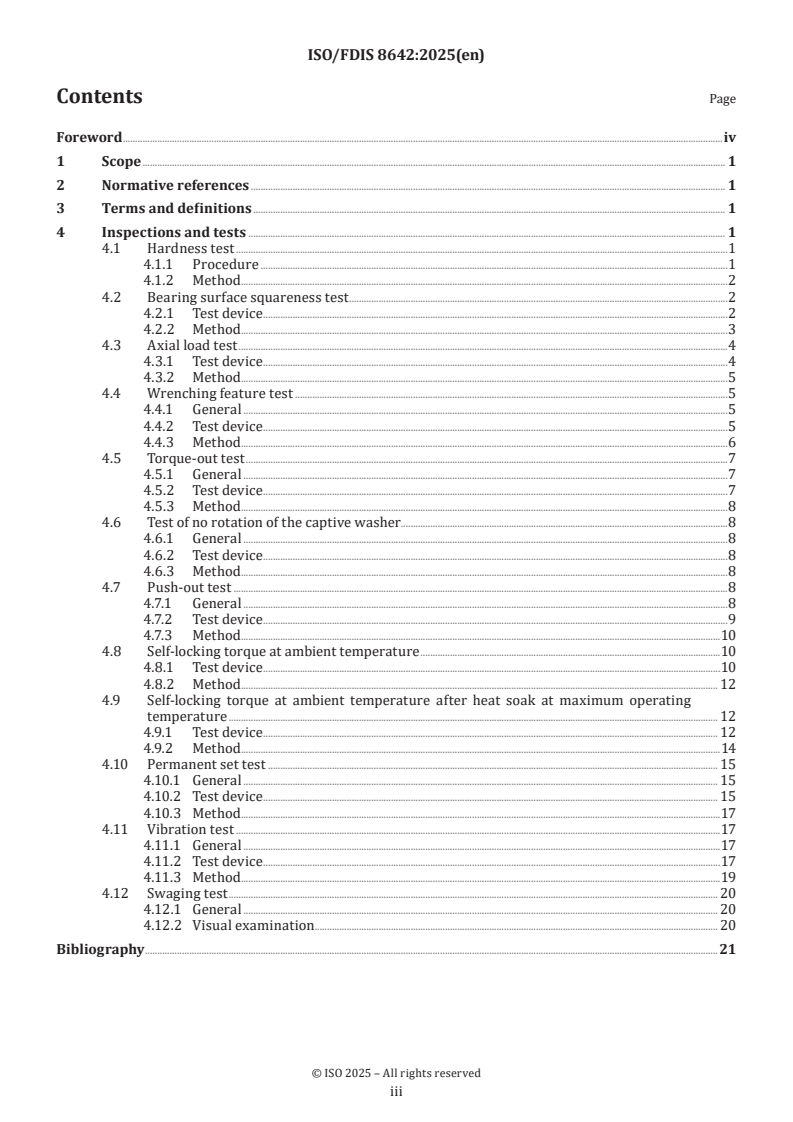
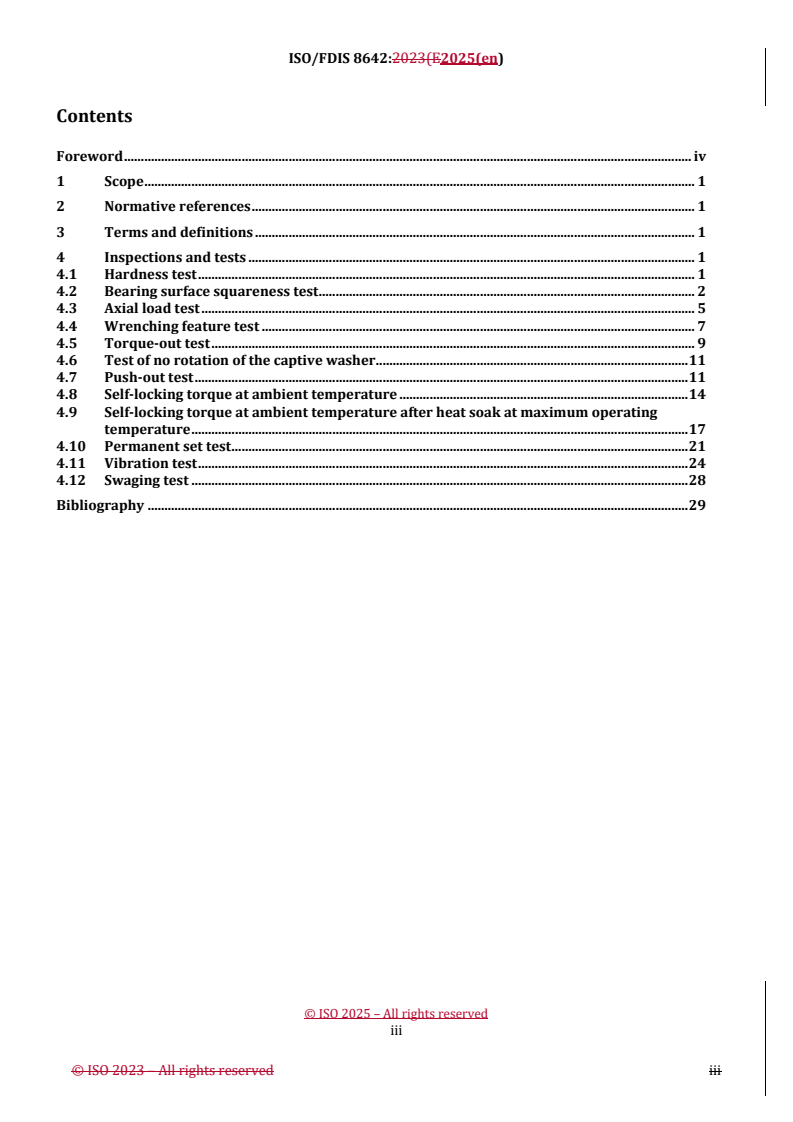
Contents Page
Foreword .iv
1 Scope . 1
2 Normative references . 1
3 Terms and definitions . 1
4 Inspections and tests . 1
4.1 Hardness test .1
4.1.1 Procedure .1
4.1.2 Method . .2
4.2 Bearing surface squareness test .2
4.2.1 Test device .2
4.2.2 Method . .3
4.3 Axial load test .4
4.3.1 Test device .4
4.3.2 Method . .5
4.4 Wrenching feature test .5
4.4.1 General .5
4.4.2 Test device .5
4.4.3 Method . .6
4.5 Torque-out test .7
4.5.1 General .7
4.5.2 Test device .7
4.5.3 Method . .8
4.6 Test of no rotation of the captive washer.8
4.6.1 General .8
4.6.2 Test device .8
4.6.3 Method . .8
4.7 Push-out test .8
4.7.1 General .8
4.7.2 Test device .9
4.7.3 Method . .10
4.8 Self-locking torque at ambient temperature .10
4.8.1 Test device .10
4.8.2 Method . . 12
4.9 Self-locking torque at ambient temperature after heat soak at maximum operating
temperature . 12
4.9.1 Test device . 12
4.9.2 Method . .14
4.10 Permanent set test . 15
4.10.1 General . 15
4.10.2 Test device . 15
4.10.3 Method . .17
4.11 Vibration test .17
4.11.1 General .17
4.11.2 Test device .17
4.11.3 Method . .19
4.12 Swaging test . 20
4.12.1 General . 20
4.12.2 Visual examination . 20
Bibliography .21
iii
ISO/FDIS 8642:2025(en)
Foreword
ISO (the International Organization for Standardization) is a worldwide federation of national standards
bodies (ISO member bodies). The work of preparing International Standards is normally carried out through
ISO technical committees. Each member body interested in a subject for which a technical committee
has been established has the right to be represented on that committee. International organizations,
governmental and non-governmental, in liaison with ISO, also take part in the work. ISO collaborates closely
with the International Electrotechnical Commission (IEC) on all matters of electrotechnical standardization.
The procedures used to develop this document and those intended for its further maintenance are described
in the ISO/IEC Directives, Part 1. In particular, the different approval criteria needed for the different types
of ISO documents should be noted. This document was drafted in accordance with the editorial rules of the
ISO/IEC Directives, Part 2 (see www.iso.org/directives).
ISO draws attention to the possibility that the implementation of this document may involve the use of (a)
patent(s). ISO takes no position concerning the evidence, validity or applicability of any claimed patent
rights in respect thereof. As of the date of publication of this document, ISO had not received notice of (a)
patent(s) which may be required to implement this document. However, implementers are cautioned that
this may not represent the latest information, which may be obtained from the patent database available at
www.iso.org/patents. ISO shall not be held responsible for identifying any or all such patent rights.
Any trade name used in this document is information given for the convenience of users and does not
constitute an endorsement.
For an explanation of the voluntary nature of standards, the meaning of ISO specific
...
ISO/FDIS 8642:2025(E)
ISO/TC 20/SC 4
Secretariat: DIN
Date: 2025-01-3104-04
Aerospace — Self-locking nuts with maximum operating temperature
greater than 425 °C — Test methods
Aéronautique et espace — Écrous à freinage interne dont la température maximale d'utilisation est supérieure
à 425 °C — Méthodes d'essai
FDIS stage
ISO/FDIS 8642:2023(E2025(en)
All rights reserved. Unless otherwise specified, or required in the context of its implementation, no part of this publication
may be reproduced or utilized otherwise in any form or by any means, electronic or mechanical, including photocopying,
or posting on the internet or an intranet, without prior written permission. Permission can be requested from either ISO
at the address below or ISO’s member body in the country of the requester.
ISO copyright office
CP 401 • Ch. de Blandonnet 8
CH-1214 Vernier, Geneva
Phone: + 41 22 749 01 11
EmailE-mail: copyright@iso.org
Website: www.iso.org
Published in Switzerland
ii © ISO 2023 – All rights reserved
ii
ISO/FDIS 8642:2023(E2025(en)
Contents
Foreword . iv
1 Scope . 1
2 Normative references . 1
3 Terms and definitions . 1
4 Inspections and tests . 1
4.1 Hardness test . 1
4.2 Bearing surface squareness test . 2
4.3 Axial load test . 5
4.4 Wrenching feature test . 7
4.5 Torque-out test . 9
4.6 Test of no rotation of the captive washer . 11
4.7 Push-out test . 11
4.8 Self-locking torque at ambient temperature . 14
4.9 Self-locking torque at ambient temperature after heat soak at maximum operating
temperature . 17
4.10 Permanent set test . 21
4.11 Vibration test . 24
4.12 Swaging test . 28
Bibliography . 29
iii
ISO/FDIS 8642:2023(E2025(en)
Foreword
ISO (the International Organization for Standardization) is a worldwide federation of national standards
bodies (ISO member bodies). The work of preparing International Standards is normally carried out through
ISO technical committees. Each member body interested in a subject for which a technical committee has been
established has the right to be represented on that committee. International organizations, governmental and
non-governmental, in liaison with ISO, also take part in the work. ISO collaborates closely with the
International Electrotechnical Commission (IEC) on all matters of electrotechnical standardization.
The procedures used to develop this document and those intended for its further maintenance are described
in the ISO/IEC Directives, Part 1. In particular, the different approval criteria needed for the different types of
ISO documents should be noted. This document was drafted in accordance with the editorial rules of the
ISO/IEC Directives, Part 2 (see www.iso.org/directives).
ISO draws attention to the possibility that the implementation of this document may involve the use of (a)
patent(s). ISO takes no position concerning the evidence, validity or applicability of any claimed patent rights
in respect thereof. As of the date of publication of this document, ISO had not received notice of (a) patent(s)
which may be required to implement this document. However, implementers are cautioned that this may not
represent the latest information, which may be obtained from the patent database available at
www.iso.org/patents. ISO shall not be held responsible for identifying any or all such patent rights.
Any trade name used in this document is information given for the convenience of users and does not
constitute an endorsement.
For an explanation of the voluntary nature of standards, the meaning of ISO specific terms and expressions
related to conformity assessment, as well as information about ISO's adherence to the World Trade
Organization (WTO) principles in the Technical Barriers to Trade (TBT), see www.iso.org/iso/foreword.html.
This document was prepared by Technical Committee ISO/TC 20, Aircraft and space vehicles,
Subcommittee SC 4, Aerospace fastener systems.
This third edition cancels and replaces the second edition (ISO 8642:2008), which has been technically
revised.
The main changes are as follows:
— — several references to figures and tables have been corrected;
— — designation of figures and tables has been complemented.
Any feedback or questions on this document should be directed to the user’s national standards body. A
complete listing of these bodies can be found at www.iso.org/members.html.
iv © ISO 2023 – All rights reserved
iv
DRAFT INTERNATIONAL STANDARD ISO/DIS 8642:2023(E)
Aerospace — Self-locking nuts with maximum operating temperature
greater than 425 °C — Test methods
1 Scope
This document specifies test methods for metric self-locking nuts with MJ threads intended for use in
aerospace applications at maximum operating temperature greater than 425 °C. It describes the test device
and the method for each test.
It applies to self-locking nuts as defined above, provided that the relevant documents (dimensional standard,
product standard, drawing, procurement specification, etc.) refer to this document.
2 Normative references
The following documents are referred to in the text in such a way that some or all of their content constitutes
requirements of this document. For dated references, only the edition cited applies. For undated references,
the latest edition of the referenced document (including any amendments) applies.
ISO 691, Assembly tools for screws and nuts — Wrench and socket openings — Tolerances for general use
ISO 5855--2, Aerospace — MJ threads — Part 2: Limit dimensions for bolts and nuts
ISO 6507--1, Metallic materials — Vickers hardness test — Part 1: Test method
ISO 6508--1, Metallic materials — Rockwell hardness test — Part 1: Test method
ISO 7403, Aerospace — Spline drives — Wrenching configuration — Metric series
3 Terms and definitions
No terms and definitions are listed in this document.
ISO and IEC maintain terminology databases for use in standardization at the following addresses:
— — ISO Online browsing platform: available at https://www.iso.org/obp
— — IEC Electropedia: available at https://www.electropedia.org/
4 Inspections and tests
4.1 Hardness test
4.1.1 Procedure
The following procedures shall be followed:
— — Rockwell hardness in accordance with ISO 6508--1;
— — Vickers hardness HV 5 to HV 100 in accordance with ISO 6507--1;
ISO/FDIS 8642:2023(E2025(en)
— — Rockwell superficial hardness in accordance with ISO 6508--1;
— — microhardness.
The method corresponding to the hardness unit indicated should be used. Conversion charts may be used if
other test methods have been used to obtain the results; given their inaccuracy, the results obtained may
notcan be accurateinaccurate. In the event of a dispute, the results obtained using the method corresponding
to the hardness unit indicated shall take precedence.
4.1.2 Method
This test shall be carried out at ambient temperature.
The measurement zone (bearing surface, across flats, underside of anchor nut lugs, etc.) shall satisfy the
following conditions:
a) a) thickness at least equal to 10 × the penetration depth;
b) b) parallelism with respect to bearing surface no greater than 3°.
If the above requirements cannot be met, carry out this test on a cut section after moulding the nut into a resin
capable of maintaining it in the correct orientation.
Remove all possible coating (protection, lubrication, paint, etc.) in the measurement zone. Align the bearing
surface to obtain the required relationship. These two operations shall not generate any heat liable to modify
the characteristics of the material constituting the nut being tested.
Carry out the test and check the conformity with the requirements of the dimensional standard, product
standard or drawing.
Nuts subjected to this test shall not be reused.
4.2 Bearing surface squareness test
4.2.1 Test device
The test device is illustrated in Figure 1Figure 1. The test devise and shall include the following elements:
a) a) a threaded mandrel with end in accordance with ISO 5855-2, with the exception of the pitch diameter
which shall be in accordance with the values specified in Table 4Table 4 for the maximum mandrel;
b) b) a collar sliding on the plain portion of the threaded mandrel whose external diameter B is at least equal
to reference dimension A for type I, III and VI nuts in Figure 2Figure 2 and equal to reference dimension
A for type II, IV and V nuts in Figure 2Figure 2;;
c) c) an appropriate feeler gauge.
2 © ISO 2023 – All rights reserved
ISO/FDIS 8642:2023(E2025(en)
Key
1 sliding collar
2 threaded mandrel
3 feeler gauge
a
Pitch diameter.
Figure 1 — Bearing surface squareness test
ISO/FDIS 8642:2023(E2025(en)
Figure 2 — Nut configurations
a) Type I b) Type II c) Type III d) Type IV e) Type V f) Type VI
NOTE : Type I are wrench nuts, Type; type II and Typetype III are clinch nuts, Type; type IV and Typetype V are fixed
anchor nus,; and Typetype VI are floating anchor nuts and gang channel nuts.
Figure 2 — Nut configurations
4.2.2 Method
The test shall be carried out at ambient temperature.
For floating nuts, extract the nut from the cage or channel.
Lubricate the mandrel and nut threads (or threaded part) as stated in Table 1Table 1 (if necessary). Install,
with or without using a spanner, the threaded mandrel into the nut or threaded part until it engages with the
self-locking zone.
Move the collar into contact with the bearing surface.
Evaluate the out-of-squareness by means of a feeler gauge whose thickness corresponds to the permissible
squareness error permitted by the dimensional standard, the drawing or the procurement specification.
For clinch nuts, the sliding collar shall have a counterbore to accommodate the shank.
4 © ISO 2023 – All rights reserved
ISO/FDIS 8642:2023(E2025(en)
Table 1 — — Test bolt and lubrication
Nut to be tested Test bolt
Additional
lubrication
Material Coating Material Coating
Steel or alloy steel Any Alloy steel None
Silver or MoS None Synthetic oil
Stainless steel Stainless steel
None Silver
4.3 Axial load test
4.3.1 Test device
The test device is illustrated in Figure 3Figure 3 and it shall include the following elements:
a) a) a steel bearing plate, heat-treated to a hardness HRC ≥ 40;
b) b) a bolt with a rolled thread and the following characteristics:
1) 1) threads in accordance with ISO 5855--2;
2) 2) tensile strength class greater than that of the nut under test;
3) 3) material and coating: no specific requirement;
c) c) a torque wrench.
ISO/FDIS 8642:2023(E2025(en)
Dimensions in millimetres
a) Wrench nuts and non-floating anchor b) Clinch nuts c) Floating anchor nuts and gang channel
nuts nuts
a
Maximum shank diameter.
b
Chamfer to suit the nut radius.
c
Hole to allow the specified float.
d
Loading direction.
Figure 3 — — Axial load test fixture
4.3.2 Method
4.3.2.1 Principle
The axial load is transmitted to the nut by the bolt, the nut resting on the bearing plate.
4.3.2.2 80 % test
This test shall be carried out at ambient temperature.
6 © ISO 2023 – All rights reserved
ISO/FDIS 8642:2023(E2025(en)
Lubricate the bolt and nut threads as stated in Table 1Table 1 (if necessary). Assemble the bearing plate on
the bolt. Assemble the nut and measure the locking torque, using a torque wrench, when the protrusion is two
pitches minimum (including chamfer).
Position the assembly on the tensile machine. Apply the load
...



Questions, Comments and Discussion
Ask us and Technical Secretary will try to provide an answer. You can facilitate discussion about the standard in here.