ISO 6363-5:2022
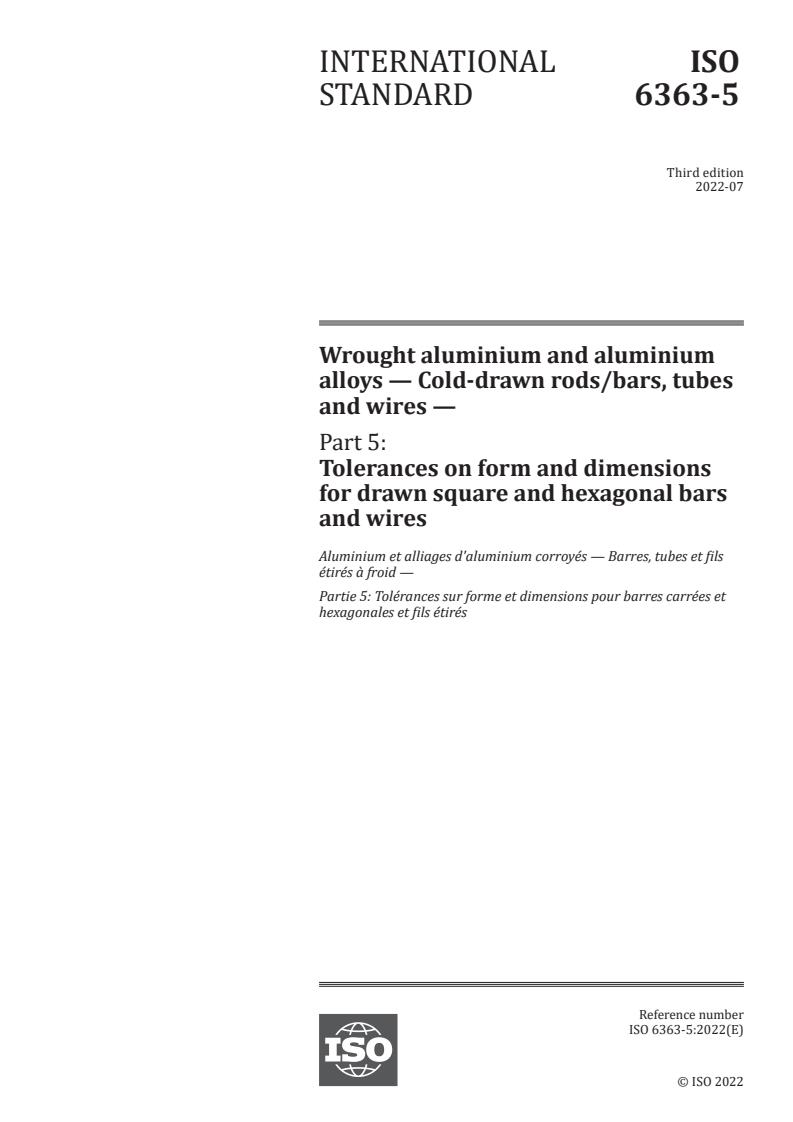
(Main)Wrought aluminium and aluminium alloys — Cold-drawn rods/bars, tubes and wires — Part 5: Tolerances on form and dimensions for drawn square and hexagonal bars and wires
Wrought aluminium and aluminium alloys — Cold-drawn rods/bars, tubes and wires — Part 5: Tolerances on form and dimensions for drawn square and hexagonal bars and wires
This document specifies the tolerances on form and dimensions of wrought aluminium and aluminium alloy drawn square and hexagonal bars and wires with widths across flats up to and including 100 mm. For wires, this document does not apply to electrical, welding and aeronautical purposes. For drawn bars, 4.1 to 4.5 apply, and only 4.1 applies to drawn wires.
Aluminium et alliages d'aluminium corroyés — Barres, tubes et fils étirés à froid — Partie 5: Tolérances sur forme et dimensions pour barres carrées et hexagonales et fils étirés
General Information
- Status
- Published
- Publication Date
- 30-Jun-2022
- Technical Committee
- ISO/TC 79/SC 6 - Wrought aluminium and aluminium alloys
- Drafting Committee
- ISO/TC 79/SC 6 - Wrought aluminium and aluminium alloys
- Current Stage
- 6060 - International Standard published
- Start Date
- 01-Jul-2022
- Due Date
- 05-Apr-2023
- Completion Date
- 01-Jul-2022
Relations
- Effective Date
- 23-Apr-2020
Overview
ISO 6363-5:2022 defines the tolerances on form and dimensions for cold-drawn wrought aluminium and aluminium-alloy square and hexagonal bars and wires with widths across flats up to and including 100 mm. The third edition (2022) updates and corrects the previous edition (2012). For drawn bars, sections 4.1–4.5 apply; for drawn wires, only section 4.1 (width across flats tolerances) applies. This part of the ISO 6363 series is intended for manufacturers, purchasers and inspection bodies specifying and verifying dimensional and form tolerances for drawn aluminium products. Note: the standard does not apply to wires for electrical, welding or aeronautical purposes.
Key topics and technical requirements
- Scope limit: widths across flats ≤ 100 mm; wires for certain critical applications excluded.
- Tolerances on width across flats (4.1): plus-and-minus or minus-only tolerances provided in tabulated form (Table 1); choice agreed between purchaser and supplier.
- Fixed-length tolerances (4.2): length tolerance bands for fixed-length bars by length ranges (Table 2).
- Squareness of cut ends (4.3): limited to half the fixed-length tolerance range (applies to both fixed and random lengths).
- Corner radii (4.4): maximum corner radii defined by width ranges (Table 3) - corners shall be slightly rounded but not exceed the stated maxima.
- Form tolerances (4.5) (bars only, except certain tempers):
- Measurement method: place bar on a horizontal plate under its own mass.
- Straightness: maximum 2 mm per 1 000 mm of length (total) and ≤ 0.6 mm per 300 mm section.
- Convexity/concavity: controlled within width-across-flats tolerances.
- Twist: limits per 1 000 mm and over total length (Table 4) with different limits for s ≤ 50 mm and 50 < s ≤ 100 mm.
- Squareness deviation (Z): Z = 0.005 × s (Table 5) - measured per illustrated method.
Practical applications and users
- Useful for: aluminium drawing mills, quality control and inspection labs, procurement/specification engineers, metal fabricators, and machine shops that process or buy cold-drawn square and hexagonal aluminium bars and wires.
- Typical uses: specifying dimensional acceptance criteria in purchase orders, production quality control, incoming inspection, and dimensional reporting for components made from drawn aluminium bars and wires.
- Benefits: ensures consistent dimensional quality, reduces disputes between supplier and purchaser, and provides clear measurement and acceptance criteria for straightness, twist, squareness and corner radii.
Related standards
- ISO 6363-1 - Technical conditions for inspection and delivery (normative reference cited in ISO 6363-5).
- For a full listing of the ISO 6363 series, consult the ISO website.
Keywords: ISO 6363-5, wrought aluminium, cold-drawn, square bars, hexagonal bars, drawn wires, tolerances on form and dimensions, width across flats, straightness, twist, squareness.
Get Certified
Connect with accredited certification bodies for this standard

Element Materials Technology
Materials testing and product certification.

Inštitut za kovinske materiale in tehnologije
Institute of Metals and Technology. Materials testing, metallurgical analysis, NDT.
Sponsored listings
Frequently Asked Questions
ISO 6363-5:2022 is a standard published by the International Organization for Standardization (ISO). Its full title is "Wrought aluminium and aluminium alloys — Cold-drawn rods/bars, tubes and wires — Part 5: Tolerances on form and dimensions for drawn square and hexagonal bars and wires". This standard covers: This document specifies the tolerances on form and dimensions of wrought aluminium and aluminium alloy drawn square and hexagonal bars and wires with widths across flats up to and including 100 mm. For wires, this document does not apply to electrical, welding and aeronautical purposes. For drawn bars, 4.1 to 4.5 apply, and only 4.1 applies to drawn wires.
This document specifies the tolerances on form and dimensions of wrought aluminium and aluminium alloy drawn square and hexagonal bars and wires with widths across flats up to and including 100 mm. For wires, this document does not apply to electrical, welding and aeronautical purposes. For drawn bars, 4.1 to 4.5 apply, and only 4.1 applies to drawn wires.
ISO 6363-5:2022 is classified under the following ICS (International Classification for Standards) categories: 77.150.10 - Aluminium products. The ICS classification helps identify the subject area and facilitates finding related standards.
ISO 6363-5:2022 has the following relationships with other standards: It is inter standard links to ISO 6363-5:2012. Understanding these relationships helps ensure you are using the most current and applicable version of the standard.
ISO 6363-5:2022 is available in PDF format for immediate download after purchase. The document can be added to your cart and obtained through the secure checkout process. Digital delivery ensures instant access to the complete standard document.
Standards Content (Sample)
INTERNATIONAL ISO
STANDARD 6363-5
Third edition
2022-07
Wrought aluminium and aluminium
alloys — Cold-drawn rods/bars, tubes
and wires —
Part 5:
Tolerances on form and dimensions
for drawn square and hexagonal bars
and wires
Aluminium et alliages d'aluminium corroyés — Barres, tubes et fils
étirés à froid —
Partie 5: Tolérances sur forme et dimensions pour barres carrées et
hexagonales et fils étirés
Reference number
© ISO 2022
All rights reserved. Unless otherwise specified, or required in the context of its implementation, no part of this publication may
be reproduced or utilized otherwise in any form or by any means, electronic or mechanical, including photocopying, or posting on
the internet or an intranet, without prior written permission. Permission can be requested from either ISO at the address below
or ISO’s member body in the country of the requester.
ISO copyright office
CP 401 • Ch. de Blandonnet 8
CH-1214 Vernier, Geneva
Phone: +41 22 749 01 11
Email: copyright@iso.org
Website: www.iso.org
Published in Switzerland
ii
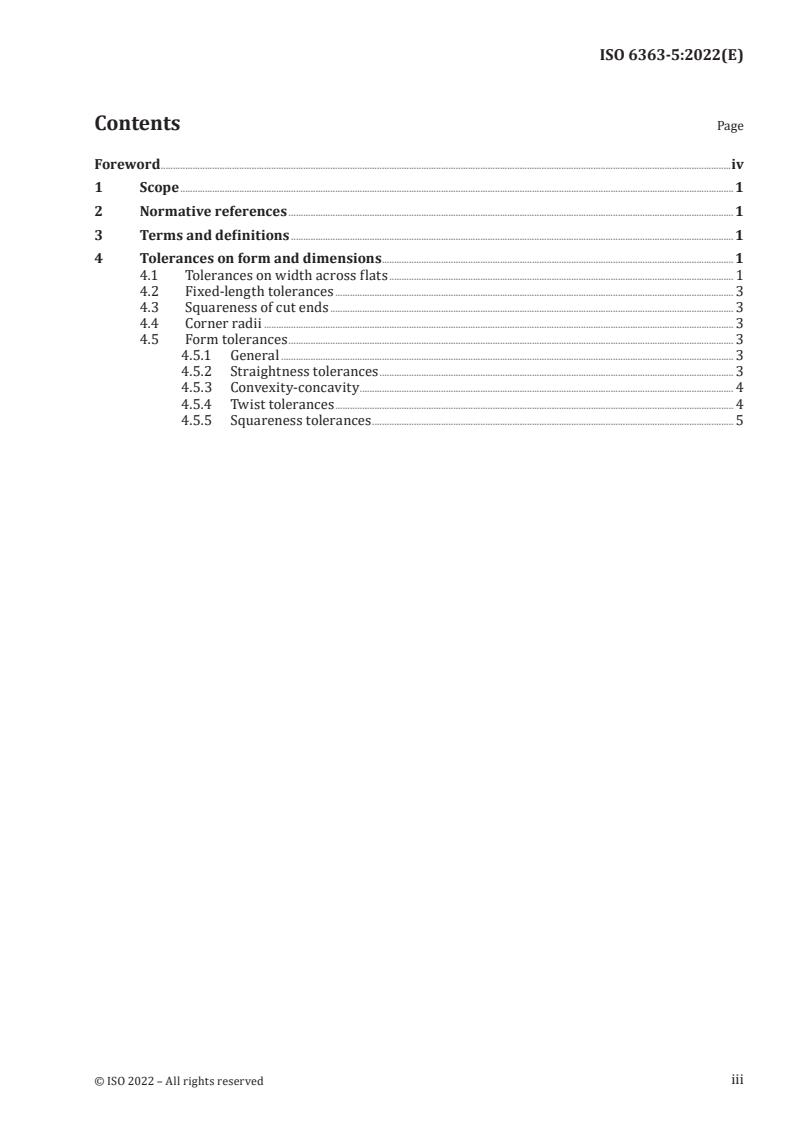
Contents Page
Foreword .iv
1 Scope . 1
2 Normative references . 1
3 Terms and definitions . 1
4 Tolerances on form and dimensions .1
4.1 Tolerances on width across flats . 1
4.2 Fixed-length tolerances . 3
4.3 Squareness of cut ends . 3
4.4 Corner radii . 3
4.5 Form tolerances . 3
4.5.1 General . 3
4.5.2 Straightness tolerances . 3
4.5.3 Convexity-concavity . 4
4.5.4 Twist tolerances . 4
4.5.5 Squareness tolerances . 5
iii
Foreword
ISO (the International Organization for Standardization) is a worldwide federation of national standards
bodies (ISO member bodies). The work of preparing International Standards is normally carried out
through ISO technical committees. Each member body interested in a subject for which a technical
committee has been established has the right to be represented on that committee. International
organizations, governmental and non-governmental, in liaison with ISO, also take part in the work.
ISO collaborates closely with the International Electrotechnical Commission (IEC) on all matters of
electrotechnical standardization.
The procedures used to develop this document and those intended for its further maintenance are
described in the ISO/IEC Directives, Part 1. In particular, the different approval criteria needed for the
different types of ISO documents should be noted. This document was drafted in accordance with the
editorial rules of the ISO/IEC Directives, Part 2 (see www.iso.org/directives).
Attention is drawn to the possibility that some of the elements of this document may be the subject of
patent rights. ISO shall not be held responsible for identifying any or all such patent rights. Details of
any patent rights identified during the development of the document will be in the Introduction and/or
on the ISO list of patent declarations received (see www.iso.org/patents).
Any trade name used in this document is information given for the convenience of users and does not
constitute an endorsement.
For an explanation of the voluntary nature of standards, the meaning of ISO specific terms and
expressions related to conformity assessment, as well as information about ISO’s adherence to
the World Trade Organization (WTO) principles in the Technical Barriers to Trade (TBT)
...


Questions, Comments and Discussion
Ask us and Technical Secretary will try to provide an answer. You can facilitate discussion about the standard in here.
Loading comments...