ASTM E647-13e1
(Test Method)Standard Test Method for Measurement of Fatigue Crack Growth Rates
Standard Test Method for Measurement of Fatigue Crack Growth Rates
SIGNIFICANCE AND USE
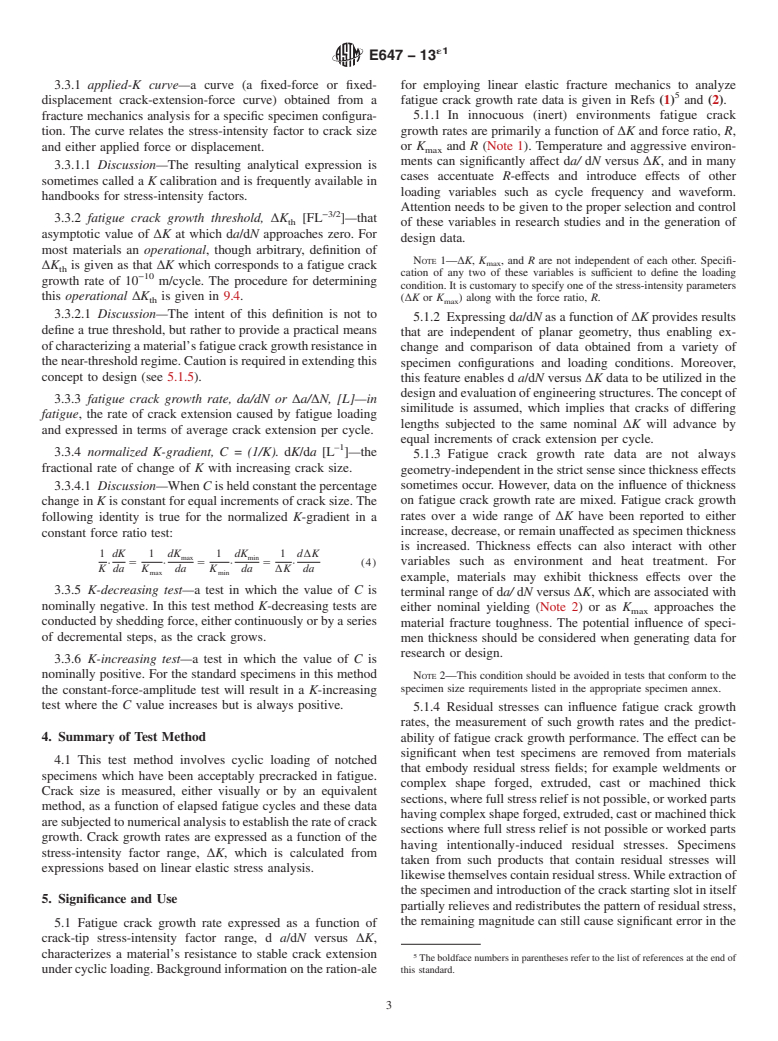
5.1 Fatigue crack growth rate expressed as a function of crack-tip stress-intensity factor range, d a/dN versus ΔK, characterizes a material's resistance to stable crack extension under cyclic loading. Background information on the ration-ale for employing linear elastic fracture mechanics to analyze fatigue crack growth rate data is given in Refs (1)5 and (2).
5.1.1 In innocuous (inert) environments fatigue crack growth rates are primarily a function of ΔK and force ratio, R, or K max and R (Note 1). Temperature and aggressive environments can significantly affect da/ dN versus ΔK, and in many cases accentuate R-effects and introduce effects of other loading variables such as cycle frequency and waveform. Attention needs to be given to the proper selection and control of these variables in research studies and in the generation of design data.Note 1—ΔK, Kmax, and R are not independent of each other. Specification of any two of these variables is sufficient to define the loading condition. It is customary to specify one of the stress-intensity parameters (ΔK or Kmax) along with the force ratio, R.
5.1.2 Expressing da/dN as a function of ΔK provides results that are independent of planar geometry, thus enabling exchange and comparison of data obtained from a variety of specimen configurations and loading conditions. Moreover, this feature enables d a/dN versus ΔK data to be utilized in the design and evaluation of engineering structures. The concept of similitude is assumed, which implies that cracks of differing lengths subjected to the same nominal ΔK will advance by equal increments of crack extension per cycle.
5.1.3 Fatigue crack growth rate data are not always geometry-independent in the strict sense since thickness effects sometimes occur. However, data on the influence of thickness on fatigue crack growth rate are mixed. Fatigue crack growth rates over a wide range of ΔK have been reported to either increase, decrease, or remain unaffected as specime...
SCOPE
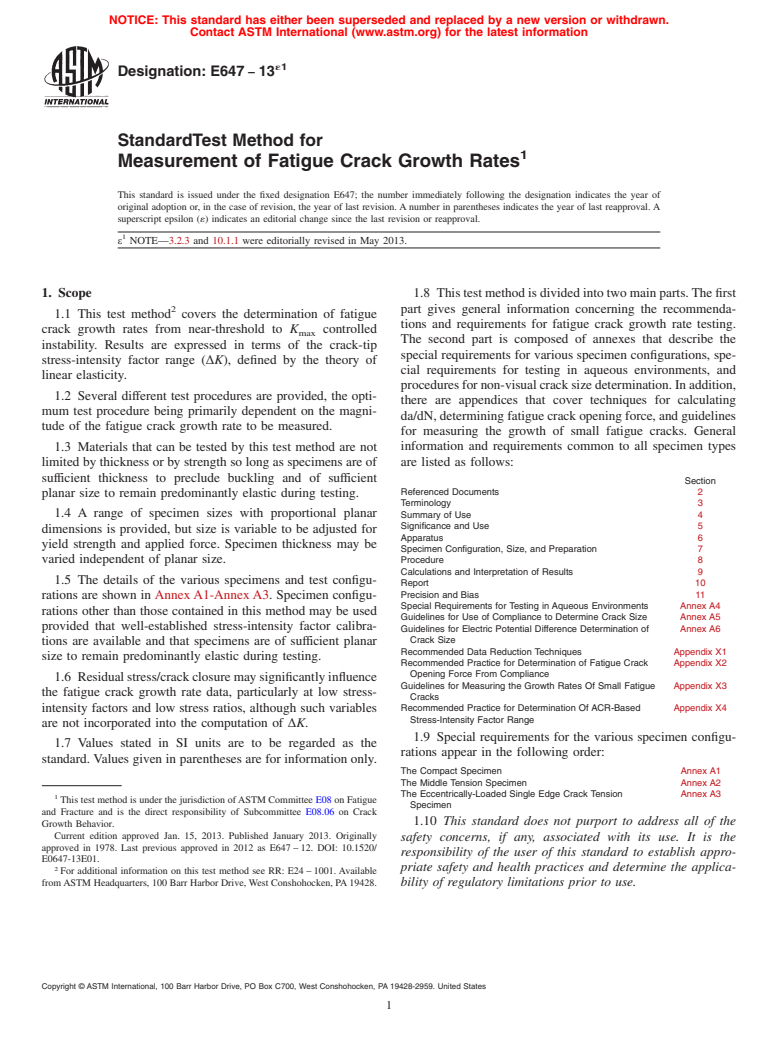
1.1 This test method2 covers the determination of fatigue crack growth rates from near-threshold to Kmax controlled instability. Results are expressed in terms of the crack-tip stress-intensity factor range (ΔK), defined by the theory of linear elasticity.
1.2 Several different test procedures are provided, the optimum test procedure being primarily dependent on the magnitude of the fatigue crack growth rate to be measured.
1.3 Materials that can be tested by this test method are not limited by thickness or by strength so long as specimens are of sufficient thickness to preclude buckling and of sufficient planar size to remain predominantly elastic during testing.
1.4 A range of specimen sizes with proportional planar dimensions is provided, but size is variable to be adjusted for yield strength and applied force. Specimen thickness may be varied independent of planar size.
1.5 The details of the various specimens and test configurations are shown in Annex A1-Annex A3. Specimen configurations other than those contained in this method may be used provided that well-established stress-intensity factor calibrations are available and that specimens are of sufficient planar size to remain predominantly elastic during testing.
1.6 Residual stress/crack closure may significantly influence the fatigue crack growth rate data, particularly at low stress-intensity factors and low stress ratios, although such variables are not incorporated into the computation of ΔK.
1.7 Values stated in SI units are to be regarded as the standard. Values given in parentheses are for information only.
1.8 This test method is divided into two main parts. The first part gives general information concerning the recommendations and requirements for fatigue crack growth rate testing. The second part is composed of annexes that describe the special requirements for various specimen configurations, special requirements for testing in...
General Information
Relations
Standards Content (Sample)
NOTICE: This standard has either been superseded and replaced by a new version or withdrawn.
Contact ASTM International (www.astm.org) for the latest information
´1
Designation: E647 − 13
StandardTest Method for
1
Measurement of Fatigue Crack Growth Rates
This standard is issued under the fixed designation E647; the number immediately following the designation indicates the year of
original adoption or, in the case of revision, the year of last revision.Anumber in parentheses indicates the year of last reapproval.A
superscript epsilon (´) indicates an editorial change since the last revision or reapproval.
1
ε NOTE—3.2.3 and 10.1.1 were editorially revised in May 2013.
1. Scope 1.8 Thistestmethodisdividedintotwomainparts.Thefirst
2 part gives general information concerning the recommenda-
1.1 This test method covers the determination of fatigue
tions and requirements for fatigue crack growth rate testing.
crack growth rates from near-threshold to K controlled
max
The second part is composed of annexes that describe the
instability. Results are expressed in terms of the crack-tip
special requirements for various specimen configurations, spe-
stress-intensity factor range (∆K), defined by the theory of
cial requirements for testing in aqueous environments, and
linear elasticity.
proceduresfornon-visualcracksizedetermination.Inaddition,
1.2 Several different test procedures are provided, the opti-
there are appendices that cover techniques for calculating
mum test procedure being primarily dependent on the magni-
da/dN,determiningfatiguecrackopeningforce,andguidelines
tude of the fatigue crack growth rate to be measured.
for measuring the growth of small fatigue cracks. General
1.3 Materials that can be tested by this test method are not information and requirements common to all specimen types
are listed as follows:
limited by thickness or by strength so long as specimens are of
sufficient thickness to preclude buckling and of sufficient
Section
Referenced Documents 2
planar size to remain predominantly elastic during testing.
Terminology 3
1.4 A range of specimen sizes with proportional planar Summary of Use 4
Significance and Use 5
dimensions is provided, but size is variable to be adjusted for
Apparatus 6
yield strength and applied force. Specimen thickness may be
Specimen Configuration, Size, and Preparation 7
varied independent of planar size. Procedure 8
Calculations and Interpretation of Results 9
1.5 The details of the various specimens and test configu-
Report 10
Precision and Bias 11
rations are shown in AnnexA1-AnnexA3. Specimen configu-
Special Requirements for Testing in Aqueous Environments Annex A4
rations other than those contained in this method may be used
Guidelines for Use of Compliance to Determine Crack Size Annex A5
provided that well-established stress-intensity factor calibra-
Guidelines for Electric Potential Difference Determination of Annex A6
Crack Size
tions are available and that specimens are of sufficient planar
Recommended Data Reduction Techniques Appendix X1
size to remain predominantly elastic during testing.
Recommended Practice for Determination of Fatigue Crack Appendix X2
Opening Force From Compliance
1.6 Residualstress/crackclosuremaysignificantlyinfluence
Guidelines for Measuring the Growth Rates Of Small Fatigue Appendix X3
the fatigue crack growth rate data, particularly at low stress-
Cracks
intensity factors and low stress ratios, although such variables Recommended Practice for Determination Of ACR-Based Appendix X4
Stress-Intensity Factor Range
are not incorporated into the computation of ∆K.
1.9 Special requirements for the various specimen configu-
1.7 Values stated in SI units are to be regarded as the
rations appear in the following order:
standard.Values given in parentheses are for information only.
The Compact Specimen Annex A1
The Middle Tension Specimen Annex A2
The Eccentrically-Loaded Single Edge Crack Tension Annex A3
1
This test method is under the jurisdiction ofASTM Committee E08 on Fatigue
Specimen
and Fracture and is the direct responsibility of Subcommittee E08.06 on Crack
1.10 This standard does not purport to address all of the
Growth Behavior.
Current edition approved Jan. 15, 2013. Published January 2013. Originally
safety concerns, if any, associated with its use. It is the
approved in 1978. Last previous approved in 2012 as E647–12. DOI: 10.1520/
responsibility of the user of this standard to establish appro-
E0647-13E01.
2
priate safety and health practices and determine the applica-
For additional information on this test method see RR: E24–1001. Available
fromASTM Headquarters, 100 Barr Harbor Drive,West Conshohocken, PA19428. bility of regulatory limitations prior to use.
Copyright © ASTM International, 100 Barr Harbor Drive, PO Box C700, West Conshohocken, PA 19428-2959. United States
1
---------------------- Page: 1 ----------------------
´1
E647 − 13
2. Referenced Documents ∆P 5 P 2 P (1)
max min
3
3.2.7 force ratio (also called stress
...


Questions, Comments and Discussion
Ask us and Technical Secretary will try to provide an answer. You can facilitate discussion about the standard in here.