ASTM F1978-12
(Test Method)Standard Test Method for Measuring Abrasion Resistance of Metallic Thermal Spray Coatings by Using the Taber Abraser
Standard Test Method for Measuring Abrasion Resistance of Metallic Thermal Spray Coatings by Using the Taber Abraser
SIGNIFICANCE AND USE
This test method provides a means to evaluate the resistance to particle shedding of a thermal spray coating. Such particle shedding might occur during surgical insertion of an implant or as the result of micromotion of the implant after insertion.
This abrasion test method may be useful for quality control analysis of a coating, and it can be used to evaluate the effects of processing variables, such as substrate preparation before coating, surface texture, coating technique variables, or postcoating treatments, any of which may influence the susceptibility of the coating to particle shedding.
This abrasion test method is for flat plate-shaped specimens of a size sufficient that the wheels of the abrader do not leave the surface of the specimen. It is not recommended, however, for devices with other shapes or sizes.
SCOPE
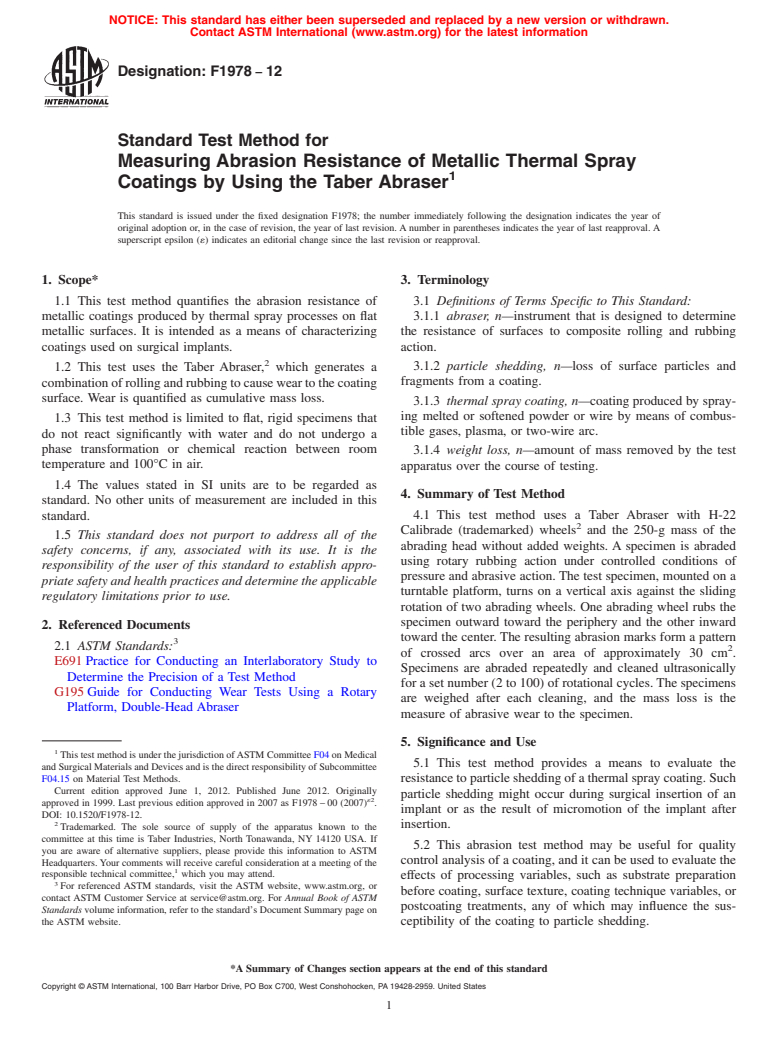
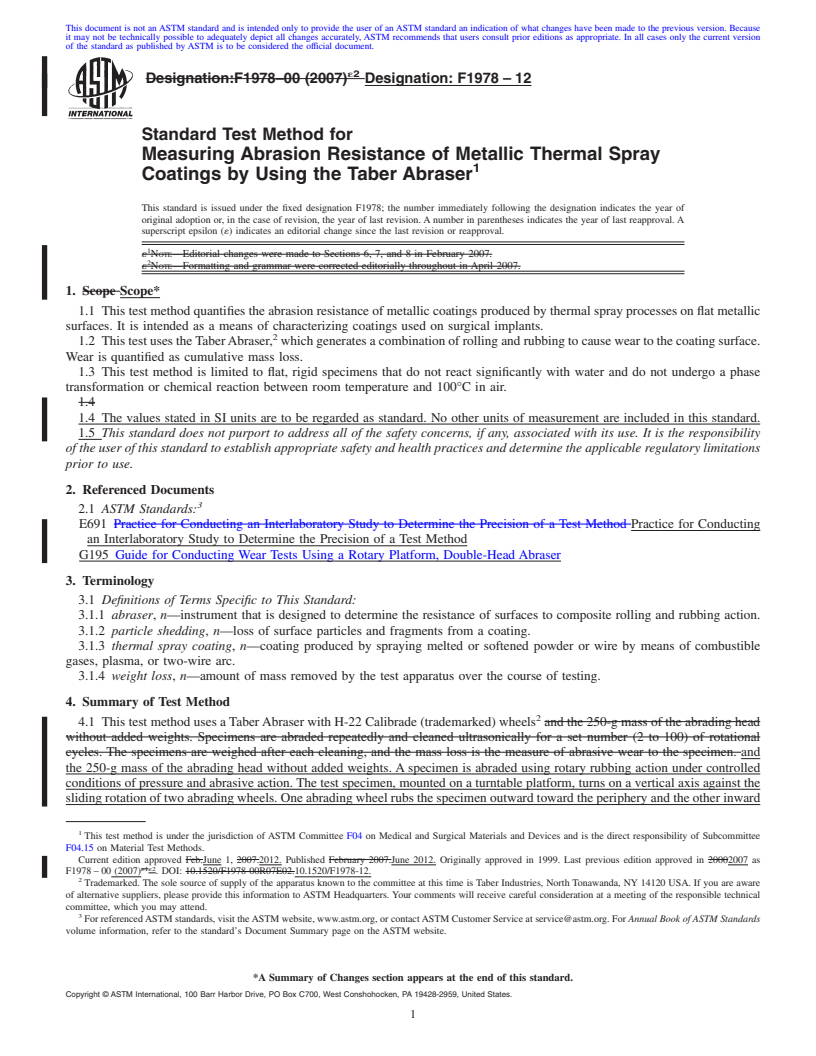
1.1 This test method quantifies the abrasion resistance of metallic coatings produced by thermal spray processes on flat metallic surfaces. It is intended as a means of characterizing coatings used on surgical implants.
1.2 This test uses the Taber Abraser, which generates a combination of rolling and rubbing to cause wear to the coating surface. Wear is quantified as cumulative mass loss.
1.3 This test method is limited to flat, rigid specimens that do not react significantly with water and do not undergo a phase transformation or chemical reaction between room temperature and 100°C in air.
1.4 The values stated in SI units are to be regarded as standard. No other units of measurement are included in this standard.
1.5 This standard does not purport to address all of the safety concerns, if any, associated with its use. It is the responsibility of the user of this standard to establish appropriate safety and health practices and determine the applicable regulatory limitations prior to use.
General Information
Relations
Buy Standard
Standards Content (Sample)
NOTICE: This standard has either been superseded and replaced by a new version or withdrawn.
Contact ASTM International (www.astm.org) for the latest information
Designation: F1978 − 12
Standard Test Method for
Measuring Abrasion Resistance of Metallic Thermal Spray
1
Coatings by Using the Taber Abraser
This standard is issued under the fixed designation F1978; the number immediately following the designation indicates the year of
original adoption or, in the case of revision, the year of last revision. A number in parentheses indicates the year of last reapproval. A
superscript epsilon (´) indicates an editorial change since the last revision or reapproval.
1. Scope* 3. Terminology
1.1 This test method quantifies the abrasion resistance of 3.1 Definitions of Terms Specific to This Standard:
metallic coatings produced by thermal spray processes on flat 3.1.1 abraser, n—instrument that is designed to determine
metallic surfaces. It is intended as a means of characterizing the resistance of surfaces to composite rolling and rubbing
coatings used on surgical implants. action.
2
3.1.2 particle shedding, n—loss of surface particles and
1.2 This test uses the Taber Abraser, which generates a
fragments from a coating.
combinationofrollingandrubbingtocauseweartothecoating
surface. Wear is quantified as cumulative mass loss.
3.1.3 thermal spray coating, n—coating produced by spray-
ing melted or softened powder or wire by means of combus-
1.3 This test method is limited to flat, rigid specimens that
tible gases, plasma, or two-wire arc.
do not react significantly with water and do not undergo a
phase transformation or chemical reaction between room
3.1.4 weight loss, n—amount of mass removed by the test
temperature and 100°C in air.
apparatus over the course of testing.
1.4 The values stated in SI units are to be regarded as
4. Summary of Test Method
standard. No other units of measurement are included in this
4.1 This test method uses a Taber Abraser with H-22
standard.
2
Calibrade (trademarked) wheels and the 250-g mass of the
1.5 This standard does not purport to address all of the
abrading head without added weights. A specimen is abraded
safety concerns, if any, associated with its use. It is the
using rotary rubbing action under controlled conditions of
responsibility of the user of this standard to establish appro-
pressure and abrasive action. The test specimen, mounted on a
priate safety and health practices and determine the applicable
turntable platform, turns on a vertical axis against the sliding
regulatory limitations prior to use.
rotation of two abrading wheels. One abrading wheel rubs the
specimen outward toward the periphery and the other inward
2. Referenced Documents
toward the center. The resulting abrasion marks form a pattern
3
2.1 ASTM Standards: 2
of crossed arcs over an area of approximately 30 cm .
E691 Practice for Conducting an Interlaboratory Study to
Specimens are abraded repeatedly and cleaned ultrasonically
Determine the Precision of a Test Method
for a set number (2 to 100) of rotational cycles. The specimens
G195 Guide for Conducting Wear Tests Using a Rotary
are weighed after each cleaning, and the mass loss is the
Platform, Double-Head Abraser
measure of abrasive wear to the specimen.
5. Significance and Use
1
This test method is under the jurisdiction ofASTM Committee F04 on Medical
5.1 This test method provides a means to evaluate the
and Surgical Materials and Devices and is the direct responsibility of Subcommittee
F04.15 on Material Test Methods.
resistance to particle shedding of a thermal spray coating. Such
Current edition approved June 1, 2012. Published June 2012. Originally
particle shedding might occur during surgical insertion of an
´2
approved in 1999. Last previous edition approved in 2007 as F1978 – 00 (2007) .
implant or as the result of micromotion of the implant after
DOI: 10.1520/F1978-12.
2
insertion.
Trademarked. The sole source of supply of the apparatus known to the
committee at this time is Taber Industries, North Tonawanda, NY 14120 USA. If
5.2 This abrasion test method may be useful for quality
you are aware of alternative suppliers, please provide this information to ASTM
control analysis of a coating, and it can be used to evaluate the
Headquarters.Your comments will receive careful consideration at a meeting of the
1
responsible technical committee, which you may attend.
effects of processing variables, such as substrate preparation
3
For referenced ASTM standards, visit the ASTM website, www.astm.org, or
before coating, surface texture, coating technique variables, or
contact ASTM Customer Service at service@astm.org. For Annual Book of ASTM
postcoating treatments, any of which may influence the sus-
Standards volume information, refer to the standard’s Document Summary page on
the ASTM website. ceptibility of the coating to particle shedding.
*A Summary of Changes section appears at the end of this standard
Copyright © ASTM International, 100 Barr Harbor Dr
...
This document is not an ASTM standard and is intended only to provide the user of an ASTM standard an indication of what changes have been made to the previous version. Because
it may not be technically possible to adequately depict all changes accurately, ASTM recommends that users consult prior editions as appropriate. In all cases only the current version
of the standard as published by ASTM is to be considered the official document.
´2
Designation:F1978–00 (2007) Designation:F1978–12
Standard Test Method for
Measuring Abrasion Resistance of Metallic Thermal Spray
1
Coatings by Using the Taber Abraser
This standard is issued under the fixed designation F1978; the number immediately following the designation indicates the year of
original adoption or, in the case of revision, the year of last revision. A number in parentheses indicates the year of last reapproval. A
superscript epsilon (´) indicates an editorial change since the last revision or reapproval.
1
´ NOTE—Editorial changes were made to Sections 6, 7, and 8 in February 2007.
2
´ NOTE—Formatting and grammar were corrected editorially throughout in April 2007.
1. Scope Scope*
1.1 This test method quantifies the abrasion resistance of metallic coatings produced by thermal spray processes on flat metallic
surfaces. It is intended as a means of characterizing coatings used on surgical implants.
2
1.2 ThistestusestheTaberAbraser, whichgeneratesacombinationofrollingandrubbingtocauseweartothecoatingsurface.
Wear is quantified as cumulative mass loss.
1.3 This test method is limited to flat, rigid specimens that do not react significantly with water and do not undergo a phase
transformation or chemical reaction between room temperature and 100°C in air.
1.4
1.4 The values stated in SI units are to be regarded as standard. No other units of measurement are included in this standard.
1.5 This standard does not purport to address all of the safety concerns, if any, associated with its use. It is the responsibility
of the user of this standard to establish appropriate safety and health practices and determine the applicable regulatory limitations
prior to use.
2. Referenced Documents
3
2.1 ASTM Standards:
E691 Practice for Conducting an Interlaboratory Study to Determine the Precision of a Test Method Practice for Conducting
an Interlaboratory Study to Determine the Precision of a Test Method
G195 Guide for Conducting Wear Tests Using a Rotary Platform, Double-Head Abraser
3. Terminology
3.1 Definitions of Terms Specific to This Standard:
3.1.1 abraser, n—instrument that is designed to determine the resistance of surfaces to composite rolling and rubbing action.
3.1.2 particle shedding, n—loss of surface particles and fragments from a coating.
3.1.3 thermal spray coating, n—coating produced by spraying melted or softened powder or wire by means of combustible
gases, plasma, or two-wire arc.
3.1.4 weight loss, n—amount of mass removed by the test apparatus over the course of testing.
4. Summary of Test Method
2
4.1 This test method uses a TaberAbraser with H-22 Calibrade (trademarked) wheels and the 250-g mass of the abrading head
without added weights. Specimens are abraded repeatedly and cleaned ultrasonically for a set number (2 to 100) of rotational
cycles. The specimens are weighed after each cleaning, and the mass loss is the measure of abrasive wear to the specimen. and
the 250-g mass of the abrading head without added weights. A specimen is abraded using rotary rubbing action under controlled
conditions of pressure and abrasive action. The test specimen, mounted on a turntable platform, turns on a vertical axis against the
sliding rotation of two abrading wheels. One abrading wheel rubs the specimen outward toward the periphery and the other inward
1
This test method is under the jurisdiction of ASTM Committee F04 on Medical and Surgical Materials and Devices and is the direct responsibility of Subcommittee
F04.15 on Material Test Methods.
Current edition approved Feb.June 1, 2007.2012. Published February 2007.June 2012. Originally approved in 1999. Last previous edition approved in 20002007 as
´1´2
F1978 – 00 (2007) . DOI: 10.1520/F1978-00R07E02.10.1520/F1978-12.
2
Trademarked. The sole source of supply of the apparatus known to the committee at this time is Taber Industries, North Tonawanda, NY 14120 USA. If you are aware
of alternative suppliers, please provide this information to ASTM Headquarters. Your comments will receive careful consideration at a meeting of the responsible technical
committee, which you may attend.
3
For referencedASTM standards, visit theASTM website, www.astm.org, or contactASTM Customer Service at service@astm.org. For Annual Book of ASTM Standards
volume information, refer to the standard’s Document Summary page on the ASTM website.
*A Summary of Changes section appears at the end of this standard.
Copyright © ASTM International, 100 Barr Harbor Drive, PO Box C700, West Conshohocken, PA 19428-2959, United States.
1
----------
...


Questions, Comments and Discussion
Ask us and Technical Secretary will try to provide an answer. You can facilitate discussion about the standard in here.