ASTM E1921-12a
(Test Method)Standard Test Method for Determination of Reference Temperature, To, for Ferritic Steels in the Transition Range
Standard Test Method for Determination of Reference Temperature, <emph type="bdit">T<inf >o</inf></emph>, for Ferritic Steels in the Transition Range
SIGNIFICANCE AND USE
5.1 Fracture toughness is expressed in terms of an elastic-plastic stress intensity factor, KJc , that is derived from the J-integral calculated at fracture.
5.2 Ferritic steels are inhomogeneous with respect to the orientation of individual grains. Also, grain boundaries have properties distinct from those of the grains. Both contain carbides or nonmetallic inclusions that can act as nucleation sites for cleavage microcracks. The random location of such nucleation sites with respect to the position of the crack front manifests itself as variability of the associated fracture toughness (13). This results in a distribution of fracture toughness values that is amenable to characterization using statistical methods.
5.3 Distributions of KJc data from replicate tests can be used to predict distributions of KJc for different specimen sizes. Theoretical reasoning (9), confirmed by experimental data, suggests that a fixed Weibull slope of 4 applies to all data distributions and, as a consequence, standard deviation on data scatter can be calculated. Data distribution and specimen size effects are characterized using a Weibull function that is coupled with weakest-link statistics (14). An upper limit on constraint loss and a lower limit on test temperature are defined between which weakest-link statistics can be used.
5.4 The experimental results can be used to define a master curve that describes the shape and location of median KJc transition temperature fracture toughness for 1T specimens (15). The curve is positioned on the abscissa (temperature coordinate) by an experimentally determined reference temperature, To. Shifts in reference temperature are a measure of transition temperature change caused, for example, by metallurgical damage mechanisms.
5.5 Tolerance bounds on KJc can be calculated based on theory and generic data. For added conservatism, an offset can be added to tolerance bounds to cover the uncertainty associated with estimating the ref...
SCOPE
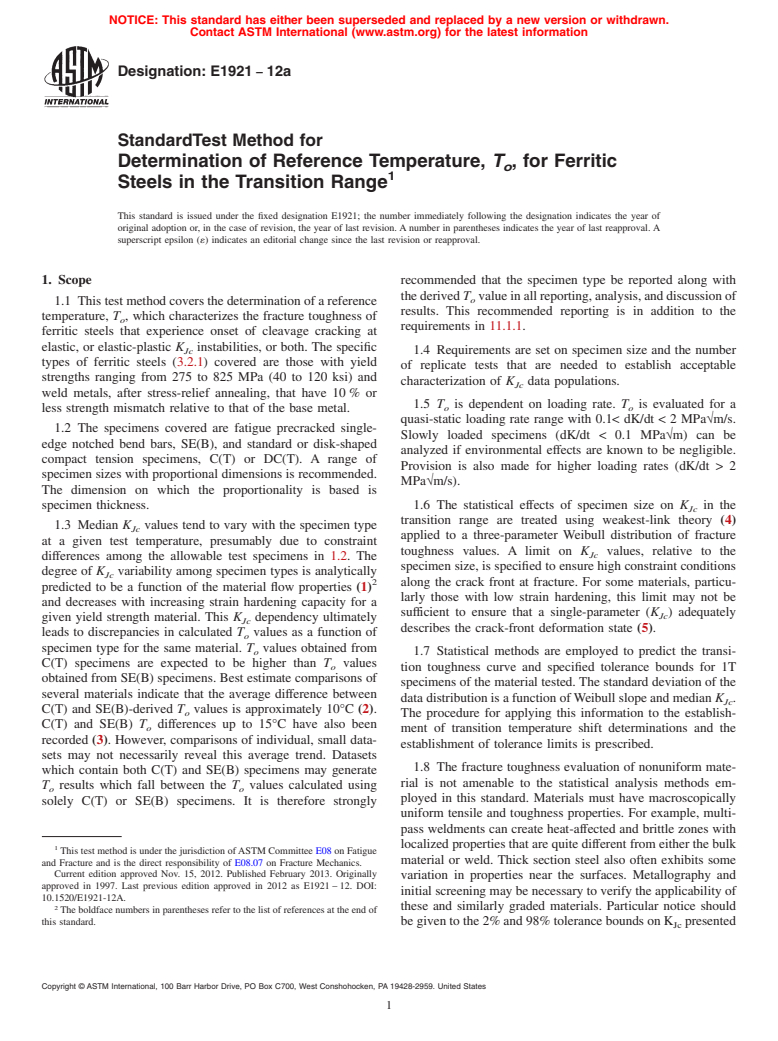
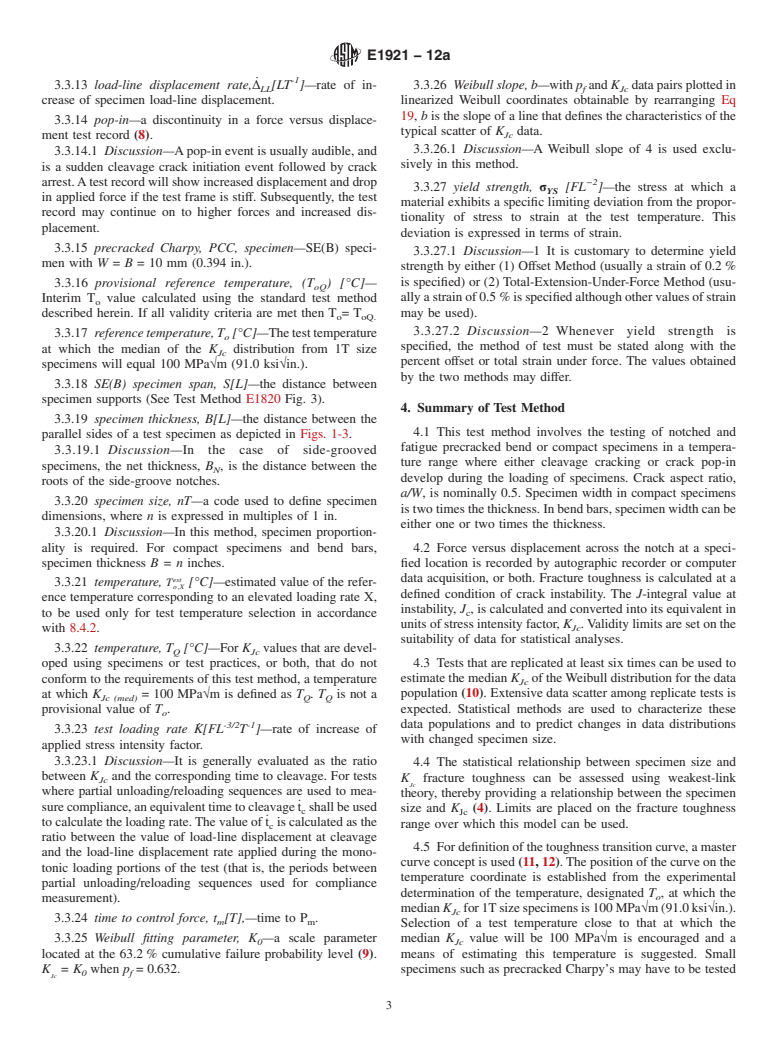
1.1 This test method covers the determination of a reference temperature, To, which characterizes the fracture toughness of ferritic steels that experience onset of cleavage cracking at elastic, or elastic-plastic KJc instabilities, or both. The specific types of ferritic steels (3.2.1) covered are those with yield strengths ranging from 275 to 825 MPa (40 to 120 ksi) and weld metals, after stress-relief annealing, that have 10 % or less strength mismatch relative to that of the base metal.
1.2 The specimens covered are fatigue precracked single-edge notched bend bars, SE(B), and standard or disk-shaped compact tension specimens, C(T) or DC(T). A range of specimen sizes with proportional dimensions is recommended. The dimension on which the proportionality is based is specimen thickness.
1.3 Median KJc values tend to vary with the specimen type at a given test temperature, presumably due to constraint differences among the allowable test specimens in 1.2. The degree of K Jc variability among specimen types is analytically predicted to be a function of the material flow properties (1)2 and decreases with increasing strain hardening capacity for a given yield strength material. This KJc dependency ultimately leads to discrepancies in calculated T o values as a function of specimen type for the same material. To values obtained from C(T) specimens are expected to be higher than T o values obtained from SE(B) specimens. Best estimate comparisons of several materials indicate that the average difference between C(T) and SE(B)-derived To values is approximately 10°C (2). C(T) and SE(B) To differences up to 15°C have also been recorded (3). However, comparisons of individual, small datasets may not necessarily reveal this average trend. Datasets which contain both C(T) and SE(B) specimens may generate To results which fall between the To values calculated using solely C(T) or SE(B) specimens. It is therefore strongly rec...
General Information
Relations
Buy Standard
Standards Content (Sample)
NOTICE: This standard has either been superseded and replaced by a new version or withdrawn.
Contact ASTM International (www.astm.org) for the latest information
Designation: E1921 − 12a
StandardTest Method for
Determination of Reference Temperature, T , for Ferritic
o
1
Steels in the Transition Range
This standard is issued under the fixed designation E1921; the number immediately following the designation indicates the year of
original adoption or, in the case of revision, the year of last revision.Anumber in parentheses indicates the year of last reapproval.A
superscript epsilon (´) indicates an editorial change since the last revision or reapproval.
1. Scope recommended that the specimen type be reported along with
thederivedT valueinallreporting,analysis,anddiscussionof
o
1.1 Thistestmethodcoversthedeterminationofareference
results. This recommended reporting is in addition to the
temperature, T , which characterizes the fracture toughness of
o
requirements in 11.1.1.
ferritic steels that experience onset of cleavage cracking at
elastic, or elastic-plastic K instabilities, or both. The specific
Jc 1.4 Requirements are set on specimen size and the number
types of ferritic steels (3.2.1) covered are those with yield
of replicate tests that are needed to establish acceptable
strengths ranging from 275 to 825 MPa (40 to 120 ksi) and
characterization of K data populations.
Jc
weld metals, after stress-relief annealing, that have 10% or
1.5 T is dependent on loading rate. T is evaluated for a
o o
less strength mismatch relative to that of the base metal.
quasi-static loading rate range with 0.1< dK/dt<2MPa√m/s.
1.2 The specimens covered are fatigue precracked single-
Slowly loaded specimens (dK/dt < 0.1 MPa√m) can be
edge notched bend bars, SE(B), and standard or disk-shaped
analyzed if environmental effects are known to be negligible.
compact tension specimens, C(T) or DC(T). A range of
Provision is also made for higher loading rates (dK/dt > 2
specimen sizes with proportional dimensions is recommended.
MPa√m/s).
The dimension on which the proportionality is based is
1.6 The statistical effects of specimen size on K in the
specimen thickness.
Jc
transition range are treated using weakest-link theory (4)
1.3 Median K values tend to vary with the specimen type
Jc
applied to a three-parameter Weibull distribution of fracture
at a given test temperature, presumably due to constraint
toughness values. A limit on K values, relative to the
Jc
differences among the allowable test specimens in 1.2. The
specimen size, is specified to ensure high constraint conditions
degree of K variability among specimen types is analytically
Jc
2 along the crack front at fracture. For some materials, particu-
predicted to be a function of the material flow properties (1)
larly those with low strain hardening, this limit may not be
and decreases with increasing strain hardening capacity for a
sufficient to ensure that a single-parameter (K ) adequately
Jc
given yield strength material. This K dependency ultimately
Jc
describes the crack-front deformation state (5).
leads to discrepancies in calculated T values as a function of
o
specimen type for the same material. T values obtained from
o
1.7 Statistical methods are employed to predict the transi-
C(T) specimens are expected to be higher than T values
o tion toughness curve and specified tolerance bounds for 1T
obtained from SE(B) specimens. Best estimate comparisons of
specimens of the material tested.The standard deviation of the
several materials indicate that the average difference between
datadistributionisafunctionofWeibullslopeandmedianK .
Jc
C(T) and SE(B)-derived T values is approximately 10°C (2).
o
The procedure for applying this information to the establish-
C(T) and SE(B) T differences up to 15°C have also been
o ment of transition temperature shift determinations and the
recorded (3). However, comparisons of individual, small data-
establishment of tolerance limits is prescribed.
sets may not necessarily reveal this average trend. Datasets
1.8 The fracture toughness evaluation of nonuniform mate-
which contain both C(T) and SE(B) specimens may generate
rial is not amenable to the statistical analysis methods em-
T results which fall between the T values calculated using
o o
ployed in this standard. Materials must have macroscopically
solely C(T) or SE(B) specimens. It is therefore strongly
uniform tensile and toughness properties. For example, multi-
pass weldments can create heat-affected and brittle zones with
localizedpropertiesthatarequitedifferentfromeitherthebulk
1
This test method is under the jurisdiction ofASTM Committee E08 on Fatigue
material or weld. Thick section steel also often exhibits some
and Fracture and is the direct responsibility of E08.07 on Fracture Mechanics.
Current edition approved Nov. 15, 2012. Published February 2013. Originally
variation in properties near the surfaces. Metallography and
approved in 1997. Last previous edition approved in 20
...
This document is not an ASTM standard and is intended only to provide the user of an ASTM standard an indication of what changes have been made to the previous version. Because
it may not be technically possible to adequately depict all changes accurately, ASTM recommends that users consult prior editions as appropriate. In all cases only the current version
of the standard as published by ASTM is to be considered the official document.
Designation: E1921 − 12 E1921 − 12a
Standard Test Method for
Determination of Reference Temperature, T , for Ferritic
o
1
Steels in the Transition Range
This standard is issued under the fixed designation E1921; the number immediately following the designation indicates the year of
original adoption or, in the case of revision, the year of last revision. A number in parentheses indicates the year of last reapproval. A
superscript epsilon (´) indicates an editorial change since the last revision or reapproval.
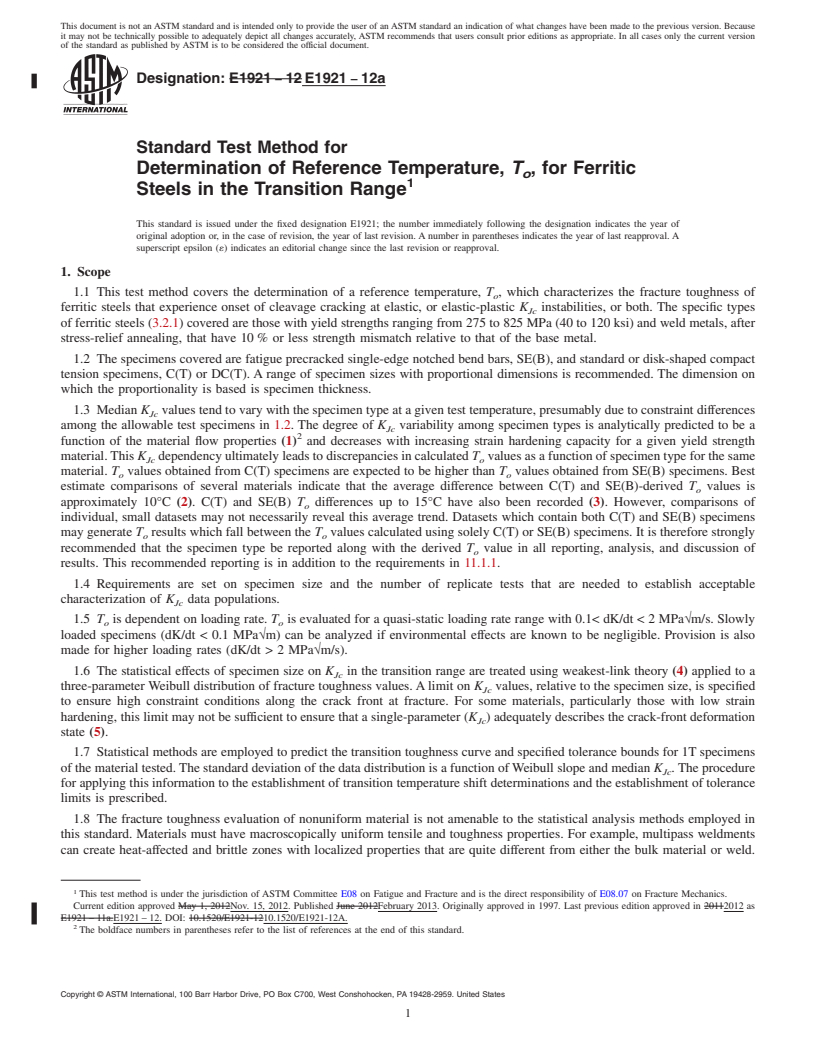
1. Scope
1.1 This test method covers the determination of a reference temperature, T , which characterizes the fracture toughness of
o
ferritic steels that experience onset of cleavage cracking at elastic, or elastic-plastic K instabilities, or both. The specific types
Jc
of ferritic steels (3.2.1) covered are those with yield strengths ranging from 275 to 825 MPa (40 to 120 ksi) and weld metals, after
stress-relief annealing, that have 10 % or less strength mismatch relative to that of the base metal.
1.2 The specimens covered are fatigue precracked single-edge notched bend bars, SE(B), and standard or disk-shaped compact
tension specimens, C(T) or DC(T). A range of specimen sizes with proportional dimensions is recommended. The dimension on
which the proportionality is based is specimen thickness.
1.3 Median K values tend to vary with the specimen type at a given test temperature, presumably due to constraint differences
Jc
among the allowable test specimens in 1.2. The degree of K variability among specimen types is analytically predicted to be a
Jc
2
function of the material flow properties (1) and decreases with increasing strain hardening capacity for a given yield strength
material. This K dependency ultimately leads to discrepancies in calculated T values as a function of specimen type for the same
Jc o
material. T values obtained from C(T) specimens are expected to be higher than T values obtained from SE(B) specimens. Best
o o
estimate comparisons of several materials indicate that the average difference between C(T) and SE(B)-derived T values is
o
approximately 10°C (2). C(T) and SE(B) T differences up to 15°C have also been recorded (3). However, comparisons of
o
individual, small datasets may not necessarily reveal this average trend. Datasets which contain both C(T) and SE(B) specimens
may generate T results which fall between the T values calculated using solely C(T) or SE(B) specimens. It is therefore strongly
o o
recommended that the specimen type be reported along with the derived T value in all reporting, analysis, and discussion of
o
results. This recommended reporting is in addition to the requirements in 11.1.1.
1.4 Requirements are set on specimen size and the number of replicate tests that are needed to establish acceptable
characterization of K data populations.
Jc
1.5 T is dependent on loading rate. T is evaluated for a quasi-static loading rate range with 0.1< dK/dt < 2 MPa√m/s. Slowly
o o
loaded specimens (dK/dt < 0.1 MPa√m) can be analyzed if environmental effects are known to be negligible. Provision is also
made for higher loading rates (dK/dt > 2 MPa√m/s).
1.6 The statistical effects of specimen size on K in the transition range are treated using weakest-link theory (4) applied to a
Jc
three-parameter Weibull distribution of fracture toughness values. A limit on K values, relative to the specimen size, is specified
Jc
to ensure high constraint conditions along the crack front at fracture. For some materials, particularly those with low strain
hardening, this limit may not be sufficient to ensure that a single-parameter (K ) adequately describes the crack-front deformation
Jc
state (5).
1.7 Statistical methods are employed to predict the transition toughness curve and specified tolerance bounds for 1T specimens
of the material tested. The standard deviation of the data distribution is a function of Weibull slope and median K . The procedure
Jc
for applying this information to the establishment of transition temperature shift determinations and the establishment of tolerance
limits is prescribed.
1.8 The fracture toughness evaluation of nonuniform material is not amenable to the statistical analysis methods employed in
this standard. Materials must have macroscopically uniform tensile and toughness properties. For example, multipass weldments
can create heat-affected and brittle zones with localized properties that are quite different from either the bulk material or weld.
1
This test method is under the jurisdiction of ASTM Committee E08 on Fa
...


Questions, Comments and Discussion
Ask us and Technical Secretary will try to provide an answer. You can facilitate discussion about the standard in here.