ASTM E1221-12
(Test Method)Standard Test Method for Determining Plane-Strain Crack-Arrest Fracture Toughness, KIa, of Ferritic Steels
Standard Test Method for Determining Plane-Strain Crack-Arrest Fracture Toughness, <emph type="bdit">K<inf>Ia</inf></emph>, of Ferritic Steels
SIGNIFICANCE AND USE
In structures containing gradients in either toughness or stress, a crack may initiate in a region of either low toughness or high stress, or both, and arrest in another region of either higher toughness or lower stress, or both. The value of the stress intensity factor during the short time interval in which a fast-running crack arrests is a measure of the ability of the material to arrest such a crack. Values of the stress intensity factor of this kind, which are determined using dynamic methods of analysis, provide a value for the crack-arrest fracture toughness which will be termed KA in this discussion. Static methods of analysis, which are much less complex, can often be used to determine K at a short time (1 to 2 ms) after crack arrest. The estimate of the crack-arrest fracture toughness obtained in this fashion is termed Ka. When macroscopic dynamic effects are relatively small, the difference between KA and Ka is also small (1-4). For cracks propagating under conditions of crack-front plane-strain, in situations where the dynamic effects are also known to be small, KIa determinations using laboratory-sized specimens have been used successfully to estimate whether, and at what point, a crack will arrest in a structure (5, 6). Depending upon component design, loading compliance, and the crack jump length, a dynamic analysis of a fast-running crack propagation event may be necessary in order to predict whether crack arrest will occur and the arrest position. In such cases, values of KIa determined by this test method can be used to identify those values of K below which the crack speed is zero. More details on the use of dynamic analyses can be found in Ref (4).
This test method can serve at least the following additional purposes:
In materials research and development, to establish in quantitative terms significant to service performance, the effects of metallurgical variables (such as composition or heat treatment) or fabrication operations (such as...
SCOPE
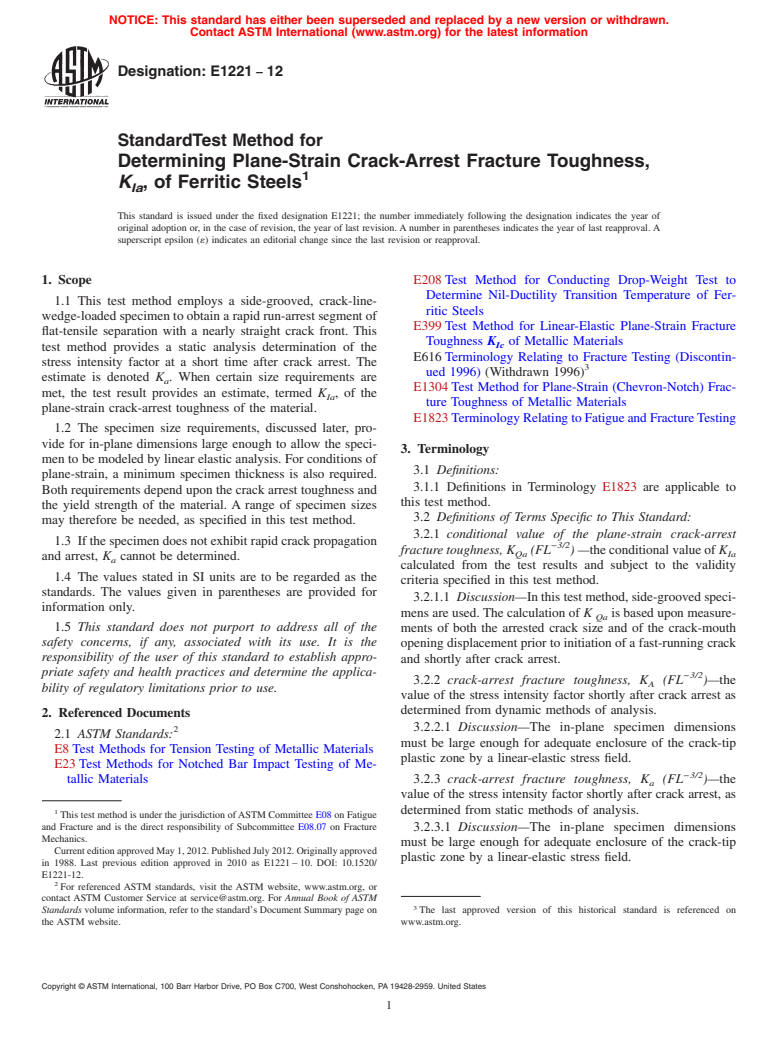
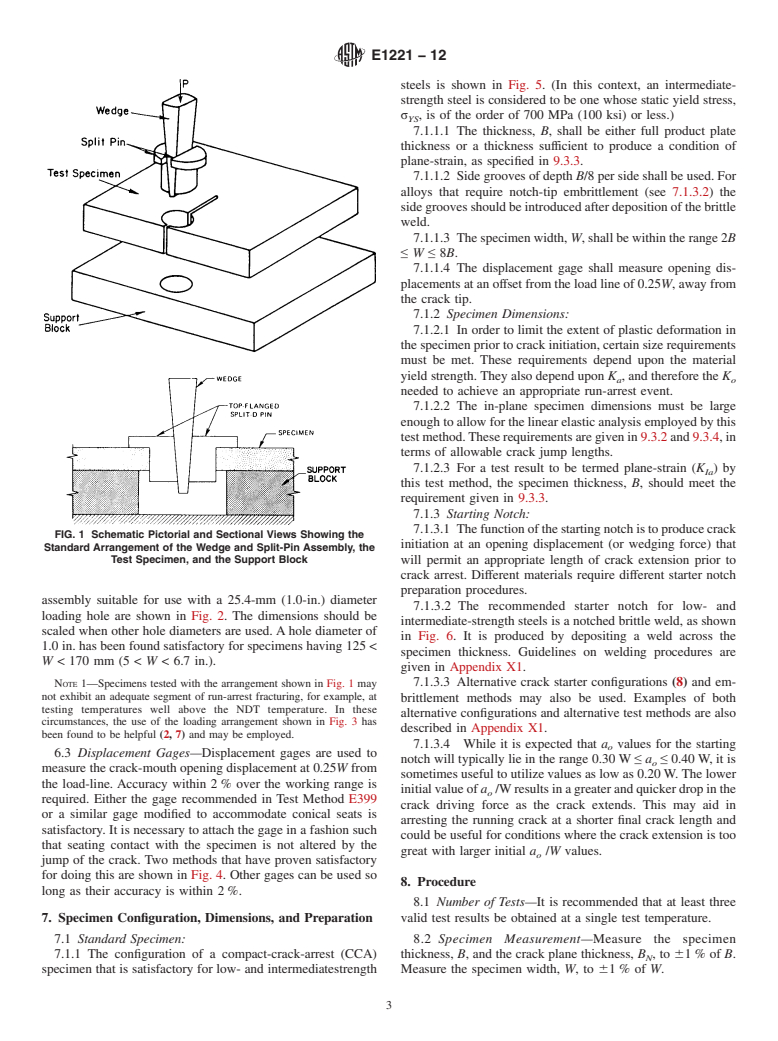
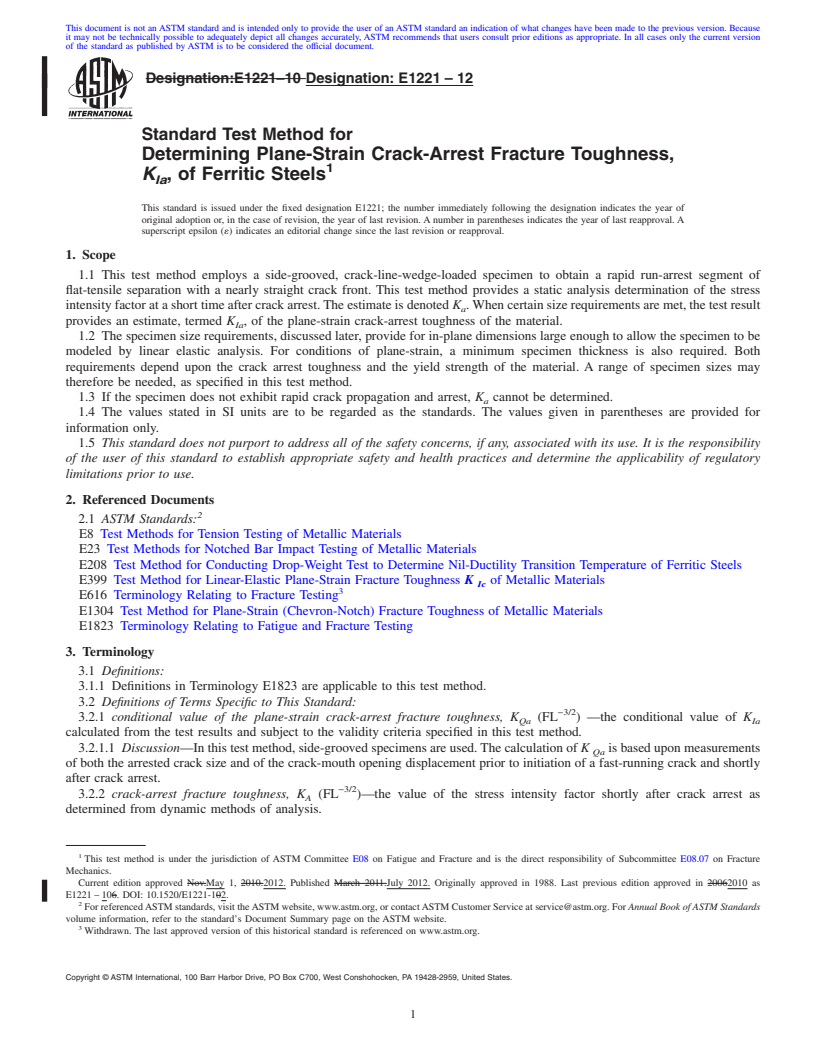
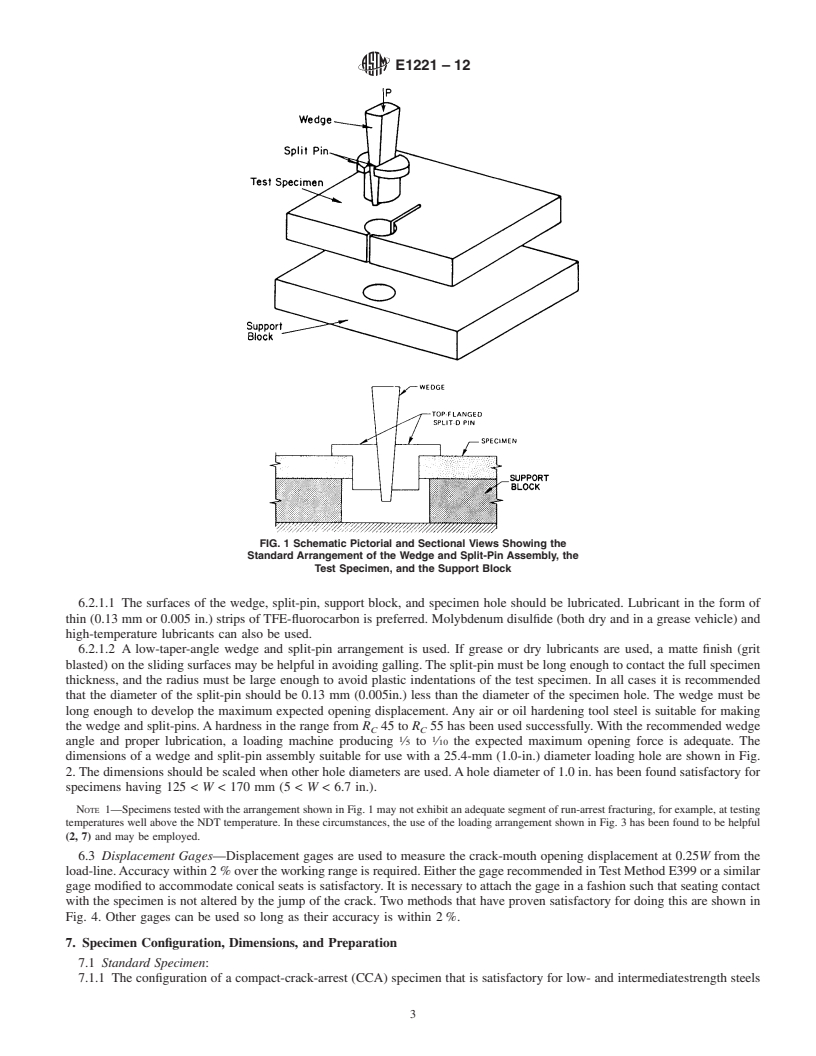
1.1 This test method employs a side-grooved, crack-line-wedge-loaded specimen to obtain a rapid run-arrest segment of flat-tensile separation with a nearly straight crack front. This test method provides a static analysis determination of the stress intensity factor at a short time after crack arrest. The estimate is denoted Ka. When certain size requirements are met, the test result provides an estimate, termed KIa, of the plane-strain crack-arrest toughness of the material.
1.2 The specimen size requirements, discussed later, provide for in-plane dimensions large enough to allow the specimen to be modeled by linear elastic analysis. For conditions of plane-strain, a minimum specimen thickness is also required. Both requirements depend upon the crack arrest toughness and the yield strength of the material. A range of specimen sizes may therefore be needed, as specified in this test method.
1.3 If the specimen does not exhibit rapid crack propagation and arrest, Ka cannot be determined.
1.4 The values stated in SI units are to be regarded as the standards. The values given in parentheses are provided for information only.
1.5 This standard does not purport to address all of the safety concerns, if any, associated with its use. It is the responsibility of the user of this standard to establish appropriate safety and health practices and determine the applicability of regulatory limitations prior to use.
General Information
Relations
Buy Standard
Standards Content (Sample)
NOTICE: This standard has either been superseded and replaced by a new version or withdrawn.
Contact ASTM International (www.astm.org) for the latest information
Designation: E1221 − 12
StandardTest Method for
Determining Plane-Strain Crack-Arrest Fracture Toughness,
1
K , of Ferritic Steels
Ia
This standard is issued under the fixed designation E1221; the number immediately following the designation indicates the year of
original adoption or, in the case of revision, the year of last revision.Anumber in parentheses indicates the year of last reapproval.A
superscript epsilon (´) indicates an editorial change since the last revision or reapproval.
1. Scope E208Test Method for Conducting Drop-Weight Test to
Determine Nil-Ductility Transition Temperature of Fer-
1.1 This test method employs a side-grooved, crack-line-
ritic Steels
wedge-loadedspecimentoobtainarapidrun-arrestsegmentof
E399Test Method for Linear-Elastic Plane-Strain Fracture
flat-tensile separation with a nearly straight crack front. This
Toughness K of Metallic Materials
Ic
test method provides a static analysis determination of the
E616Terminology Relating to Fracture Testing (Discontin-
stress intensity factor at a short time after crack arrest. The
3
ued 1996) (Withdrawn 1996)
estimate is denoted K . When certain size requirements are
a
E1304Test Method for Plane-Strain (Chevron-Notch) Frac-
met, the test result provides an estimate, termed K ,ofthe
Ia
ture Toughness of Metallic Materials
plane-strain crack-arrest toughness of the material.
E1823TerminologyRelatingtoFatigueandFractureTesting
1.2 The specimen size requirements, discussed later, pro-
vide for in-plane dimensions large enough to allow the speci-
3. Terminology
men to be modeled by linear elastic analysis. For conditions of
3.1 Definitions:
plane-strain, a minimum specimen thickness is also required.
3.1.1 Definitions in Terminology E1823 are applicable to
Both requirements depend upon the crack arrest toughness and
this test method.
the yield strength of the material. A range of specimen sizes
3.2 Definitions of Terms Specific to This Standard:
may therefore be needed, as specified in this test method.
3.2.1 conditional value of the plane-strain crack-arrest
1.3 Ifthespecimendoesnotexhibitrapidcrackpropagation
−3/2
fracturetoughness,K (FL )—theconditionalvalueofK
Qa Ia
and arrest, K cannot be determined.
a
calculated from the test results and subject to the validity
1.4 The values stated in SI units are to be regarded as the
criteria specified in this test method.
standards. The values given in parentheses are provided for
3.2.1.1 Discussion—Inthistestmethod,side-groovedspeci-
information only.
mensareused.Thecalculationof K isbaseduponmeasure-
Qa
1.5 This standard does not purport to address all of the
ments of both the arrested crack size and of the crack-mouth
safety concerns, if any, associated with its use. It is the
openingdisplacementpriortoinitiationofafast-runningcrack
responsibility of the user of this standard to establish appro-
and shortly after crack arrest.
priate safety and health practices and determine the applica-
−3/2
3.2.2 crack-arrest fracture toughness, K (FL )—the
A
bility of regulatory limitations prior to use.
value of the stress intensity factor shortly after crack arrest as
determined from dynamic methods of analysis.
2. Referenced Documents
2 3.2.2.1 Discussion—The in-plane specimen dimensions
2.1 ASTM Standards:
must be large enough for adequate enclosure of the crack-tip
E8Test Methods for Tension Testing of Metallic Materials
plastic zone by a linear-elastic stress field.
E23Test Methods for Notched Bar Impact Testing of Me-
−3/2
tallic Materials 3.2.3 crack-arrest fracture toughness, K (FL )—the
a
value of the stress intensity factor shortly after crack arrest, as
determined from static methods of analysis.
1
This test method is under the jurisdiction ofASTM Committee E08 on Fatigue
and Fracture and is the direct responsibility of Subcommittee E08.07 on Fracture
3.2.3.1 Discussion—The in-plane specimen dimensions
Mechanics.
must be large enough for adequate enclosure of the crack-tip
CurrenteditionapprovedMay1,2012.PublishedJuly2012.Originallyapproved
plastic zone by a linear-elastic stress field.
in 1988. Last previous edition approved in 2010 as E1221–10. DOI: 10.1520/
E1221-12.
2
For referenced ASTM standards, visit the ASTM website, www.astm.org, or
contact ASTM Customer Service at service@astm.org. For Annual Book of ASTM
3
Standards volume information, refer to the standard’s Document Summary page on The last approved version of this historical standard is referenced on
the ASTM website. www.astm.org.
Copyright © ASTM International, 100 Barr Harbor Drive, PO Box C700, West Conshohocken, PA 19428-2959. United States
1
---------------------- Page: 1 ----------------------
E1221 − 12
3.2.4 plane-strain crack-arrest fracture toughness, K a fast-running crack propagation event may be necessary in
Ia
−3/2
(FL )—the value of crack-arrest fracture toug
...
This document is not anASTM standard and is intended only to provide the user of anASTM standard an indication of what changes have been made to the previous version. Because
it may not be technically possible to adequately depict all changes accurately, ASTM recommends that users consult prior editions as appropriate. In all cases only the current version
of the standard as published by ASTM is to be considered the official document.
Designation:E1221–10 Designation:E1221–12
Standard Test Method for
Determining Plane-Strain Crack-Arrest Fracture Toughness,
1
K , of Ferritic Steels
Ia
This standard is issued under the fixed designation E1221; the number immediately following the designation indicates the year of
original adoption or, in the case of revision, the year of last revision.Anumber in parentheses indicates the year of last reapproval.A
superscript epsilon (´) indicates an editorial change since the last revision or reapproval.
1. Scope
1.1 This test method employs a side-grooved, crack-line-wedge-loaded specimen to obtain a rapid run-arrest segment of
flat-tensile separation with a nearly straight crack front. This test method provides a static analysis determination of the stress
intensityfactoratashorttimeaftercrackarrest.Theestimateisdenoted K .Whencertainsizerequirementsaremet,thetestresult
a
provides an estimate, termed K , of the plane-strain crack-arrest toughness of the material.
Ia
1.2 The specimen size requirements, discussed later, provide for in-plane dimensions large enough to allow the specimen to be
modeled by linear elastic analysis. For conditions of plane-strain, a minimum specimen thickness is also required. Both
requirements depend upon the crack arrest toughness and the yield strength of the material. A range of specimen sizes may
therefore be needed, as specified in this test method.
1.3 If the specimen does not exhibit rapid crack propagation and arrest, K cannot be determined.
a
1.4 The values stated in SI units are to be regarded as the standards. The values given in parentheses are provided for
information only.
1.5 This standard does not purport to address all of the safety concerns, if any, associated with its use. It is the responsibility
of the user of this standard to establish appropriate safety and health practices and determine the applicability of regulatory
limitations prior to use.
2. Referenced Documents
2
2.1 ASTM Standards:
E8 Test Methods for Tension Testing of Metallic Materials
E23 Test Methods for Notched Bar Impact Testing of Metallic Materials
E208 Test Method for Conducting Drop-Weight Test to Determine Nil-Ductility Transition Temperature of Ferritic Steels
E399 Test Method for Linear-Elastic Plane-Strain Fracture Toughness K of Metallic Materials
Ic
3
E616 Terminology Relating to Fracture Testing
E1304 Test Method for Plane-Strain (Chevron-Notch) Fracture Toughness of Metallic Materials
E1823 Terminology Relating to Fatigue and Fracture Testing
3. Terminology
3.1 Definitions:
3.1.1 Definitions in Terminology E1823 are applicable to this test method.
3.2 Definitions of Terms Specific to This Standard:
−3/2
3.2.1 conditional value of the plane-strain crack-arrest fracture toughness, K (FL ) —the conditional value of K
Qa Ia
calculated from the test results and subject to the validity criteria specified in this test method.
3.2.1.1 Discussion—Inthistestmethod,side-groovedspecimensareused.Thecalculationof K isbaseduponmeasurements
Qa
of both the arrested crack size and of the crack-mouth opening displacement prior to initiation of a fast-running crack and shortly
after crack arrest.
−3/2
3.2.2 crack-arrest fracture toughness, K (FL )—the value of the stress intensity factor shortly after crack arrest as
A
determined from dynamic methods of analysis.
1
This test method is under the jurisdiction of ASTM Committee E08 on Fatigue and Fracture and is the direct responsibility of Subcommittee E08.07 on Fracture
Mechanics.
Current edition approved Nov.May 1, 2010.2012. Published March 2011.July 2012. Originally approved in 1988. Last previous edition approved in 20062010 as
E1221–106. DOI: 10.1520/E1221-102.
2
ForreferencedASTMstandards,visittheASTMwebsite,www.astm.org,orcontactASTMCustomerServiceatservice@astm.org.For Annual Book ofASTM Standards
volume information, refer to the standard’s Document Summary page on the ASTM website.
3
Withdrawn. The last approved version of this historical standard is referenced on www.astm.org.
Copyright © ASTM International, 100 Barr Harbor Drive, PO Box C700, West Conshohocken, PA 19428-2959, United States.
1
---------------------- Page: 1 ----------------------
E1221–12
3.2.2.1 Discussion—The in-plane specimen dimensions must be large enough for adequate enclosure of the crack-tip plastic
zone by a linear-elastic stress field.
−3/2
3.2.3 crack-arrest fracture toughness, K (FL )—the value of the stress intensity factor shortly after crack arrest, as
a
determined from static methods of analysis.
3.2.3.1 Discussion—The in-plane s
...


Questions, Comments and Discussion
Ask us and Technical Secretary will try to provide an answer. You can facilitate discussion about the standard in here.