ASTM E647-00
(Test Method)Standard Test Method for Measurement of Fatigue Crack Growth Rates
Standard Test Method for Measurement of Fatigue Crack Growth Rates
SCOPE
1.1 This test method covers the determination of fatigue crack growth rates from near-threshold to Kmax controlled instability. Results are expressed in terms of the crack-tip stress-intensity factor range ( K), defined by the theory of linear elasticity.
1.2 Several different test procedures are provided, the optimum test procedure being primarily dependent on the magnitude of the fatigue crack growth rate to be measured.
1.3 Materials that can be tested by this test method are not limited by thickness or by strength so long as specimens are of sufficient thickness to preclude buckling and of sufficient planar size to remain predominantly elastic during testing.
1.4 A range of specimen sizes with proportional planar dimensions is provided, but size is variable to be adjusted for yield strength and applied force. Specimen thickness may be varied independent of planar size.
1.5 The details of the various specimens and test configurations are shown in Annex A1 - Annex A3. Specimen configurations other than those contained in this method may be used provided that well-established stress-intensity factor calibrations are available and that specimens are of sufficient planar size to remain predominantly elastic during testing.
1.6 Residual stress/crack closure may significantly influence the fatigue crack growth rate data, particularly at low stress-intensity factors and low stress ratios, although such variables are not incorporated into the computation of K.
1.7 Values stated in SI units are to be regarded as the standard. Values given in parentheses are for information only.
1.8 This test method is divided into two main parts. The first part gives general information concerning the recommendations and requirements for fatigue crack growth rate testing. The second part is composed of annexes that describe the special requirements for various specimen configurations, special requirements for testing in aqueous environments, and procedures for non-visual crack size determination. In addition, there are appendices that cover techniques for calculating da/dN, determining fatigue crack opening force, and guidelines for measuring the growth of small fatigue cracks. General information and requirements common to all specimen types are listed as follows:
SectionReferenced Documents2Terminology3Summary of Use4Significance and Use5Apparatus6Specimen Configuration, Size, and Preparation7Procedure8Calculations and Interpretation of Results9Report10Precision and Bias11Special Requirements for Testing in Aqueous EnvironmentsAnnex A4Guidelines for Use of Compliance to Determine Crack SizeAnnex A5Guidelines for Electric Potential Difference Determination of Crack SizeAnnex A6Recommended Data Reduction TechniquesAppendix X1Recommended Practice for Determination of Fatigue Crack Opening Force From ComplianceAppendix X2Guidelines for Measuring the Growth Rates Of Small Fatigue CracksAppendix X3
1.9 Special requirements for the various specimen configurations appear in the following order:
The Compact Tension SpecimenAnnex A1The Middle Tension SpecimenAnnex A2The Eccentrically-Loaded Single Edge Crack Tension SpecimenAnnex A3
1.10 This standard does not purport to address all of the safety concerns, if any, associated with its use. It is the responsibility of the user of this standard to establish appropriate safety and health practices and determine the applicability of regulatory limitations prior to use.
General Information
Relations
Standards Content (Sample)
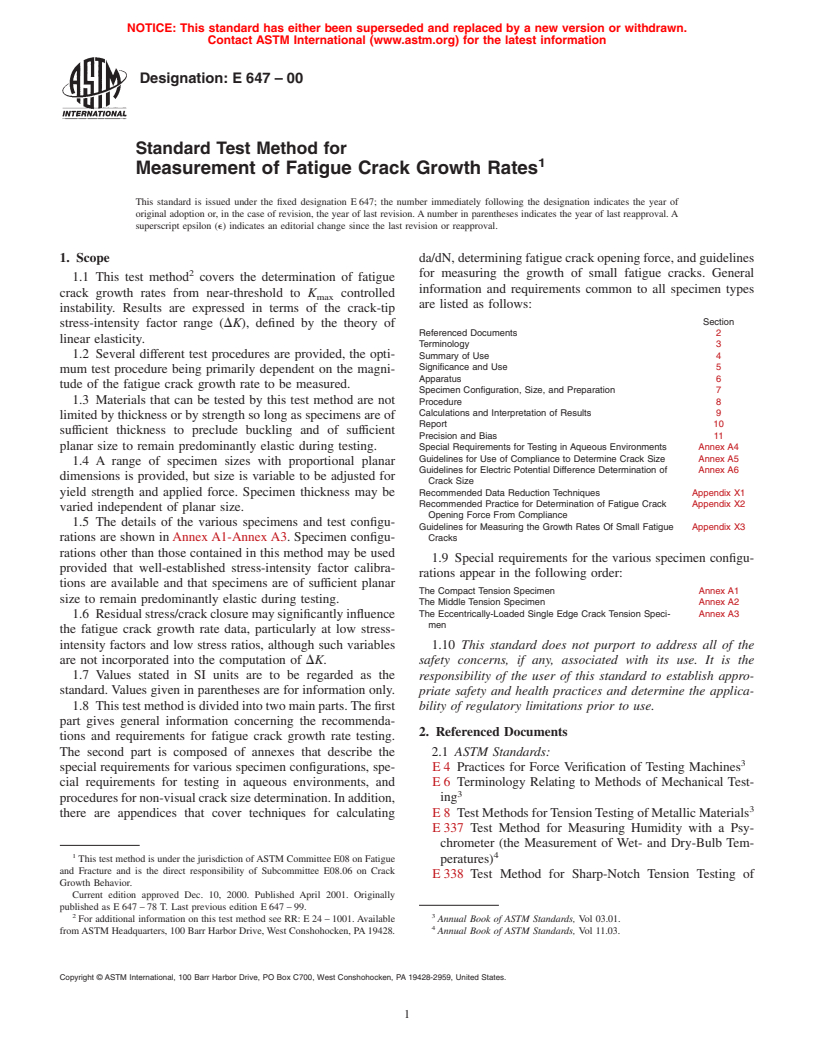
NOTICE: This standard has either been superseded and replaced by a new version or withdrawn.
Contact ASTM International (www.astm.org) for the latest information
Designation: E 647 – 00
Standard Test Method for
1
Measurement of Fatigue Crack Growth Rates
This standard is issued under the fixed designation E647; the number immediately following the designation indicates the year of
original adoption or, in the case of revision, the year of last revision.Anumber in parentheses indicates the year of last reapproval.A
superscript epsilon (e) indicates an editorial change since the last revision or reapproval.
1. Scope da/dN,determiningfatiguecrackopeningforce,andguidelines
2
for measuring the growth of small fatigue cracks. General
1.1 This test method covers the determination of fatigue
information and requirements common to all specimen types
crack growth rates from near-threshold to K controlled
max
are listed as follows:
instability. Results are expressed in terms of the crack-tip
Section
stress-intensity factor range (DK), defined by the theory of
Referenced Documents 2
linear elasticity.
Terminology 3
1.2 Several different test procedures are provided, the opti-
Summary of Use 4
Significance and Use 5
mum test procedure being primarily dependent on the magni-
Apparatus 6
tude of the fatigue crack growth rate to be measured.
Specimen Configuration, Size, and Preparation 7
1.3 Materials that can be tested by this test method are not
Procedure 8
Calculations and Interpretation of Results 9
limited by thickness or by strength so long as specimens are of
Report 10
sufficient thickness to preclude buckling and of sufficient
Precision and Bias 11
planar size to remain predominantly elastic during testing. Special Requirements for Testing in Aqueous Environments Annex A4
Guidelines for Use of Compliance to Determine Crack Size Annex A5
1.4 A range of specimen sizes with proportional planar
Guidelines for Electric Potential Difference Determination of Annex A6
dimensions is provided, but size is variable to be adjusted for
Crack Size
yield strength and applied force. Specimen thickness may be Recommended Data Reduction Techniques Appendix X1
Recommended Practice for Determination of Fatigue Crack Appendix X2
varied independent of planar size.
Opening Force From Compliance
1.5 The details of the various specimens and test configu-
Guidelines for Measuring the Growth Rates Of Small Fatigue Appendix X3
Cracks
rations are shown inAnnexA1-AnnexA3. Specimen configu-
rations other than those contained in this method may be used
1.9 Special requirements for the various specimen configu-
provided that well-established stress-intensity factor calibra-
rations appear in the following order:
tions are available and that specimens are of sufficient planar
The Compact Tension Specimen Annex A1
size to remain predominantly elastic during testing.
The Middle Tension Specimen Annex A2
The Eccentrically-Loaded Single Edge Crack Tension Speci- Annex A3
1.6 Residualstress/crackclosuremaysignificantlyinfluence
men
the fatigue crack growth rate data, particularly at low stress-
intensity factors and low stress ratios, although such variables 1.10 This standard does not purport to address all of the
are not incorporated into the computation of DK.
safety concerns, if any, associated with its use. It is the
1.7 Values stated in SI units are to be regarded as the responsibility of the user of this standard to establish appro-
standard.Values given in parentheses are for information only.
priate safety and health practices and determine the applica-
1.8 Thistestmethodisdividedintotwomainparts.Thefirst bility of regulatory limitations prior to use.
part gives general information concerning the recommenda-
2. Referenced Documents
tions and requirements for fatigue crack growth rate testing.
The second part is composed of annexes that describe the 2.1 ASTM Standards:
3
special requirements for various specimen configurations, spe- E4 Practices for Force Verification of Testing Machines
cial requirements for testing in aqueous environments, and E6 Terminology Relating to Methods of Mechanical Test-
3
proceduresfornon-visualcracksizedetermination.Inaddition, ing
3
there are appendices that cover techniques for calculating E8 TestMethodsforTensionTestingofMetallicMaterials
E337 Test Method for Measuring Humidity with a Psy-
chrometer (the Measurement of Wet- and Dry-Bulb Tem-
1 4
This test method is under the jurisdiction ofASTM Committee E08 on Fatigue
peratures)
and Fracture and is the direct responsibility of Subcommittee E08.06 on Crack
E338 Test Method for Sharp-Notch Tension Testing of
Growth Behavior.
Current edition approved Dec. 10, 2000. Published April 2001. Originally
published as E647–78 T. Last previous edition E647–99.
2 3
For additional information on this test method see RR: E24–1001.Available Annual Book of ASTM Standards, Vol 03.01.
4
fromASTM Headquarters, 100 Barr Harbor Drive,West Conshohocken, PA19428. Annual Book of ASTM Standards,
...


Questions, Comments and Discussion
Ask us and Technical Secretary will try to provide an answer. You can facilitate discussion about the standard in here.