ASTM C1542/C1542M-14
(Test Method)Standard Test Method for Measuring Length of Concrete Cores
Standard Test Method for Measuring Length of Concrete Cores
SIGNIFICANCE AND USE
4.1 This test method provides two procedures for determining the length of a core as measured along its axis. This length is used in conjunction with length to diameter relationships, condition surveys, absorption, density and voids analysis, petrography, cement content analysis, and other applications. It does not meet requirements for determining the distance between two parallel surfaces, which represents the thickness of a structural element often used to establish compliance with design specifications as outlined by Test Method C174.
SCOPE
1.1 This test method is used to determine the length of a core drilled from concrete.
1.2 The values stated in either SI units or inch-pound units are to be regarded separately as standard. Within the text, the inch-pound units are shown in brackets. The values stated in each system are not exact equivalents; therefore, each system shall be used independently of the other.
1.3 This standard does not purport to address all of the safety concerns, if any, associated with its use. It is the responsibility of the user of this standard to establish appropriate safety and health practices and determine the applicability of regulatory limitations prior to use.
General Information
Relations
Buy Standard
Standards Content (Sample)
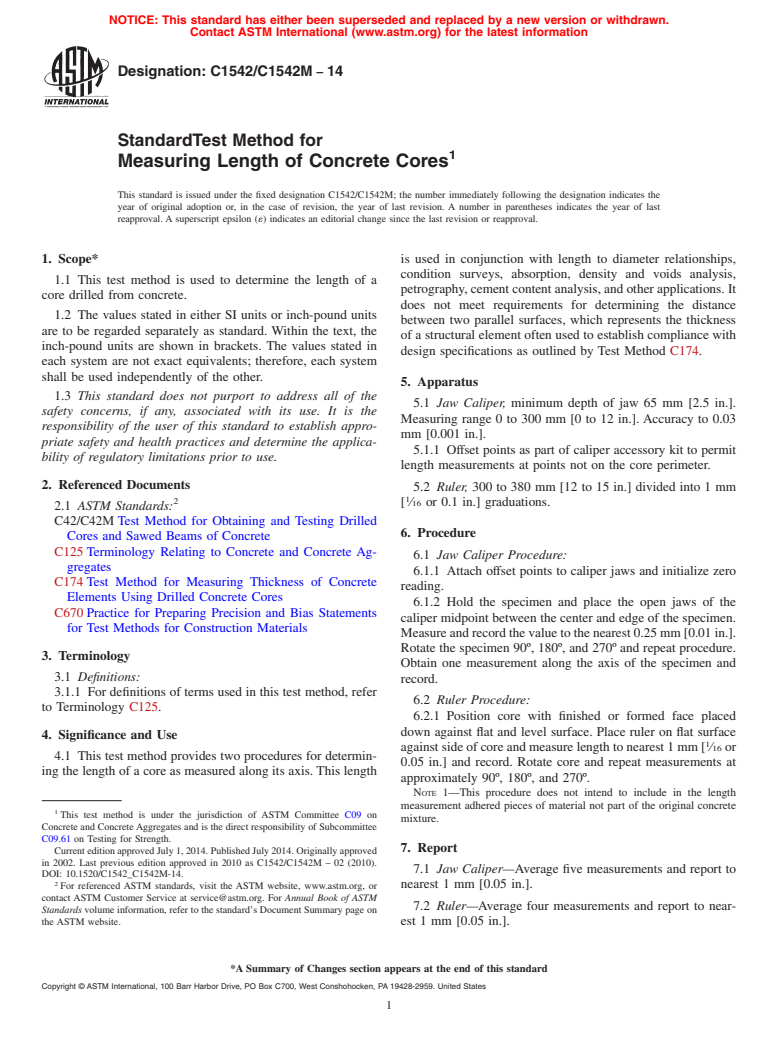
NOTICE: This standard has either been superseded and replaced by a new version or withdrawn.
Contact ASTM International (www.astm.org) for the latest information
Designation: C1542/C1542M − 14
StandardTest Method for
1
Measuring Length of Concrete Cores
This standard is issued under the fixed designation C1542/C1542M; the number immediately following the designation indicates the
year of original adoption or, in the case of revision, the year of last revision. A number in parentheses indicates the year of last
reapproval. A superscript epsilon (´) indicates an editorial change since the last revision or reapproval.
1. Scope* is used in conjunction with length to diameter relationships,
condition surveys, absorption, density and voids analysis,
1.1 This test method is used to determine the length of a
petrography, cement content analysis, and other applications. It
core drilled from concrete.
does not meet requirements for determining the distance
1.2 The values stated in either SI units or inch-pound units
between two parallel surfaces, which represents the thickness
are to be regarded separately as standard. Within the text, the
of a structural element often used to establish compliance with
inch-pound units are shown in brackets. The values stated in
design specifications as outlined by Test Method C174.
each system are not exact equivalents; therefore, each system
shall be used independently of the other.
5. Apparatus
1.3 This standard does not purport to address all of the
5.1 Jaw Caliper, minimum depth of jaw 65 mm [2.5 in.].
safety concerns, if any, associated with its use. It is the
Measuring range 0 to 300 mm [0 to 12 in.]. Accuracy to 0.03
responsibility of the user of this standard to establish appro-
mm [0.001 in.].
priate safety and health practices and determine the applica-
5.1.1 Offset points as part of caliper accessory kit to permit
bility of regulatory limitations prior to use.
length measurements at points not on the core perimeter.
2. Referenced Documents
5.2 Ruler, 300 to 380 mm [12 to 15 in.] divided into 1 mm
1
2
[ ⁄16 or 0.1 in.] graduations.
2.1 ASTM Standards:
C42/C42M Test Method for Obtaining and Testing Drilled
6. Procedure
Cores and Sawed Beams of Concrete
C125 Terminology Relating to Concrete and Concrete Ag-
6.1 Jaw Caliper Procedure:
gregates
6.1.1 Attach offset points to caliper jaws and initialize zero
C174 Test Method for Measuring Thickness of Concrete
reading.
Elements Using Drilled Concrete Cores
6.1.2 Hold the specimen and place the open jaws of the
C670 Practice for Preparing Precision and Bias Statements
caliper midpoint between the center and edge of the specimen.
for Test Methods for Construction Materials
Measure and record the value to the nearest 0.25 mm [0.01 in.].
Rotate the specimen 90º, 180º, and 270º and repeat procedure.
3. Terminology
Obtain one measurement along the axis of the specimen and
3.1 Definitions:
record.
3.1.1 For definitions of terms used in this test method, refer
6.2 Ruler Procedure:
to Terminology C125.
6.2.1 Position core with finished or formed face placed
down against flat and level surface. Place ruler on flat surface
4. Significance and Use
1
against side of core and measure length to nearest 1 mm [ ⁄16 or
4.1 This test method provides two procedures for determin-
0.05 in.] and record. Rotate core and repeat measurements at
ing the length of a core as measured along its axis. This length
approximately 90º, 180º, and 270º.
NOTE 1—This procedure does not intend to include in the length
measurement adhered pieces of material not part of the original concrete
1
This test method is under the jurisdiction of ASTM Committee C09 on
mixture.
Concrete and ConcreteAggregates and is the direct responsibility of Subcommittee
C09.61 on Testing for Strength.
7. Report
Current edition approved July 1, 2014. Published July 2014. Originally approved
in 2002. Last previous edition approved in 2010 as C1542/C1542M – 02 (2010).
7.1 Jaw Caliper—Average five measurements and report to
DOI: 10.1520/C1542_C1542M-14.
2
For referenced ASTM standards, visit the ASTM website, www.astm.org, or nearest 1 mm [0.05 in.].
contact ASTM Customer Service at service@astm.org. For Annual Book of ASTM
7.2 Ruler—Average four measurements and report to near-
Standards volume information, refer to the standard’s Document Summary page on
the ASTM website. est 1 mm [0.05 in.].
*A Summary of Changes section appears at the end of this standard
Copyright © ASTM International, 100 Barr Harbor Drive, PO Box C700, West Conshohocken, PA 19428-2959. United States
1
---------------------- Page: 1 ----------------------
C1542/C1542M − 14
4
8. Precision and Bias The between-laboratory coefficient of variation (1S %) has
been found to be 1.60 %, therefore, two measures of the same
8.1 Precision:
core by two different laboratories should not differ by more
8.1.1 With-and between-lab precision of the jaw caliper and
4
than 4.23 % (D2S %) of the mean length of the core.
ruler procedures was estim
...
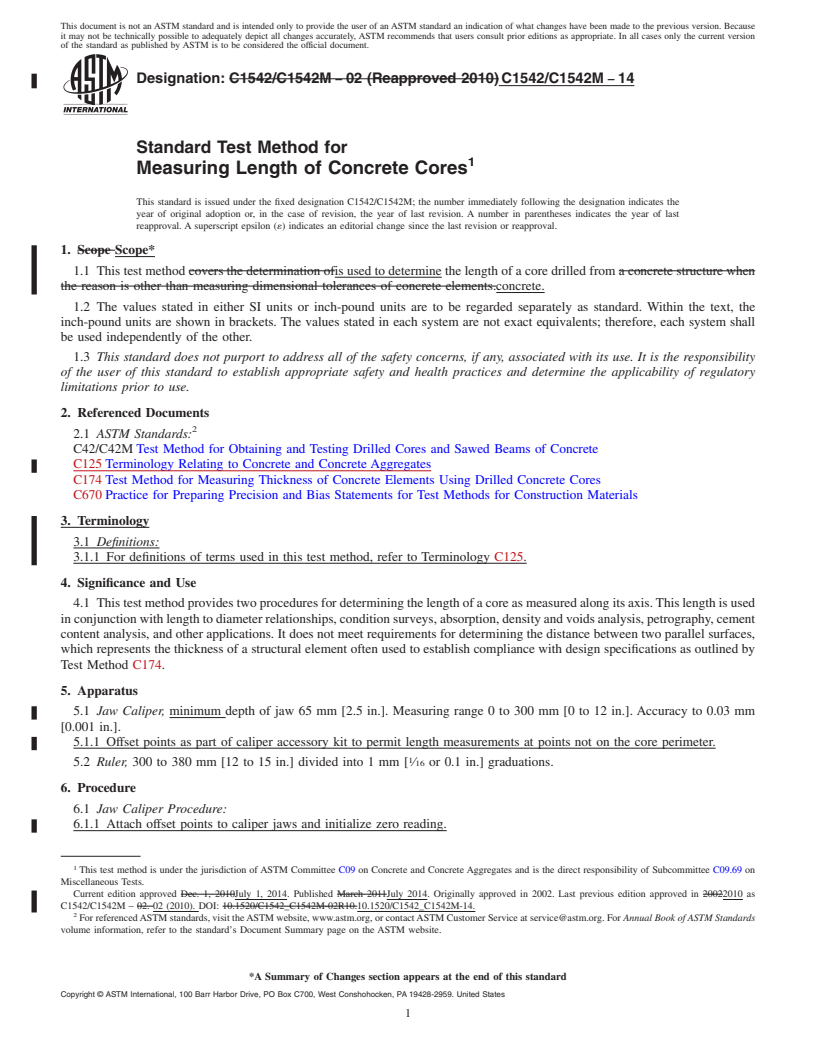
This document is not an ASTM standard and is intended only to provide the user of an ASTM standard an indication of what changes have been made to the previous version. Because
it may not be technically possible to adequately depict all changes accurately, ASTM recommends that users consult prior editions as appropriate. In all cases only the current version
of the standard as published by ASTM is to be considered the official document.
Designation: C1542/C1542M − 02 (Reapproved 2010) C1542/C1542M − 14
Standard Test Method for
1
Measuring Length of Concrete Cores
This standard is issued under the fixed designation C1542/C1542M; the number immediately following the designation indicates the
year of original adoption or, in the case of revision, the year of last revision. A number in parentheses indicates the year of last
reapproval. A superscript epsilon (´) indicates an editorial change since the last revision or reapproval.
1. Scope Scope*
1.1 This test method covers the determination ofis used to determine the length of a core drilled from a concrete structure when
the reason is other than measuring dimensional tolerances of concrete elements.concrete.
1.2 The values stated in either SI units or inch-pound units are to be regarded separately as standard. Within the text, the
inch-pound units are shown in brackets. The values stated in each system are not exact equivalents; therefore, each system shall
be used independently of the other.
1.3 This standard does not purport to address all of the safety concerns, if any, associated with its use. It is the responsibility
of the user of this standard to establish appropriate safety and health practices and determine the applicability of regulatory
limitations prior to use.
2. Referenced Documents
2
2.1 ASTM Standards:
C42/C42M Test Method for Obtaining and Testing Drilled Cores and Sawed Beams of Concrete
C125 Terminology Relating to Concrete and Concrete Aggregates
C174 Test Method for Measuring Thickness of Concrete Elements Using Drilled Concrete Cores
C670 Practice for Preparing Precision and Bias Statements for Test Methods for Construction Materials
3. Terminology
3.1 Definitions:
3.1.1 For definitions of terms used in this test method, refer to Terminology C125.
4. Significance and Use
4.1 This test method provides two procedures for determining the length of a core as measured along its axis. This length is used
in conjunction with length to diameter relationships, condition surveys, absorption, density and voids analysis, petrography, cement
content analysis, and other applications. It does not meet requirements for determining the distance between two parallel surfaces,
which represents the thickness of a structural element often used to establish compliance with design specifications as outlined by
Test Method C174.
5. Apparatus
5.1 Jaw Caliper, minimum depth of jaw 65 mm [2.5 in.]. Measuring range 0 to 300 mm [0 to 12 in.]. Accuracy to 0.03 mm
[0.001 in.].
5.1.1 Offset points as part of caliper accessory kit to permit length measurements at points not on the core perimeter.
1
5.2 Ruler, 300 to 380 mm [12 to 15 in.] divided into 1 mm [ ⁄16 or 0.1 in.] graduations.
6. Procedure
6.1 Jaw Caliper Procedure:
6.1.1 Attach offset points to caliper jaws and initialize zero reading.
1
This test method is under the jurisdiction of ASTM Committee C09 on Concrete and Concrete Aggregates and is the direct responsibility of Subcommittee C09.69 on
Miscellaneous Tests.
Current edition approved Dec. 1, 2010July 1, 2014. Published March 2011July 2014. Originally approved in 2002. Last previous edition approved in 20022010 as
C1542/C1542M – 02. 02 (2010). DOI: 10.1520/C1542_C1542M-02R10.10.1520/C1542_C1542M-14.
2
For referenced ASTM standards, visit the ASTM website, www.astm.org, or contact ASTM Customer Service at service@astm.org. For Annual Book of ASTM Standards
volume information, refer to the standard’s Document Summary page on the ASTM website.
*A Summary of Changes section appears at the end of this standard
Copyright © ASTM International, 100 Barr Harbor Drive, PO Box C700, West Conshohocken, PA 19428-2959. United States
1
---------------------- Page: 1 ----------------------
C1542/C1542M − 14
6.1.2 Hold the specimen and place the open jaws of the caliper midpoint between the center and edge of the specimen. Measure
and record the value to the nearest 0.25 mm [0.01 in.]. Rotate the specimen 90º, 180º, and 270º and repeat procedure. Obtain one
measurement acrossalong the centeraxis of the specimen and record.
6.2 Ruler Procedure:
6.2.1 Position core with finished or formed face placed down against flat and level surface. Place ruler on flat surface against
1
side of core and measure length to nearest 1 mm [ ⁄16 or 0.10.05 in.] and record. Rotate core and repeat measurements at
approximately 90º, 180º, and 270º.
NOTE 1—This procedure does not intend to include in the length measurement adhered pieces of material not part of the original concrete mixture.
7. Report
...


Questions, Comments and Discussion
Ask us and Technical Secretary will try to provide an answer. You can facilitate discussion about the standard in here.