ASTM A134-96(2001)
(Specification)Standard Specification for Pipe, Steel, Electric-Fusion (Arc)-Welded (Sizes NPS 16 and Over)
Standard Specification for Pipe, Steel, Electric-Fusion (Arc)-Welded (Sizes NPS 16 and Over)
SCOPE
1.1 This specification covers electric-fusion (arc)-welded straight seam or spiral seam steel pipe NPS 16 and over in diameter (inside or outside as specified by purchaser), with wall thicknesses up to 3/4 in. (19.0 mm), inclusive. Pipe having other dimensions may be furnished provided such pipe complies with all other requirements of this specification.
Note 1—Acceptability for many services may be controlled by codes or standards such as those published by the American National Standards Institute and American Society of Mechanical Engineers. Note 2—For testing methods not specifically covered in this specification, reference can be made to Test Methods and Definitions A 370, with particular reference to Annex A 2 on Steel Tubular Products. Note 3—A comprehensive listing of standardized pipe dimensions is contained in ANSI B 36.10.
1.2 The values stated in inch-pound units are to be regarded as the standard.
Note 4—The dimensionless designator NPS (nominal pipe size) has been substituted in this standard for such traditional terms as "nominal diameter", "size", and "nominal size".
1.3 The following precautionary caveat pertains specifically to Section 5 of this specification.This standard does not purport to address all of the safety concerns, if any, associated with its use. It is the responsibility of the user of this standard to establish appropriate safety and health practices and determine the applicability of regulatory limitations prior to use.
General Information
Relations
Standards Content (Sample)
NOTICE: This standard has either been superseded and replaced by a new version or withdrawn.
Contact ASTM International (www.astm.org) for the latest information
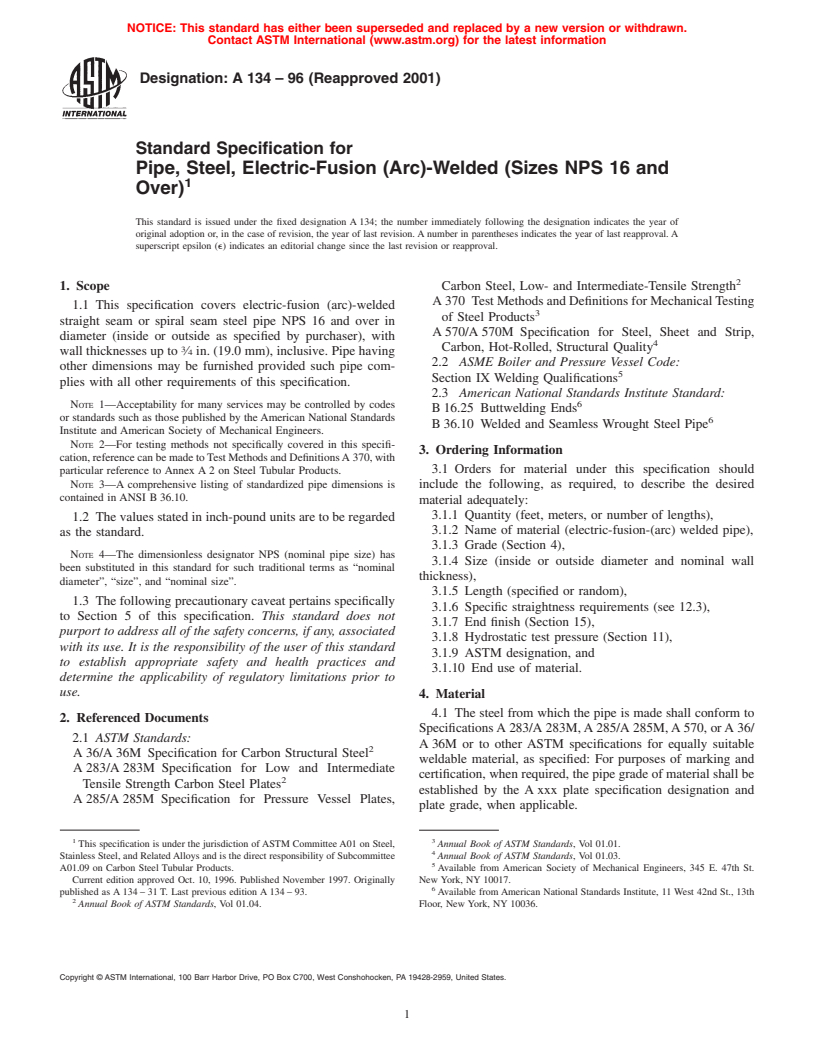
Designation: A 134 – 96 (Reapproved 2001)
Standard Specification for
Pipe, Steel, Electric-Fusion (Arc)-Welded (Sizes NPS 16 and
Over)
This standard is issued under the fixed designation A 134; the number immediately following the designation indicates the year of
original adoption or, in the case of revision, the year of last revision. A number in parentheses indicates the year of last reapproval. A
superscript epsilon (e) indicates an editorial change since the last revision or reapproval.
1. Scope Carbon Steel, Low- and Intermediate-Tensile Strength
A 370 Test Methods and Definitions for MechanicalTesting
1.1 This specification covers electric-fusion (arc)-welded
of Steel Products
straight seam or spiral seam steel pipe NPS 16 and over in
A 570/A 570M Specification for Steel, Sheet and Strip,
diameter (inside or outside as specified by purchaser), with
3 Carbon, Hot-Rolled, Structural Quality
wall thicknesses up to ⁄4 in. (19.0 mm), inclusive. Pipe having
2.2 ASME Boiler and Pressure Vessel Code:
other dimensions may be furnished provided such pipe com-
Section IX Welding Qualifications
plies with all other requirements of this specification.
2.3 American National Standards Institute Standard:
NOTE 1—Acceptability for many services may be controlled by codes 6
B 16.25 Buttwelding Ends
or standards such as those published by theAmerican National Standards
B 36.10 Welded and Seamless Wrought Steel Pipe
Institute and American Society of Mechanical Engineers.
NOTE 2—For testing methods not specifically covered in this specifi-
3. Ordering Information
cation,referencecanbemadetoTestMethodsandDefinitionsA 370,with
3.1 Orders for material under this specification should
particular reference to Annex A 2 on Steel Tubular Products.
NOTE 3—A comprehensive listing of standardized pipe dimensions is
include the following, as required, to describe the desired
contained in ANSI B 36.10.
material adequately:
3.1.1 Quantity (feet, meters, or number of lengths),
1.2 The values stated in inch-pound units are to be regarded
3.1.2 Name of material (electric-fusion-(arc) welded pipe),
as the standard.
3.1.3 Grade (Section 4),
NOTE 4—The dimensionless designator NPS (nominal pipe size) has
3.1.4 Size (inside or outside diameter and nominal wall
been substituted in this standard for such traditional terms as “nominal
thickness),
diameter”, “size”, and “nominal size”.
3.1.5 Length (specified or random),
1.3 The following precautionary caveat pertains specifically
3.1.6 Specific straightness requirements (see 12.3),
to Section 5 of this specification. This standard does not
3.1.7 End finish (Section 15),
purport to address all of the safety concerns, if any, associated
3.1.8 Hydrostatic test pressure (Section 11),
with its use. It is the responsibility of the user of this standard
3.1.9 ASTM designation, and
to establish appropriate safety and health practices and
3.1.10 End use of material.
determine the applicability of regulatory limitations prior to
use.
4. Material
4.1 The steel from which the pipe is made shall conform to
2. Referenced Documents
SpecificationsA 283/A 283M,A 285/A 285M,A 570, orA 36/
2.1 ASTM Standards:
A 36M or to other ASTM specifications for equally suitable
A 36/A 36M Specification for Carbon Structural Steel
weldable material, as specified: For purposes of marking and
A 283/A 283M Specification for Low and Intermediate
certification, when required, the pipe grade of material shall be
Tensile Strength Carbon Steel Plates
established by the A xxx plate specification designation and
A 285/A 285M Specification for Pressure Vessel Plates,
plate grade, when applicable.
1 3
This specification is under the jurisdiction of ASTM Committee A01 on Steel, Annual Book of ASTM Standards, Vol 01.01.
Stainless Steel, and RelatedAlloys and is the direct responsibility of Subcommittee Annual Book of ASTM Standards, Vol 01.03.
A01.09 on Carbon Steel Tubular Products. Available from American Society of Mechanical Engineers, 345 E. 47th St.
Current edition approved Oct. 10, 1996. Published November 1997. Originally New York, NY 10017.
published as A 134 – 31 T. Last previous edition A 134 – 93. Available from American National Standards Institute, 11 West 42nd St., 13th
Annual Book of ASTM Standards, Vol 01.04. Floor, New York, NY 10036.
Copyright © ASTM International, 100 Barr Harbor Drive, PO Box C700, West Conshohocken, PA 19428-2959, United States.
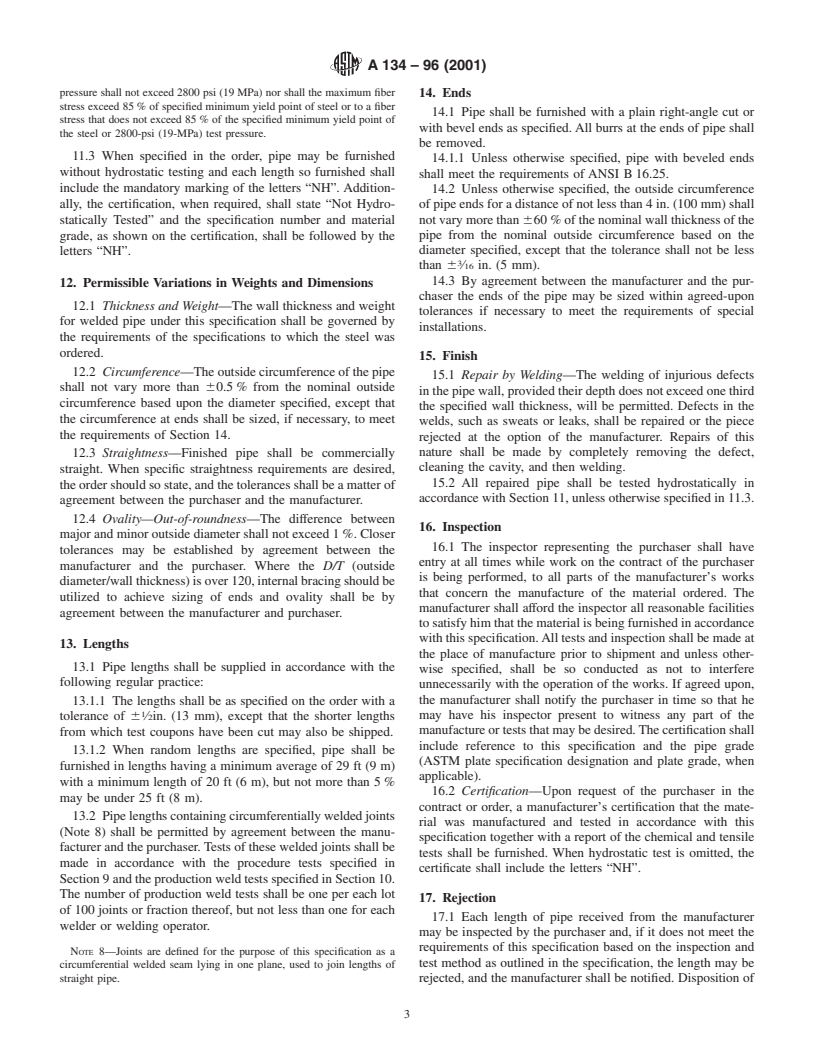
A 134 – 96 (2001)
5. Manufacture 9.3. Thicknesses less than ⁄8 in. (10 mm) shall be qualified for
3 3
each wall thickness of pipe manufactured.Thicknesses ⁄8 to ⁄4
5.1 The longitudinal edges of the steel shall be shaped to
in. (10 mm to 19.0 mm), inclusive, shall be qualified in ⁄8-in.
give the most satisfactory results by the particular welding
(10-mm) thickness.
process employed. The steel shall then be properly formed and
9.2 Two reduced-section tension specimens (transverse
may be tacked preparatory to welding. The weld shall be made
weld) made in accordance with Fig. number 21 of Test
by automatic means (except tack welds) and shall be of
Methods and Definitions A 370, with the weld reinforcement
reasonablyuniformwidthandheightfortheentirelengthofthe
removed, shall show a tensile strength not less than 100 % of
pipe. By agreement between the purchaser and the manufac-
the minimum specified tensile strength of the base material
turer, manual welding by qualified procedure and welders may
used.
be used as an equal alternate under this specification.
9.3 Two face-bend test specimens shall be prepared in
5.2 All longitudinal seams, spiral seams, and shop girth
accordance with Fig. number 2 (a) of Test Methods and
seams shall be butt-welded.
Definitions A 370 and shall withstand being bent 180° in a jig
6. Number of Production Weld Tests
substantially in accordance with Fig. 30 of Test Methods and
Definitions A 370. The bend test shall be acceptable if no
6.1 One weld test specimen specified in Section 8 shall be
cracks or other defects exceeding ⁄8 in. (3.2 mm) in any
made from each lot of 3000 ft (900 m) of pipe or fraction
direction be present in the weld metal or between the weld and
thereof of each size and wall thickness.
the pipe metal after bending. Cracks that originate along the
6.2 If any test specimen shows defective machining or
edges of the specimens during testing and that are less than
develops flaws not associated with the welding, it may be
⁄4in. (6.3 mm) in any direction, shall not be considered.
discarded and another specimen substituted.
6.3 Each length of pipe shall be subjected to the hydrostatic
10. Tensile Properties of Production Welds
test specified in Section 11, unless otherwise specified in 11.3.
10.1 Reduced-section tension test specimens required in
7. Retests Section 8 taken perpendicularly across the weld with the weld
reinforcement removed, shall show a tensile strength not less
7.1 If any specimen tested in accordance with Section 10
than 95 % of the specified minimum strength of the steel. At
fails to meet the requirements, retests of two additional
the manufacturer’s option, the test may be made without
specimens from the same lot of pipe shall be made, each of
removing the weld reinforcement, in which case the tensile
which shall meet the requirements specified. If any of the
strength shall be not less than the specified minimum tensile
retests fail to conform to the requirements, test specimens may
strength for the grade of steel used.
be taken from each untested pipe length at the manufacturer’s
option. Each specimen shall meet the requirements specified,
11. Hydrostatic Test (Note 5)
or that pipe shall be rejected.
11.1 Each length of pipe shall be tested by the manufacturer
to a hydrostatic pressure that will produce in the pipe wall a
8. Test Specimens of Production Welds
stress of 60 % of the specified minimum yield point of the steel
8.1 The weld-test specimens for the reduced-section tension
used at room temperature. The pressure shall be determined by
testshallbetakenperpendicularlyacrosstheweldandfromthe
the following equation:
end of the pipe or alternatively, from flat test pieces of material
P 5 2St D
conformingtotherequirementsinthespecificationsusedinthe
/
manufacturer of the pipe. The alternative weld-test specimens
where:
shall be welded with the same procedure and by the same
P = minimum hydrostatic test pressure, psi (Note 6) (not to
operator and equipment, and in sequence with the welding of
exceed 2800 psi (19 MPa)),
thelongitudinaljointsinthepipe.Thetestpiecesshallhavethe
S = 0.60 times the minimum specified yield point of the
weld approximately in the middle of the specimen. The
steel used, psi (MPa),
specimens shall be straightened cold, and shall be tested at
t = specified wall thickness, in. (mm), and
room temperature.
D = specified outside diameter, in. (mm).
8.2 Reduced-section tension-test specimens shall be pre-
pared in accordance with Fig. number 21 of Test Methods and
NOTE 5—A hydrostatic sizing operation is not to be considered a
Definitions A 370.
hydrostatic test or a substitute for it.
NOTE 6—When the diameter and wall thickness of pipe are such that
9. Qualification of Welding Procedure
the capacity limits of testing equipment are exceeded by these require-
9.1 The welding procedure shall be qualified in accordance
ments, the test pressures may be reduced by agreement between th
...


Questions, Comments and Discussion
Ask us and Technical Secretary will try to provide an answer. You can facilitate discussion about the standard in here.