ASTM E968-02(2008)
(Practice)Standard Practice for Heat Flow Calibration of Differential Scanning Calorimeters
Standard Practice for Heat Flow Calibration of Differential Scanning Calorimeters
SIGNIFICANCE AND USE
Differential scanning calorimetry is used to determine the heat or enthalpy of transition. For this information to be meaningful in an absolute sense, heat flow calibration of the apparatus or comparison of the resulting data to that of a known standard is required.
This practice is useful in calibrating the heat flow axis of differential scanning calorimeters or quantitative differential thermal analyzers for subsequent use in the measurement of transition energies and specific heat capacities of unknowns.
SCOPE
1.1 This practice covers the heat flow calibration of differential scanning calorimeters over the temperature range from − 130 °C to + 800 °C.
1.2 Values given in SI units are to be regarded as the standard.
1.3 Computer or electronic based instruments, techniques or data manipulation equivalent to this practice may also be used.
1.4 This standard does not purport to address all of the safety concerns, if any, associated with its use. It is the responsibility of whoever uses this standard to consult and establish appropriate safety and health practices and determine the applicability of regulatory limitations prior to use. See also Section 7.
General Information
Relations
Buy Standard
Standards Content (Sample)
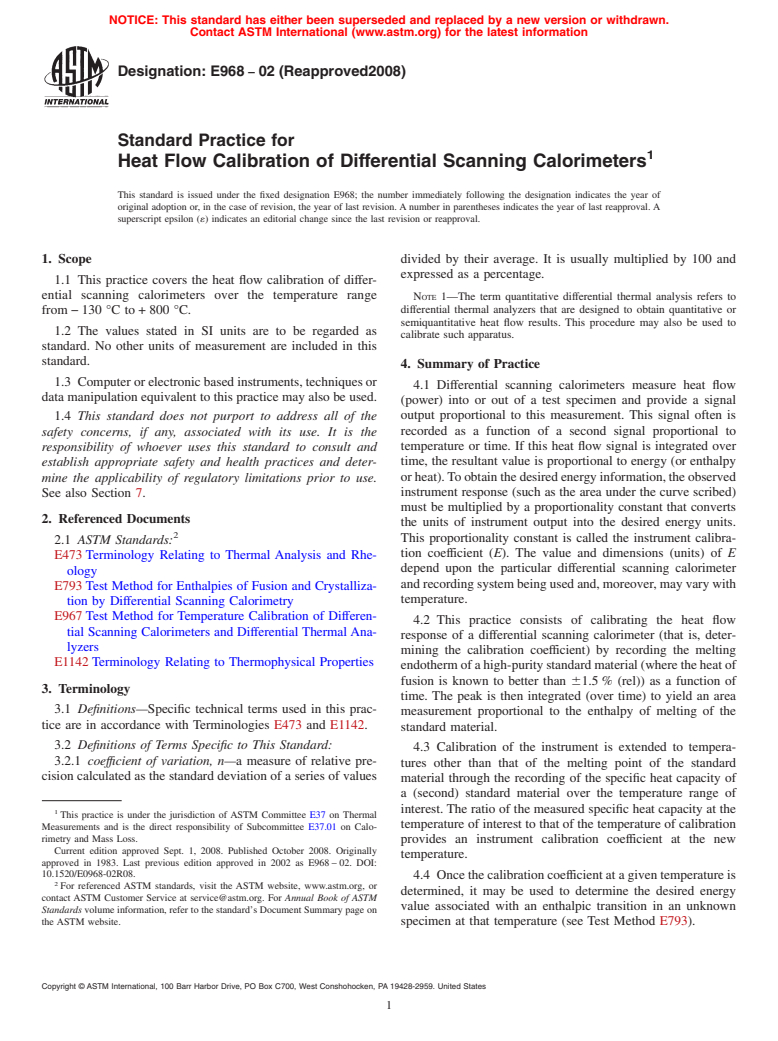
NOTICE: This standard has either been superseded and replaced by a new version or withdrawn.
Contact ASTM International (www.astm.org) for the latest information
Designation: E968 − 02 (Reapproved2008)
Standard Practice for
Heat Flow Calibration of Differential Scanning Calorimeters
This standard is issued under the fixed designation E968; the number immediately following the designation indicates the year of
original adoption or, in the case of revision, the year of last revision.Anumber in parentheses indicates the year of last reapproval.A
superscript epsilon (´) indicates an editorial change since the last revision or reapproval.
1. Scope divided by their average. It is usually multiplied by 100 and
expressed as a percentage.
1.1 This practice covers the heat flow calibration of differ-
ential scanning calorimeters over the temperature range
NOTE 1—The term quantitative differential thermal analysis refers to
from−130 °C to+800 °C. differential thermal analyzers that are designed to obtain quantitative or
semiquantitative heat flow results. This procedure may also be used to
1.2 The values stated in SI units are to be regarded as
calibrate such apparatus.
standard. No other units of measurement are included in this
standard.
4. Summary of Practice
1.3 Computerorelectronicbasedinstruments,techniquesor
4.1 Differential scanning calorimeters measure heat flow
data manipulation equivalent to this practice may also be used.
(power) into or out of a test specimen and provide a signal
output proportional to this measurement. This signal often is
1.4 This standard does not purport to address all of the
recorded as a function of a second signal proportional to
safety concerns, if any, associated with its use. It is the
temperature or time. If this heat flow signal is integrated over
responsibility of whoever uses this standard to consult and
time, the resultant value is proportional to energy (or enthalpy
establish appropriate safety and health practices and deter-
orheat).Toobtainthedesiredenergyinformation,theobserved
mine the applicability of regulatory limitations prior to use.
instrument response (such as the area under the curve scribed)
See also Section 7.
must be multiplied by a proportionality constant that converts
2. Referenced Documents
the units of instrument output into the desired energy units.
This proportionality constant is called the instrument calibra-
2.1 ASTM Standards:
tion coefficient (E). The value and dimensions (units) of E
E473Terminology Relating to Thermal Analysis and Rhe-
depend upon the particular differential scanning calorimeter
ology
andrecordingsystembeingusedand,moreover,mayvarywith
E793Test Method for Enthalpies of Fusion and Crystalliza-
temperature.
tion by Differential Scanning Calorimetry
E967Test Method for Temperature Calibration of Differen-
4.2 This practice consists of calibrating the heat flow
tial Scanning Calorimeters and Differential ThermalAna-
response of a differential scanning calorimeter (that is, deter-
lyzers
mining the calibration coefficient) by recording the melting
E1142Terminology Relating to Thermophysical Properties
endothermofahigh-puritystandardmaterial(wheretheheatof
fusion is known to better than 61.5% (rel)) as a function of
3. Terminology
time. The peak is then integrated (over time) to yield an area
3.1 Definitions—Specific technical terms used in this prac-
measurement proportional to the enthalpy of melting of the
tice are in accordance with Terminologies E473 and E1142.
standard material.
3.2 Definitions of Terms Specific to This Standard:
4.3 Calibration of the instrument is extended to tempera-
3.2.1 coeffıcient of variation, n—a measure of relative pre-
tures other than that of the melting point of the standard
cision calculated as the standard deviation of a series of values
material through the recording of the specific heat capacity of
a (second) standard material over the temperature range of
interest.The ratio of the measured specific heat capacity at the
This practice is under the jurisdiction of ASTM Committee E37 on Thermal
temperature of interest to that of the temperature of calibration
Measurements and is the direct responsibility of Subcommittee E37.01 on Calo-
rimetry and Mass Loss.
provides an instrument calibration coefficient at the new
Current edition approved Sept. 1, 2008. Published October 2008. Originally
temperature.
approved in 1983. Last previous edition approved in 2002 as E968–02. DOI:
10.1520/E0968-02R08.
4.4 Oncethecalibrationcoefficientatagiventemperatureis
For referenced ASTM standards, visit the ASTM website, www.astm.org, or
determined, it may be used to determine the desired energy
contact ASTM Customer Service at service@astm.org. For Annual Book of ASTM
value associated with an enthalpic transition in an unknown
Standards volume information, refer to the standard’s Document Summary page on
the ASTM website. specimen at that temperature (see Test Method E793).
Copyright © ASTM International, 100 Barr Harbor Drive, PO Box C700, West Conshohocken, PA 19428-2959. United States
E968 − 02 (2008)
5. Significance and Use 6.2 A balance, with capacity of 100 mg to weight speci-
mens, or containers, or both, to 6 1 µg,
5.1 Differential scanning calorimetry is used to determine
the heat or enthalpy of transition. For this information to be
7. Precautions
meaningful in an absolute sense, heat flow calibration of the
7.1 Toxic or corrosive effluents, or both, may be released
apparatus or comparison of the resulting data to that of a
whenheatingsomematerialandcouldbeharmfultopersonnel
known standard is required.
and apparatus.
5.2 Thispracticeisusefulincalibratingtheheatflowaxisof
differential scanning calorimeters or quantitative differential
8. Reagents and Materials
thermal analyzers for subsequent use in the measurement of
8.1 For the temperature range covered by many applica-
transition energies and specific heat capacities of unknowns.
tions, the melting transitions of the following greater-than-
99.9% pure material may be used for calibration.
6. Apparatus
Melting
Heat of Fusion,
Temperature,
6.1 Differential Scanning Calorimeter (DSC)—Theessential
J/g
K
instrumentation required to provide the minimum differential
Indium 429.75 28.58 ± 0.07
scanning calorimetric capability for this method includes:
8.2 Sapphire, (α−Al O ), 20 to 80 mg, solid disk.
2 3
6.1.1 A DSC test chamber, composed of the following:
6.1.1.1 A furnace(s) to provide uniform controlled heating
9. Calibration
(cooling)ofaspecimenandreferencetoaconstanttemperature
9.1 Perform any calibration procedures described by the
or at a constant rate with the temperature range of –100 to 600
manufacturer in the operations manual.
°C.
9.2 Perform a temperature signal calibration according to
NOTE 2—This temperature range may be extended to higher and lower
Practice E967.
temperatures depending upon the capabilities of the apparatus.
6.1.1.2 Atemperature sensor,toprovideanindicationofthe
10. Procedure
specimen/furnace temperature to 60.01 K.
10.1 Calibration at a specific temperature—The following
6.1.1.3 A differential sensor, to detect a heat flow (power)
procedure is used to calibrate the heat flow response of the
difference between the specimen and reference equivalent to 1
instrument with the same type specimen holder, heating rate,
µW.
purgegas,andpurgegasflowrateaswillbeusedforspecimen
6.1.1.4 A means of sustaining a test chamber environment,
measurement.Adry nitrogen purge gas with a flow rate of 10
of an inert purge gas at a purge gas rate of 10 to 100 mL/min
to 50 6 5 mL/min is recommended. Other purge gases and
6 5 mL/min.
rates may be used but shall be reported.
10.1.1 Placea5to10 6 0.001-mg weighed amount of melt
NOTE 3—Typically, 99.9+% pure nitrogen, argon or helium are
employed when oxidation in air is a concern. Unless effects of moisture
transition calibration material into a clean specimen holder.
aretobestudied,useofdrypurgegasisrecommendedandisessentialfor
10.1.2 Seal the specimen holder with a lid, minimizing the
operation at subambient temperatures.
free space between the specimen and the lid. Load the
6.1.2 A temperature controller, capable of executing a
specimen into the instrument.
specific temperature program by operating the furnace(s)
10.1.3 Allow the specimen to equilibrate at a temperature
between selected temperature limits at a rate of temperature
30 °C below the melting temperature.
changeofbetween1and35K/minconstantto 61%andatan
10.1.4 Heat the specimen at 10 °C/min through the endo-
isothermal temperature constant to 60.1 K.
therm until the baseline is reestablished above the melting
6.1.3 Arecording device,eitherdigitaloranalog,capableof
endotherm. Record the accompanying thermal curve of heat
recording and displaying the heat flow (DSC curve) signal
flow versus time.
versus temperature, displaying any fraction including the
NOTE 5—Other heating rates may be used but shall be reported.
signal noise.
10.1.5 Cool and reweigh the specimen. Reject the data if
6.1.4 Containers, (pans, crucibles, vials, etc. and associated
mass losses exceed 1% of the original mass or if there is
lids),thatareinerttothespecimenandreferencematerialsand
evidence of reaction with the specimen holder.
that are of suitable structural shape and integrity to contain the
10.1.6 Calculate the calibration coefficient at the tempera-
specimen and reference.
ture of measurement using the procedure described in Section
NOTE4—Mostcontainersrequirespecialtool(s)foropening,closingor
11. Duplicate determinations shall be made on different speci-
sealing. The specific tool(s) necessary to perform this action also are
mens and the mean value determined and reported.
required.
10.2 Calibration at other temperatures—Onceacalibration
6.1.5 Cooling capability, to achieve and sustain cryogenic
coefficient at a specific temperature has been obtained by the
temperatures,tohastencooldownfromelevatedtemperatures,
procedure in 10.1, extension of the calibration coefficient to
or to provide constant cooling rates, or a combination thereof.
6.1.6 Computer and software capability to perform the
mathematical treatments of this method including peak inte-
Preston–Thomas, H., Metrologia,, Vol 27, 1990, p. 3.
gration. Stolen, S., Gronvold, F., Thermochimica Acta, Vol 327, 1999, p.1.
E968 − 02 (2008)
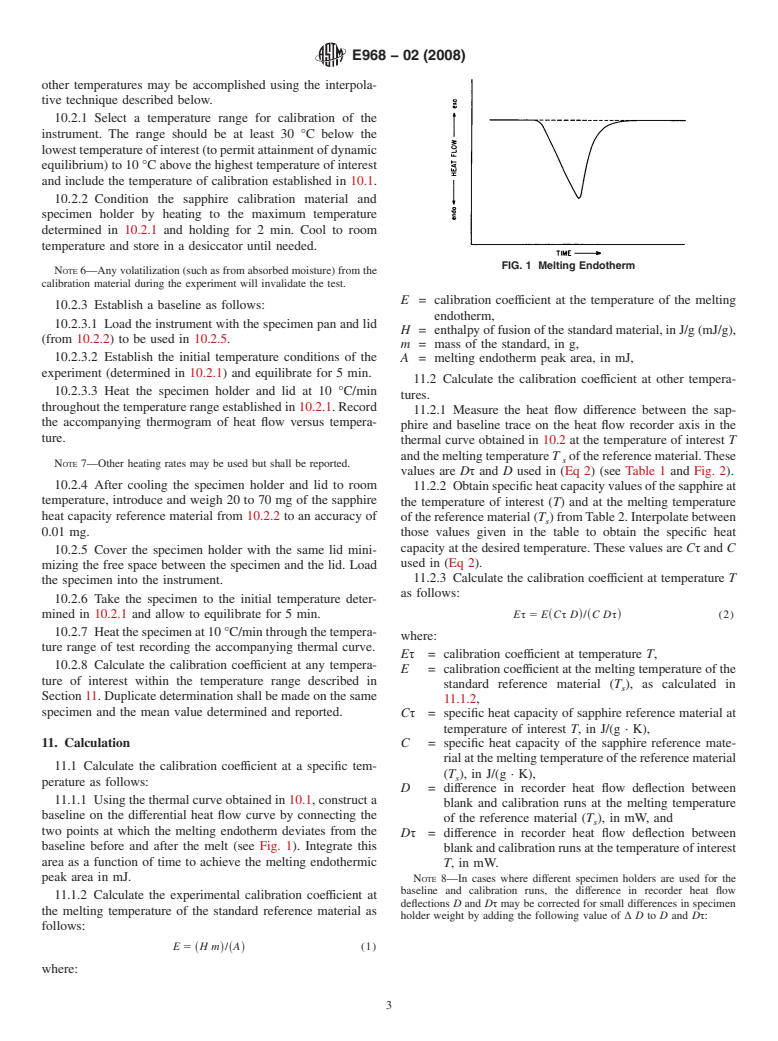
other temperatures may be accomplished using the in
...
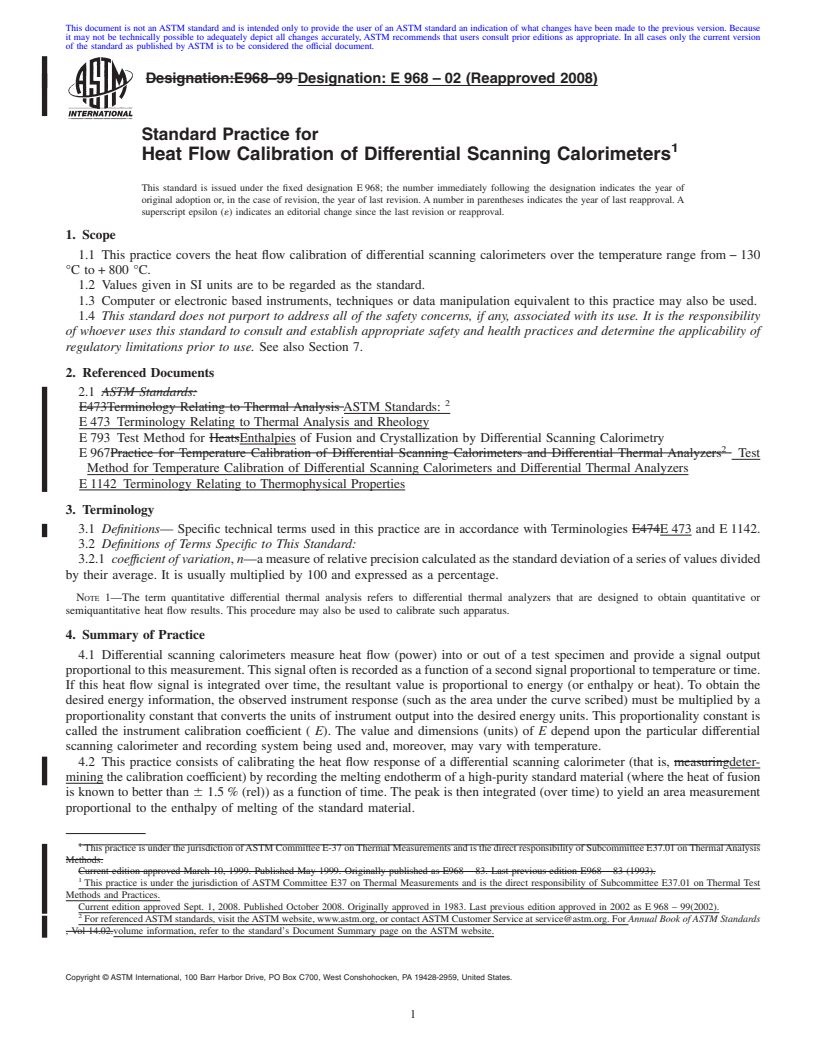
This document is not anASTM standard and is intended only to provide the user of anASTM standard an indication of what changes have been made to the previous version. Because
it may not be technically possible to adequately depict all changes accurately, ASTM recommends that users consult prior editions as appropriate. In all cases only the current version
of the standard as published by ASTM is to be considered the official document.
Designation:E968–99 Designation: E 968 – 02 (Reapproved 2008)
Standard Practice for
Heat Flow Calibration of Differential Scanning Calorimeters
This standard is issued under the fixed designation E968; the number immediately following the designation indicates the year of
original adoption or, in the case of revision, the year of last revision.Anumber in parentheses indicates the year of last reapproval.A
superscript epsilon (´) indicates an editorial change since the last revision or reapproval.
1. Scope
1.1 This practice covers the heat flow calibration of differential scanning calorimeters over the temperature range from−130
°C to+800 °C.
1.2 Values given in SI units are to be regarded as the standard.
1.3 Computer or electronic based instruments, techniques or data manipulation equivalent to this practice may also be used.
1.4 This standard does not purport to address all of the safety concerns, if any, associated with its use. It is the responsibility
of whoever uses this standard to consult and establish appropriate safety and health practices and determine the applicability of
regulatory limitations prior to use. See also Section 7.
2. Referenced Documents
2.1 ASTM Standards:
E473Terminology Relating to Thermal Analysis ASTM Standards:
E473 Terminology Relating to Thermal Analysis and Rheology
E793 Test Method for HeatsEnthalpies of Fusion and Crystallization by Differential Scanning Calorimetry
E967Practice for Temperature Calibration of Differential Scanning Calorimeters and Differential Thermal Analyzers Test
Method for Temperature Calibration of Differential Scanning Calorimeters and Differential Thermal Analyzers
E1142 Terminology Relating to Thermophysical Properties
3. Terminology
3.1 Definitions— Specific technical terms used in this practice are in accordance with Terminologies E474E473 and E1142.
3.2 Definitions of Terms Specific to This Standard:
3.2.1 coeffıcient of variation, n—ameasureofrelativeprecisioncalculatedasthestandarddeviationofaseriesofvaluesdivided
by their average. It is usually multiplied by 100 and expressed as a percentage.
NOTE 1—The term quantitative differential thermal analysis refers to differential thermal analyzers that are designed to obtain quantitative or
semiquantitative heat flow results. This procedure may also be used to calibrate such apparatus.
4. Summary of Practice
4.1 Differential scanning calorimeters measure heat flow (power) into or out of a test specimen and provide a signal output
proportionaltothismeasurement.Thissignaloftenisrecordedasafunctionofasecondsignalproportionaltotemperatureortime.
If this heat flow signal is integrated over time, the resultant value is proportional to energy (or enthalpy or heat). To obtain the
desired energy information, the observed instrument response (such as the area under the curve scribed) must be multiplied by a
proportionality constant that converts the units of instrument output into the desired energy units. This proportionality constant is
called the instrument calibration coefficient ( E). The value and dimensions (units) of E depend upon the particular differential
scanning calorimeter and recording system being used and, moreover, may vary with temperature.
4.2 This practice consists of calibrating the heat flow response of a differential scanning calorimeter (that is, measuringdeter-
miningthecalibrationcoefficient)byrecordingthemeltingendothermofahigh-puritystandardmaterial(wheretheheatoffusion
is known to better than 6 1.5% (rel)) as a function of time.The peak is then integrated (over time) to yield an area measurement
proportional to the enthalpy of melting of the standard material.
ThispracticeisunderthejurisdictionofASTMCommitteeE-37onThermalMeasurementsandisthedirectresponsibilityofSubcommitteeE37.01onThermalAnalysis
Methods.
Current edition approved March 10, 1999. Published May 1999. Originally published as E968 – 83. Last previous edition E968 – 83 (1993).
This practice is under the jurisdiction of ASTM Committee E37 on Thermal Measurements and is the direct responsibility of Subcommittee E37.01 on Thermal Test
Methods and Practices.
Current edition approved Sept. 1, 2008. Published October 2008. Originally approved in 1983. Last previous edition approved in 2002 as E968 – 99(2002).
ForreferencedASTMstandards,visittheASTMwebsite,www.astm.org,orcontactASTMCustomerServiceatservice@astm.org.For Annual Book of ASTM Standards
, Vol 14.02.volume information, refer to the standard’s Document Summary page on the ASTM website.
Copyright © ASTM International, 100 Barr Harbor Drive, PO Box C700, West Conshohocken, PA 19428-2959, United States.
E 968 – 02 (2008)
4.3 Calibrationoftheinstrumentisextendedtotemperaturesotherthanthatofthemeltingpointofthestandardmaterialthrough
the recording of the specific heat capacity of a (second) standard material over the temperature range of interest. The ratio of the
measured specific heat capacity at the temperature of interest to that of the temperature of calibration provides an instrument
calibration coefficient at the new temperature.
4.4 Once the calibration coefficient at a given temperature is determined, it may be used to determine the desired energy value
associated with an enthalpic transition in an unknown specimen at that temperature (see Test Method E793).
5. Significance and Use
5.1 Differential scanning calorimetry is used to determine the heat or enthalpy of transition. For this information to be
meaningful in an absolute sense, heat flow calibration of the apparatus or comparison of the resulting data to that of a known
standard is required.
5.2 This practice is useful in calibrating the heat flow axis of differential scanning calorimeters or quantitative differential
thermal analyzers for subsequent use in the measurement of transition energies and specific heat capacities of unknowns.
6. Apparatus
6.1 Differential Scanning Calorimeter (DSC)—The essential instrumentation required to provide the minimum differential
scanning calorimetric capability for this method includes:
6.1.1 A DSC test chamber, composed of the following:
6.1.1.1 Afurnace(s) to provide uniform controlled heating (cooling) of a specimen and reference to a constant temperature or
at a constant rate with the temperature range of –100 to 600 °C.
NOTE 2—This temperature range may be extended to higher and lower temperatures depending upon the capabilities of the apparatus.
6.1.1.2 A temperature sensor, to provide an indication of the specimen/furnace temperature to 6 0.01 K.
6.1.1.3 A differential sensor, to detect a heat flow (power) difference between the specimen and reference equivalent to 1 µW.
6.1.1.4 Ameans of sustaining a test chamber environment, of an inert purge gas at a purge gas rate of 10 to 100 mL/min 6 5
mL/min.
NOTE 3—Typically, 99.9+% pure nitrogen, argon or helium are employed when oxidation in air is a concern. Unless effects of moisture are to be
studied, use of dry purge gas is recommended and is essential for operation at subambient temperatures.
6.1.2 A temperature controller, capable of executing a specific temperature program by operating the furnace(s) between
selected temperature limits at a rate of temperature change of between 1 and 35 K/min constant to 6 1% and at an isothermal
temperature constant to 6 0.1 K.
6.1.3 A recording device, either digital or analog, capable of recording and displaying the heat flow (DSC curve) signal versus
temperature, displaying any fraction including the signal noise.
6.1.4 Containers,(pans,crucibles,vials,etc.andassociatedlids),thatareinerttothespecimenandreferencematerialsandthat
are of suitable structural shape and integrity to contain the specimen and reference.
NOTE 4—Most containers require special tool(s) for opening, closing or sealing.The specific tool(s) necessary to perform this action also are required.
6.1.5 Cooling capability, to achieve and sustain cryogenic temperatures, to hasten cool down from elevated temperatures, or to
provide constant cooling rates, or a combination thereof.
6.1.6 Computer and software capability to perform the mathematical treatments of this method including peak integration.
6.2 A balance, with capacity of 100 mg to weight specimens, or containers, or both, to 6 1 µg,
7. Precautions
7.1 Toxic or corrosive effluents, or both, may be released when heating some material and could be harmful to personnel and
apparatus.
8. Reagents and Materials
8.1 For the temperature range covered by many applications, the melting transitions of the following greater-than-99.9% pure
material may be used for calibration.
Melting Tem- Heat of Fusion,
3 4
perature, K J/g
Indium 429.8 28.42 6 0.36
Indium 429.75 28.58 6 0.07
8.2 Sapphire,(a−Al O ), 20 to 80 mg, solid disk.
2 3
Rossini, F. D., Pure Applied Chemistry, Vol 22, 1970, p. 557.
Preston–Thomas, H., Metrologia,, Vol 27, 1990, p. 3.
Hultgren, R. et al, Selected Values of Thermodynamic Properties of the Elements, American Society of Metals, Metals Park, OH, 1973.
Stolen, S., Gronvold, F., Thermochimica Acta, Vol 327, 1999, p.1. E37
E 968 – 02 (2008)
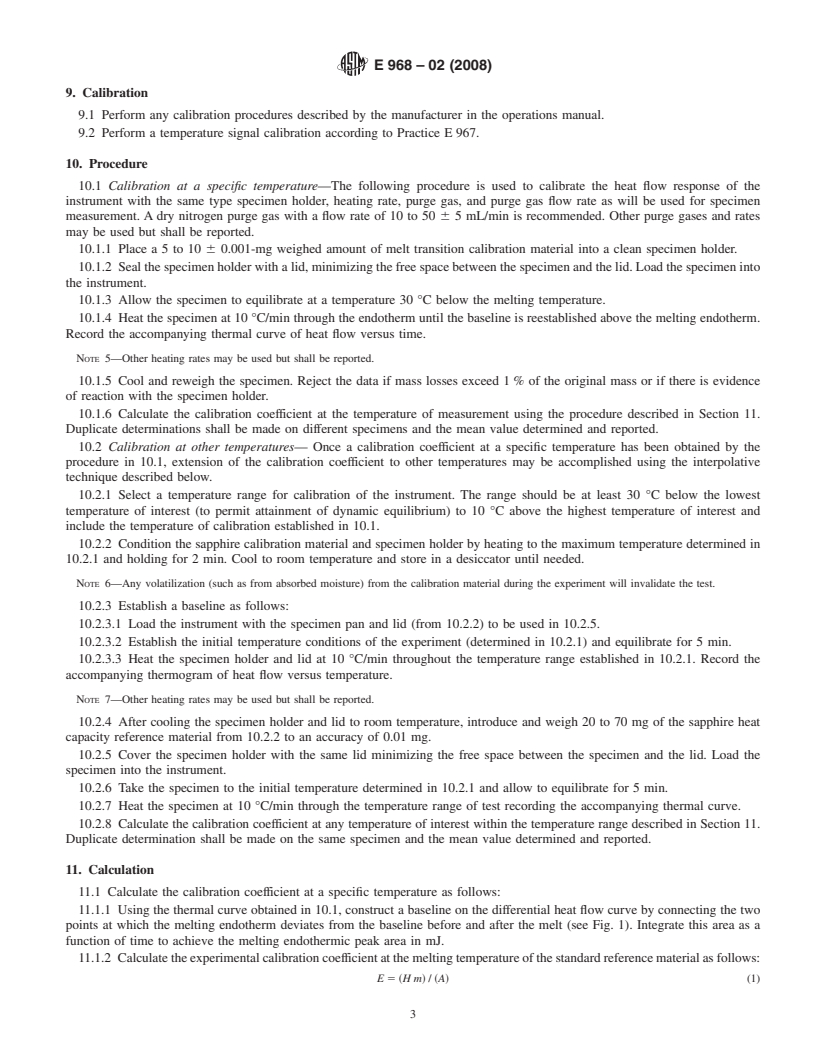
9. Calibration
9.1 Perform any calibration procedures described by the manufacturer in the operations manual.
9.2 Perform a temperature signal calibration according to Practice E967.
10. Procedure
10.1 Calibration at a specific temperature—The following procedure is used to calibrate the heat flow response of the
instrument with the same type specimen holder, heating rate, purge gas, and purge gas flow rate as will be used for specimen
measurement. A dry nitrogen purge gas with a flow rate of 10 to 50 6 5 mL/min is recommended. Other purge gases and rates
may be used but shall be reported.
10.1.1 Placea5to10 6 0.001-mg weighed amount of melt transition calibration material into a clean specimen holder.
10.1.2 Sealthespecimenholderwithalid,minimizingthefreespacebetweenthespecimenandthelid.Loadthespecimeninto
the instrument.
10.1.3 Allow the specimen to equilibrate at a temperature 30 °C below the melting temperature.
10.1.4 Heat the specimen at 10 °C/min through the endotherm until the baseline is reestablished above the melting endotherm.
Record the accompanying thermal curve of heat flow versus time.
NOTE 5—Other heating rates may be used but shall be reported.
10.1.5 Cool and reweigh the specimen. Reject the data if mass losses exceed 1% of the original mass or if there is evidence
of reaction with the specimen holder.
10.1.6 Calculate the calibration coefficient at the temperature of measurement using the procedure described in Section 11.
Duplicate determinations shall be made on different specimens and the mean valu
...


Questions, Comments and Discussion
Ask us and Technical Secretary will try to provide an answer. You can facilitate discussion about the standard in here.